
After you’ve chosen the perfect font and got the right positioning, all that’s left is to change the color of the text. The problem is, how are you supposed to change the color after it’s written? Although the process might be a little different from working in a typical word program, Photoshop offers a few easy ways to change your text’s color with ease, even if it’s applied directly into an image!
To change the color of text in Photoshop, highlight the text layer and select the Text Tool by pressing T. Click the text on your canvas to edit it, then click and drag to highlight all of the text. Go to the upper settings bar, click on the color picker to open the color palette, and choose a new color. Click OK to save your changes, and the new color will be applied to the text.
In this tutorial, you’ll learn two of the fastest ways to change the color of text in Photoshop on existing text layers. We’ll then take things one step further and learn how to apply multiple colors to the same piece of text.
Now, if you’re working with an image where the text is already applied to the image, I’ll share how to edit existing text in the final section of this post.
Let’s get started!
How To Fill Text With Color – 2 Methods
There are two main ways to change the color of text in Photoshop. The first method requires you to actually select the text tool, while the second offers more adjustment options in one place.
Method 1: Highlighting Text
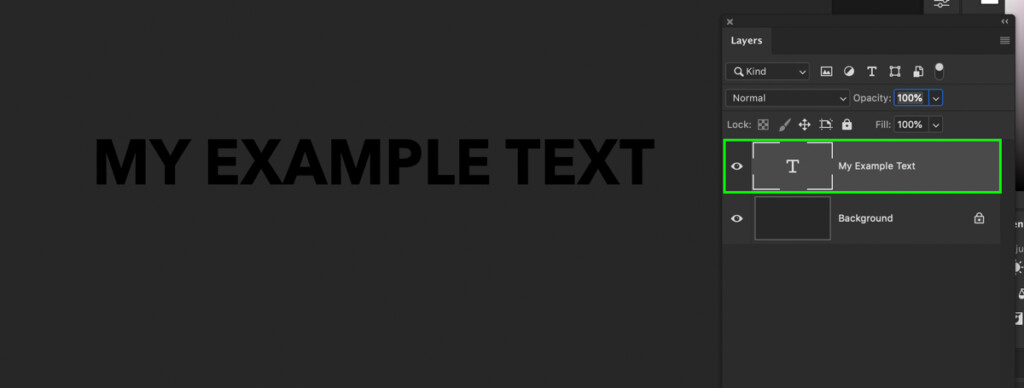
For example, let’s say you’ve written a single piece of text across the canvas. Currently, the text’s color is black because that’s the preset color you chose before you wrote the text.

The problem is that changing the preset text color doesn’t make any changes to the existing text. That’s because this setting only applies to new text that you’ve yet to create.
With that said, you can use the preset color to change the color of the existing text, as long as it’s properly selected!
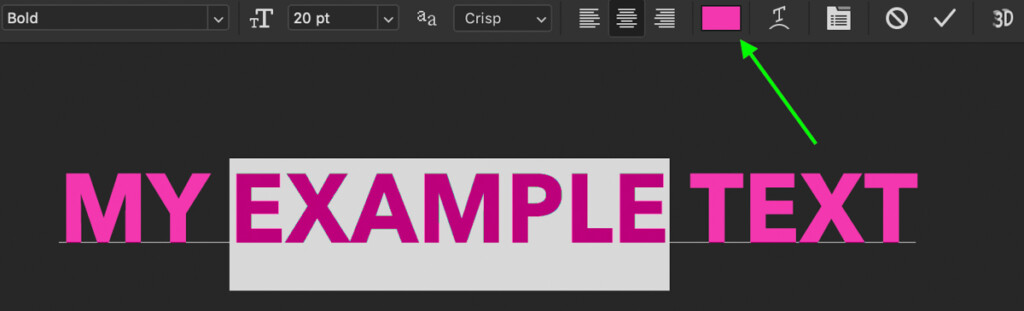
To start, select the text layer from your layers panel and grab the Text Tool by pressing T.
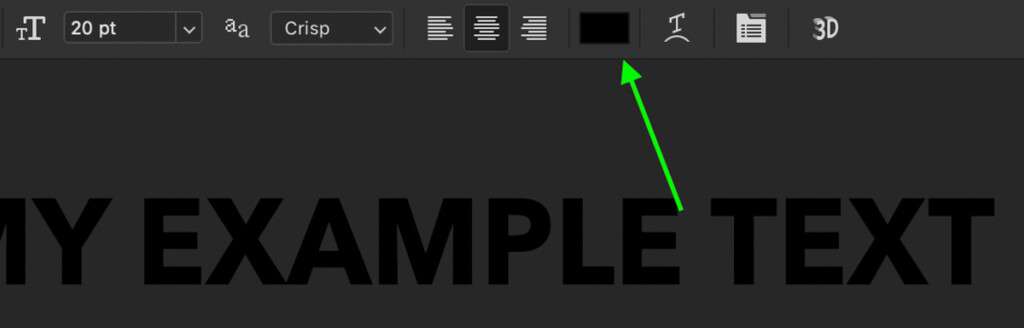
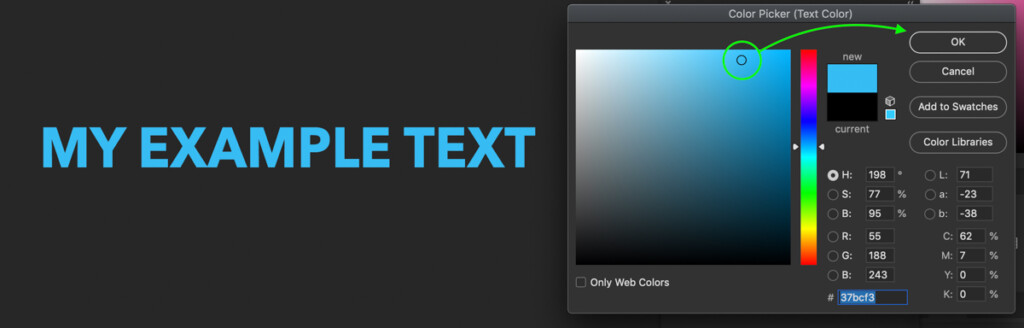
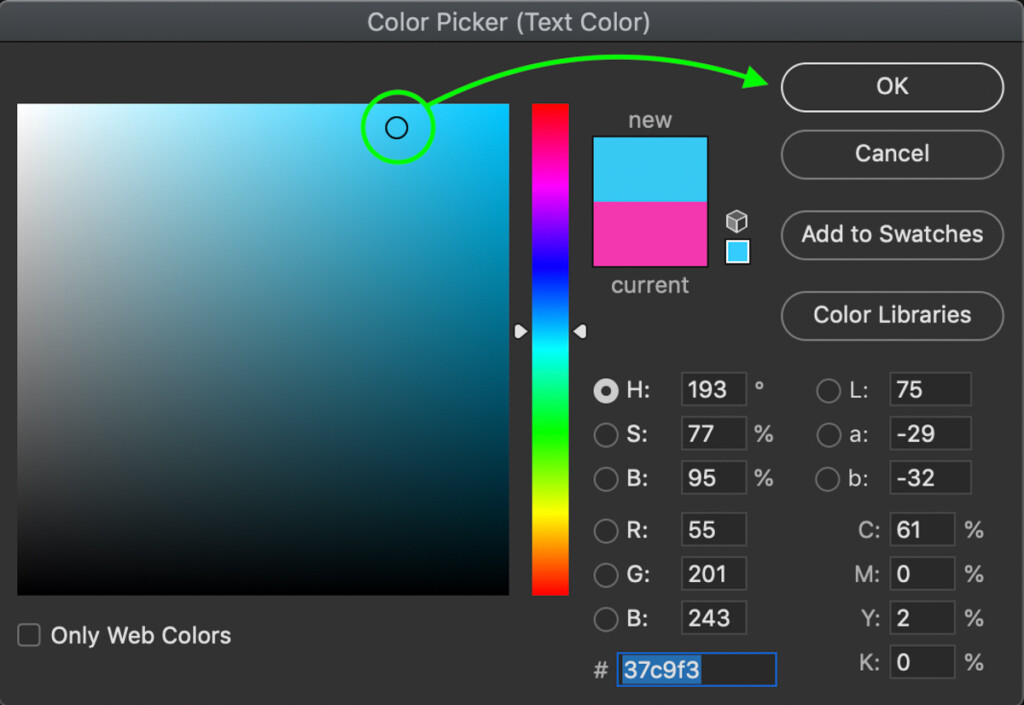
Then click on the color picker and choose a new color from the color palette. Since the text layer is selected, Photoshop will apply this new color to the existing text on that layer.
After you’ve found the perfect color, click OK to commit to your changes, and your text will be a whole new color!

Method 2: Using The Character Panel
This second way to change the color of text doesn’t require you to highlight any text or do as much clicking. Especially if you want to streamline your workflow, this is a slightly faster way of doing things. The Character Panel offers a lot of valuable text adjustment options, and changing colors is one of them!
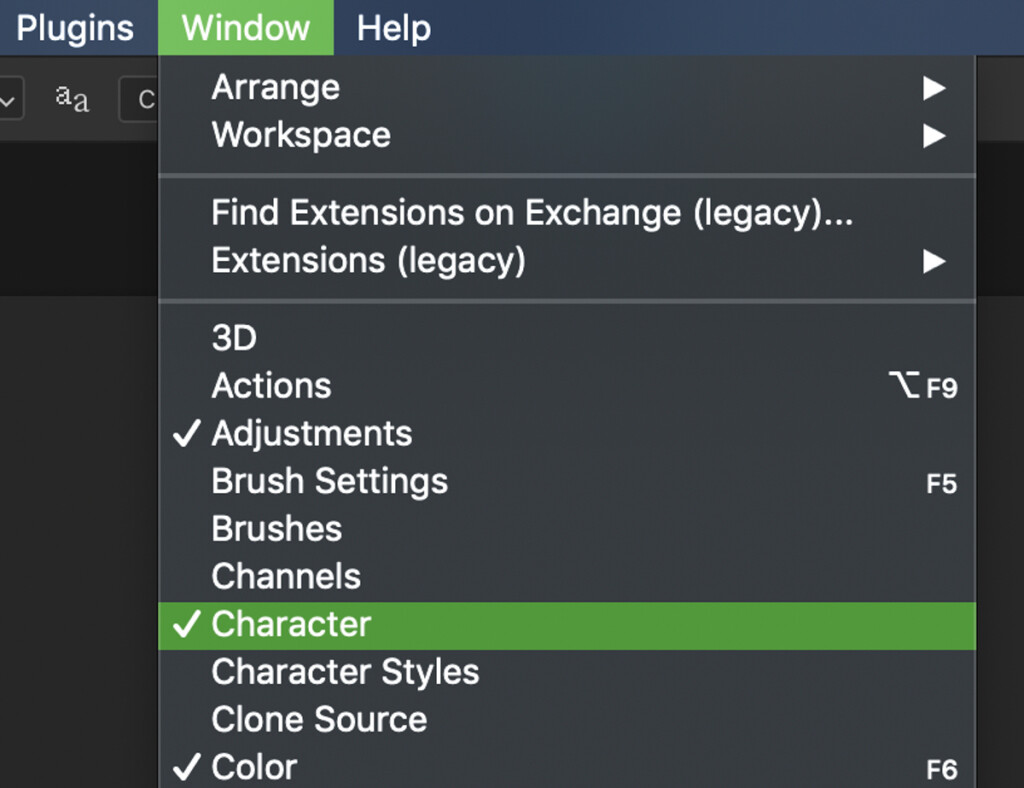
You can find the Character Panel in your adjustments bar. If you don’t see it, go up to Window > Character to bring it into view.
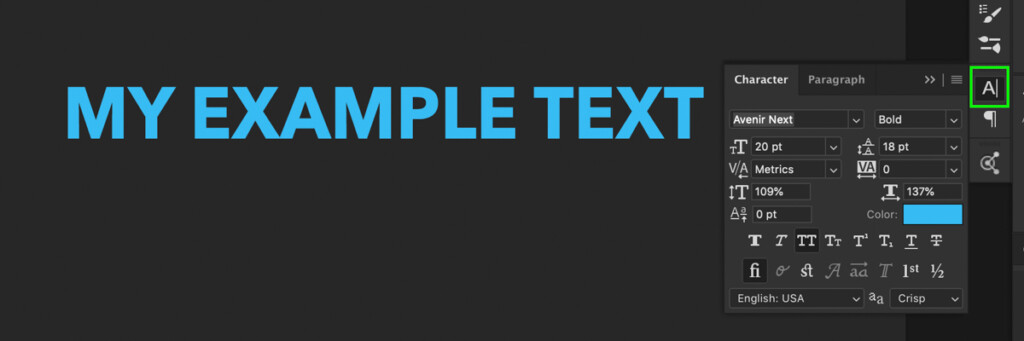
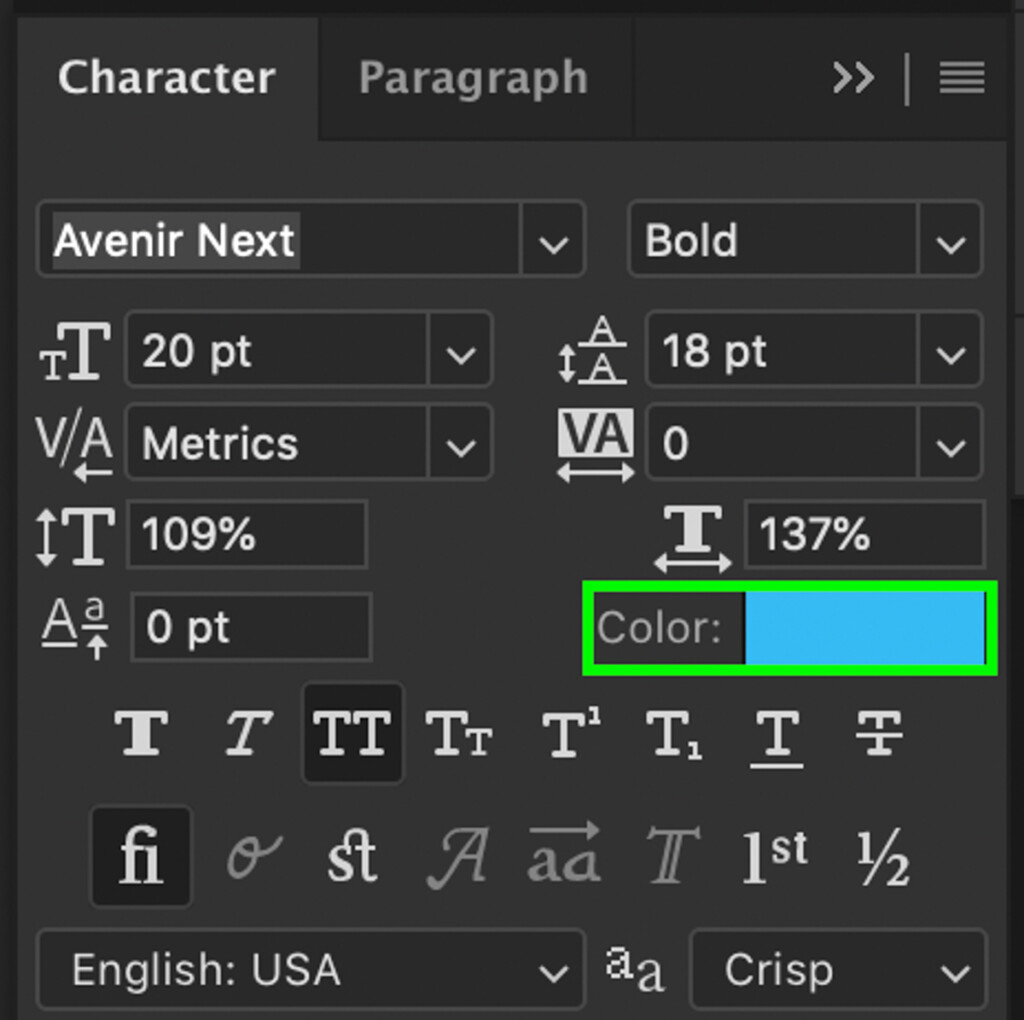
In this panel are a variety of settings to choose from, but the one you want is the colored box.
By first selecting the text layer from the Layers Panel, click on the color option in the Character window.
A color picker will appear where you can once again choose any color you’d like. Once you’re happy with the new color, click OK to commit to your changes.
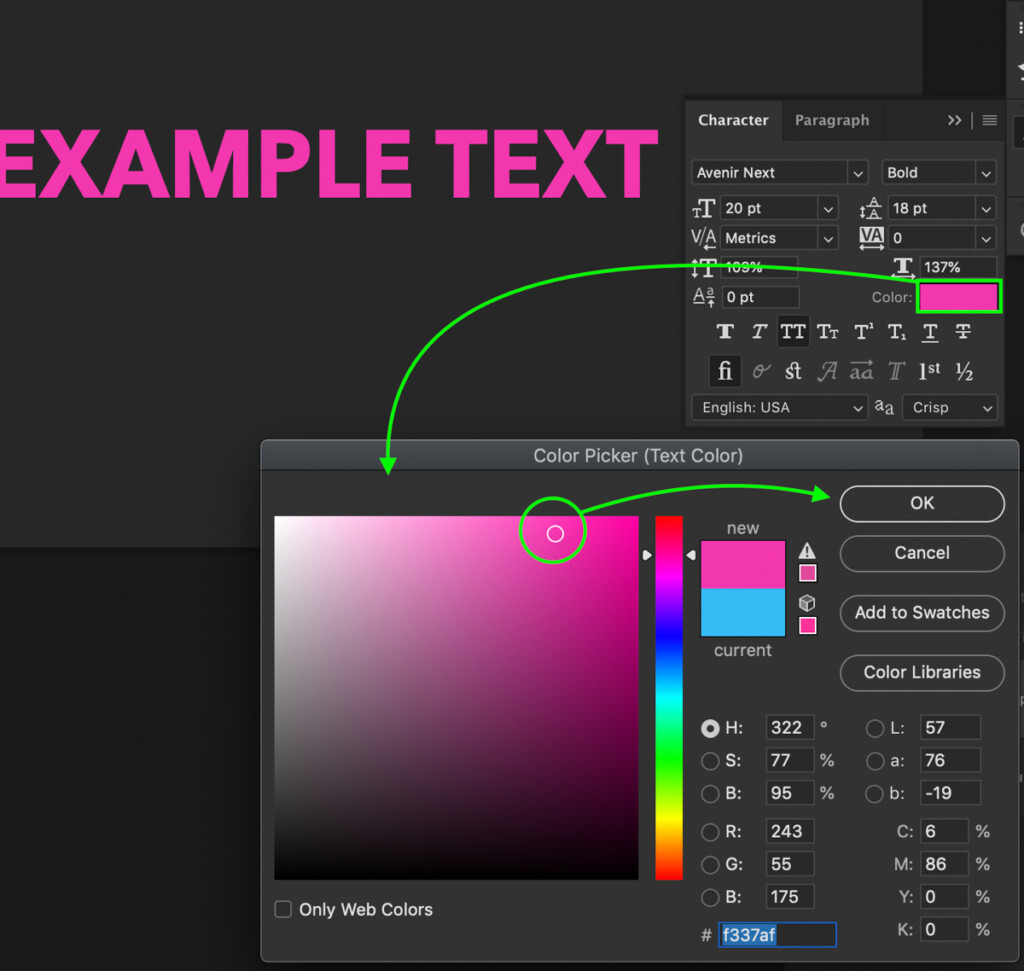
Now the color box will change to represent the new text color, and your selected text layer will have that color applied!

The Character Panel offers a slightly faster way of changing text color since you don’t have to actually use the text tool. Instead, just click on the text layer in the Layers Panel, and you’re on your way.
Easy Peasy!
How To Make Your Text Different Colors
In the previous two examples, you learned how to change the color of all of your text at once. The problem is, this doesn’t work very well if you want each word to have a different color. In that case, you’ll need to deploy a slightly different technique.
To make your text different colors in Photoshop, select the Text Tool and click on the text you wish to edit. With the text active, click and drag over a single word to highlight it, then click on the color picker in the upper settings bar. After choosing a new color, it will only be applied to the highlighted text. You can repeat this process between multiple words or even with individual letters.
To start, you’ll need to follow the same steps used with highlighting text in method one. With your text layer highlighted in the layers panel, grab the Text Tool (T) and click the text on your canvas.
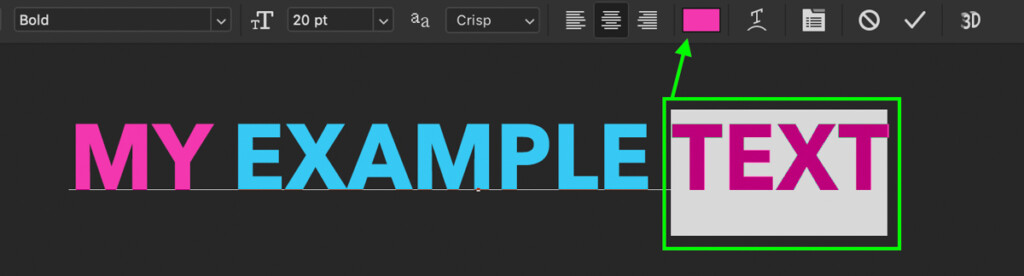
This time rather than highlighting all of the text, start by highlighting a single word you want to change the color of.

With one piece of your text highlighted, click on the color picker in the upper settings bar and select a new color. Click OK to save your changes and apply the new color.
Now you’re left with a new color only applied to the piece of text you previously highlighted. Let’s repeat this process to change the color of another word.

Once again, highlighting a single piece of text, clicking on the color picker, and choosing a new color, click OK to apply the changes.
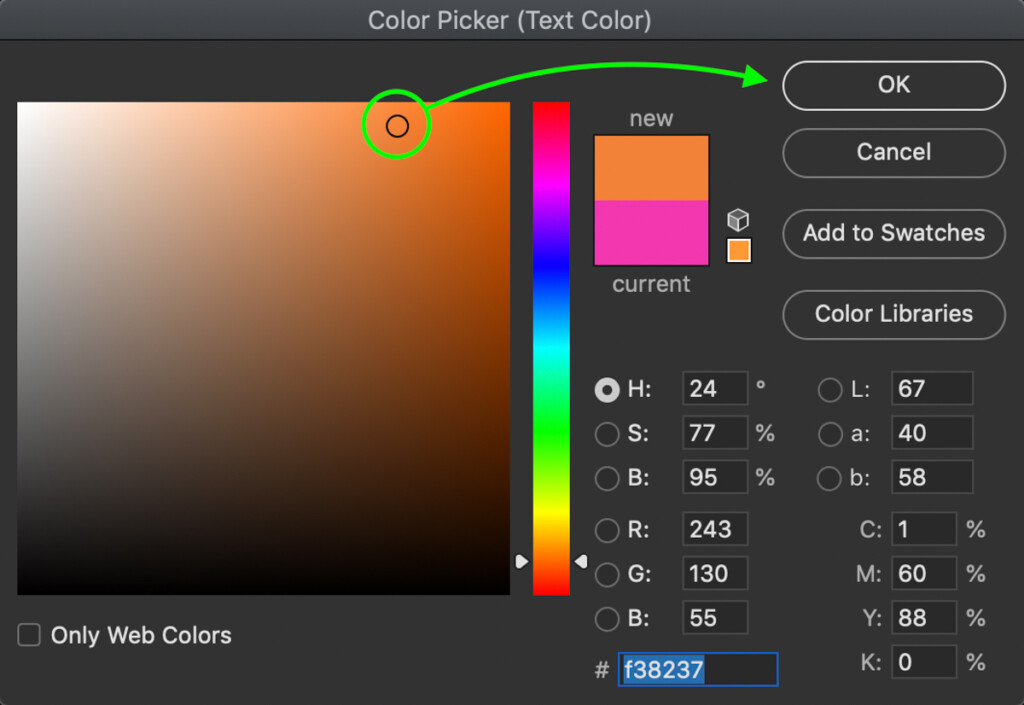
Now there are two pieces of text with two different colors!

You can repeat this process as many times as you want, highlighting whichever words you want to change the color of. It’s also possible to change the color of individual letters by highlighting just one letter rather than the whole word.
How To Change The Color Of Existing Text In Photoshop
To change the color of text that’s directly applied to an image, select the Magic Wand Tool and set your sample size to “5 by 5 average”, and uncheck the “Contiguous” setting. Click on the text you want to change the color of to create a selection around it. With a new active selection, go to Layer > New Fill Layer > Solid Color and choose a new text color. The selection will be applied to a layer mask, and your color fill will be applied to the text.
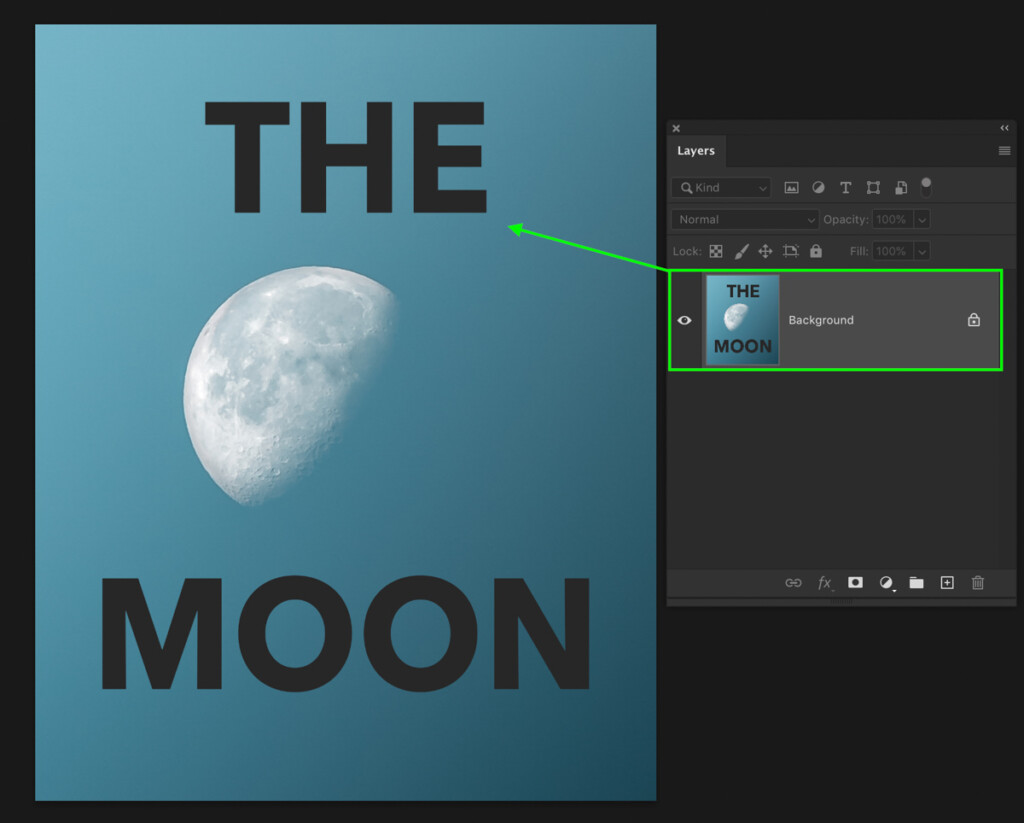
So you’ve learned how to change the color of the text as a whole, by individual words, or even by letter. In each of those steps, the text was sitting on a text layer that was easily editable at any time.
In some cases, you may need to change the color of text that’s already applied directly into the image. That means there is no text layer, only the image with the text baked in.
It’s still possible to change the color of the text, but it will require a little more manual effort to make it happen. This time we’ll need to make a selection around the text, then apply a color fill layer over top.
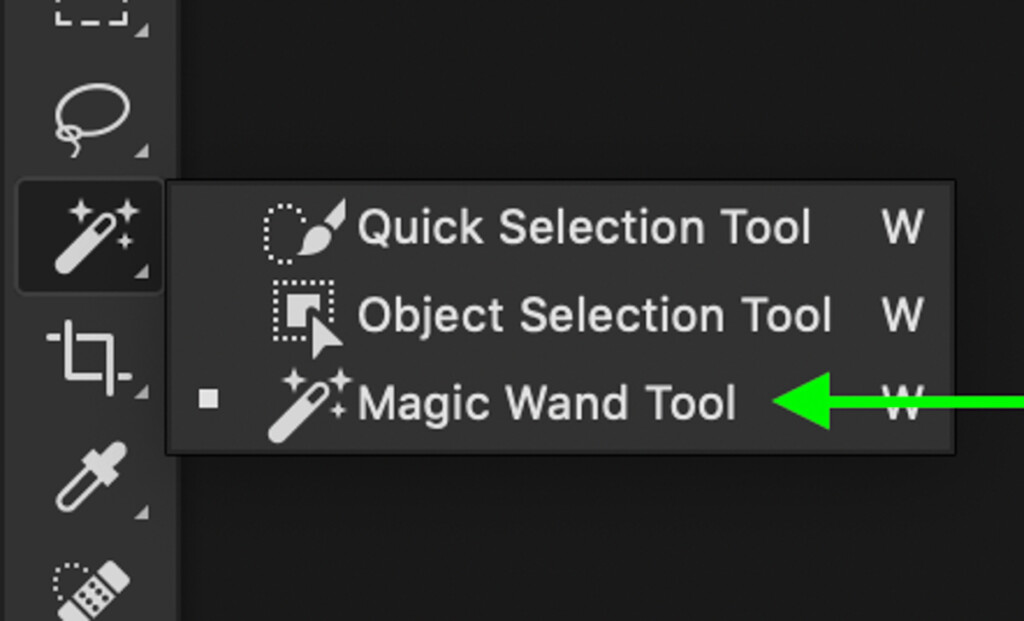
There are a variety of ways to make selections in Photoshop, but the Magic Wand Tool does a great job when needing to select a single color. In this case, the dark text is all one color, so this tool will make quick work of the selection.
First, select the Magic Wand Tool from the toolbar.
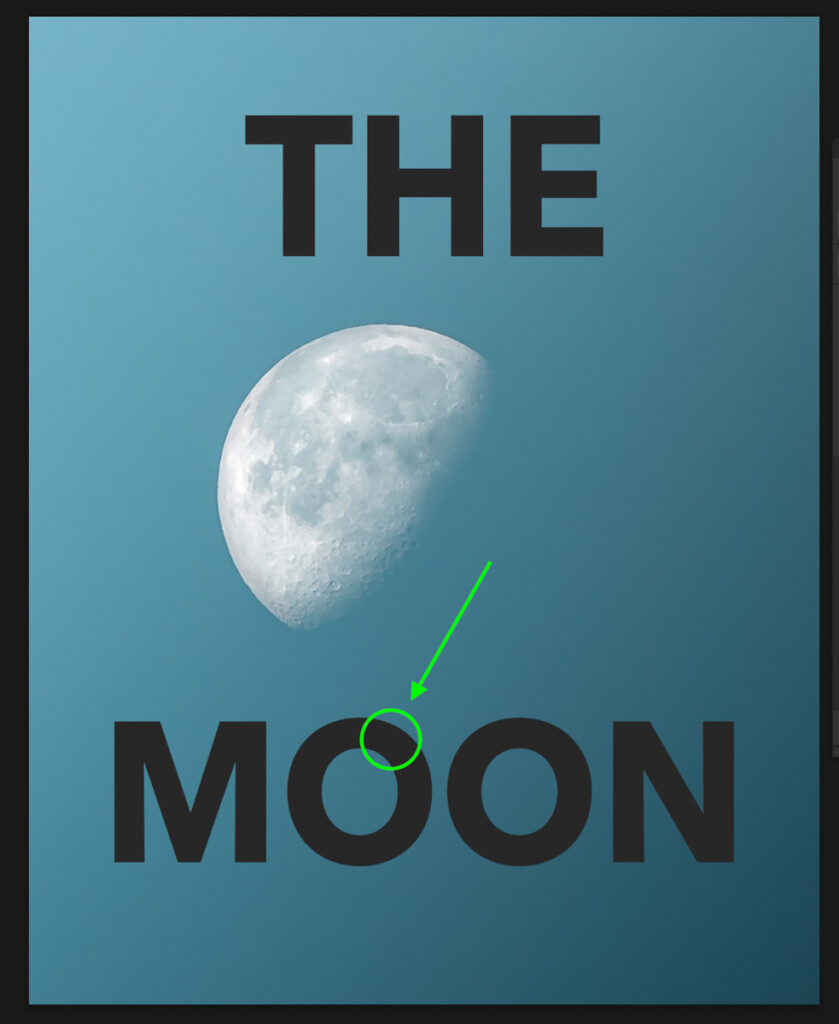
Make sure that the Sample Size is set to 5 by 5 average and Contiguous is unchecked.

With your image layer selected, click on your text to sample the color and create a selection. The Magic Wand Tool will automatically find similar colors and add them to the selection. Since all the text is one color, everything gets selected at once!
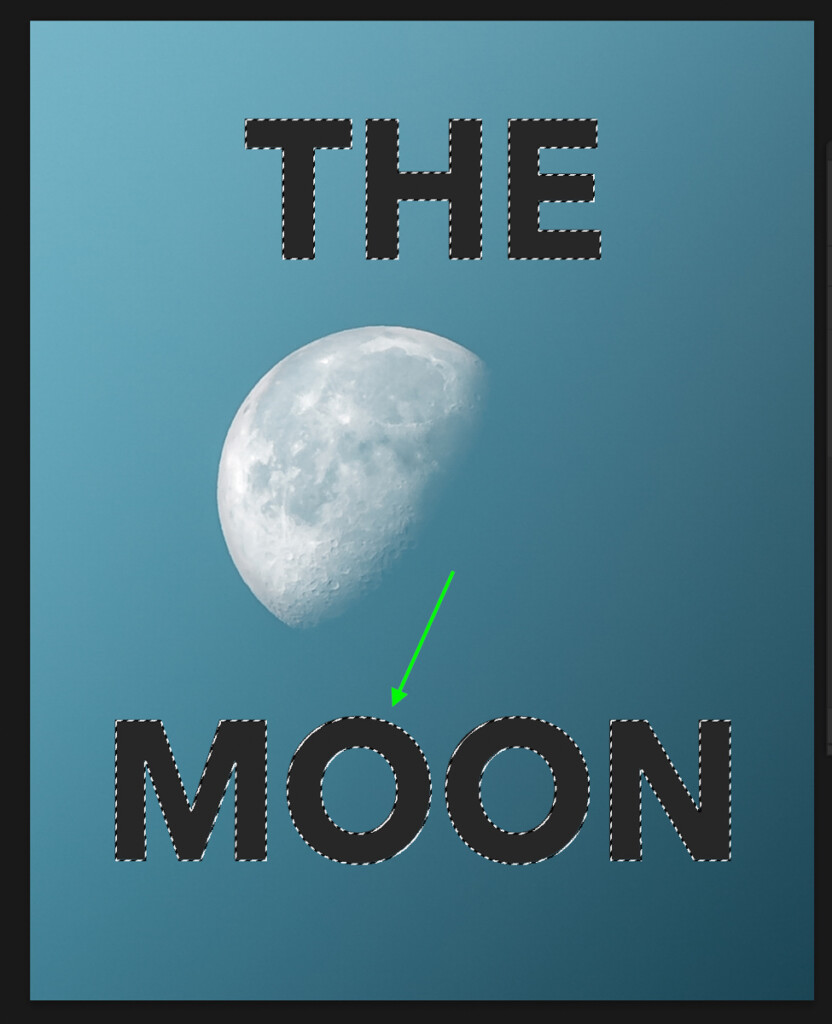
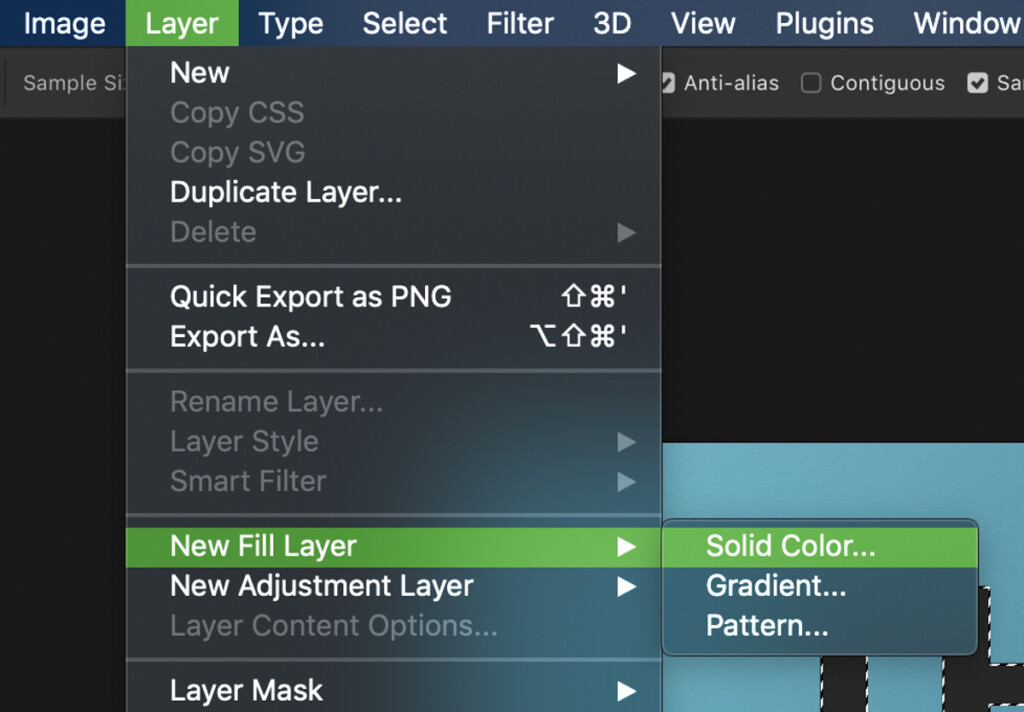
You’ll notice a black and white line around your text called marching ants, indicating the active selection area. With the selection made, go up to Layer > New Fill Layer > Solid Color.
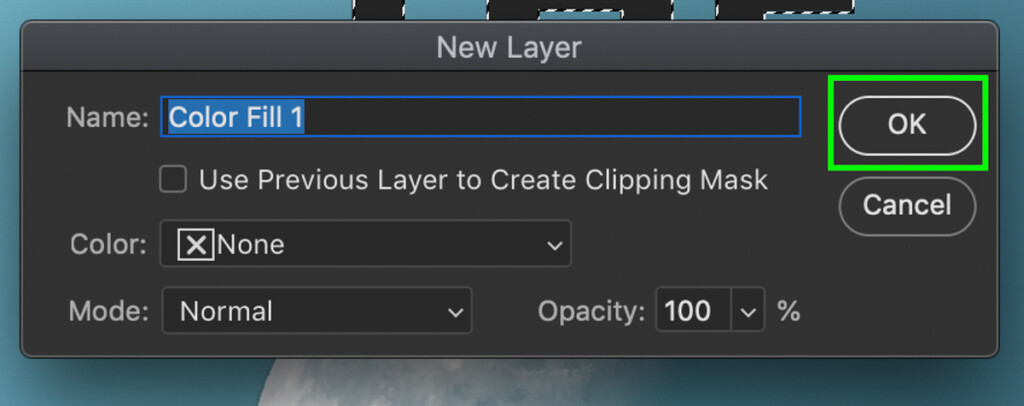
Click OK on the new layer dialogue box.
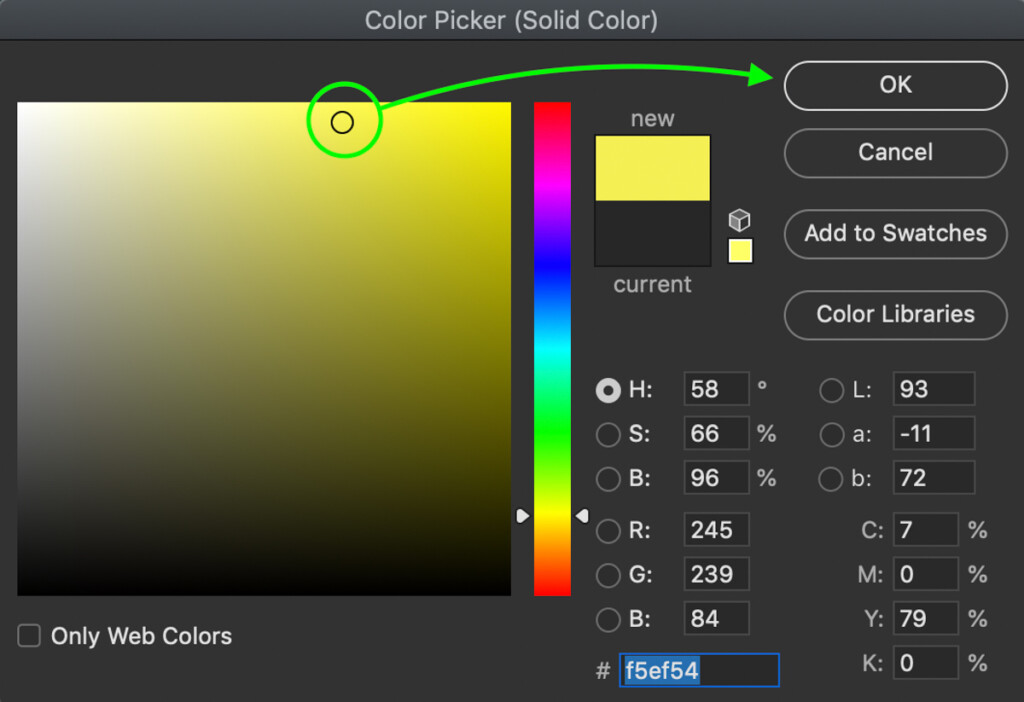
Now choose a text color from the color picker and click OK.
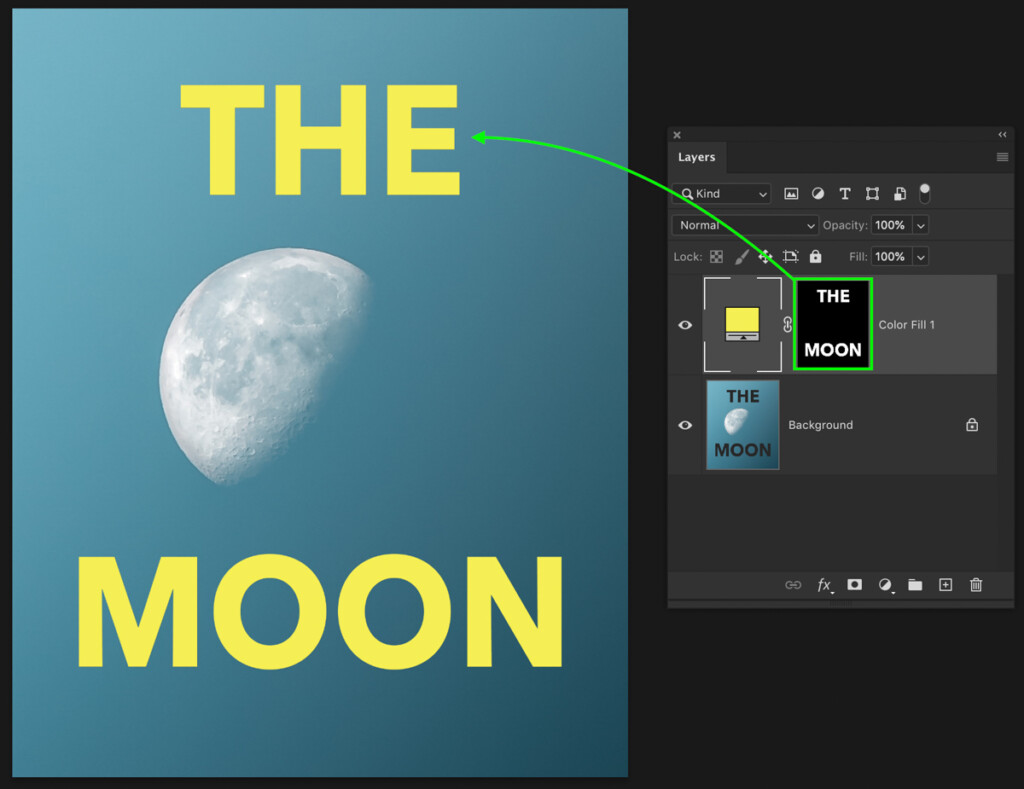
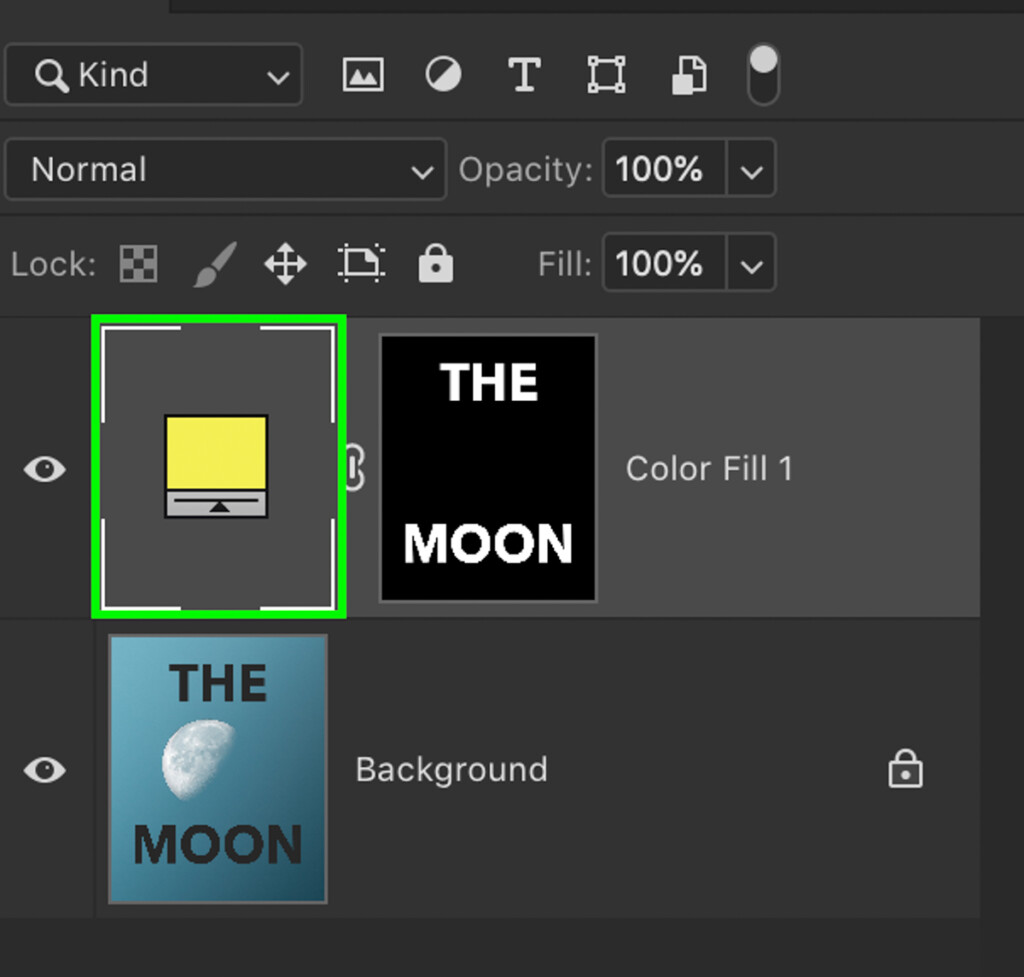
Your active selection will be automatically applied to a layer mask, and your chosen color will be applied to the text. Since the mask is only visible around the shape of your text, that’s the only place the color fill layer is applied. Now you’ve successfully changed the color of existing text in Photoshop!
If you want to change this text’s color later on, just double-click on the color fill layer to open the color picker once again. From there, you can pick a new color to apply to your text with ease since all the hard work is already done!
So that is how to change the color of text in Photoshop, whether you are working with text layers, individual letters, or text that’s baked into another photo. Besides choosing great colors, you can spice up your text even more by adding a gradient to it. To learn how to create this effect, check out this tutorial on creating gradient text in Photoshop!
Happy Editing!
Brendan 🙂


