Knowing how to underline text in Photoshop is a great technique to highlight particular words or phrases in your designs. This process works well for posters, flyers, and business card designs. You can underline text in a matter of seconds using this technique.
Here, I show you the basic technique to add underlines as well as some more advanced ways of adding an underline, including dotted or dashed text underlines!
How To Underline Text In Photoshop
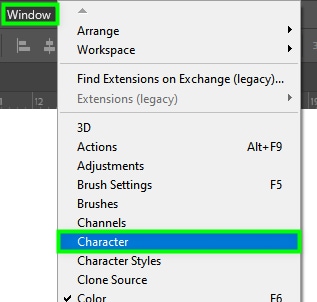
Step 1: Go To Window > Character To Open The Character Panel
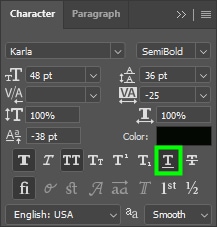
In order to underline text when creating text from scratch, you need to enable the underline option before creating your text in Photoshop. To do this, go to Window > Character.
Step 2: Enable The Underline Option By Clicking On The “T” With An Underline Icon
From the Character Panel, click the underline option.
Step 3: Activate The Type Tool (T) And Type Out Your Text
Then, activate the Type Tool from the toolbar (T).
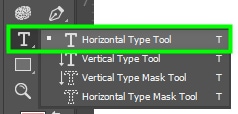
Once the Type Tool is selected, write your text on the canvas as you normally would, and your new text will be underlined.

Step 4: Select Existing Text And Click On The Underline Text Button (Optional)
If you want to underline existing text that is not yet underlined, do the following. Double-click the text to select it, or press Control + A (Win) or Command + A (Mac).

Next, go to Window > Character. Then, enable the underline option by clicking on the icon in the panel. The selected text will now be underlined.

Step 5: Create Dotted Or Dashed Text Underlines (Optional)
Select the Line Tool in the Shape Tool pop-out menu from the toolbar. Once the Line Tool is selected, go to the Stroke Type menu in the Options Bar and choose between dotted or dashed lines.
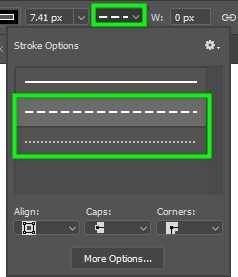
You can control how your dashed or dotted lines look by clicking More Options at the bottom of the panel. In the dialog box that appears, choose the dash length in Dash and the gap between the dashes in Gap.
For more personalized dotted or dashed underlines, I recommend you also play around with the Align, Caps, and Corners options. Then, you can click and drag a line underneath the text while holding Shift to keep the line straight.
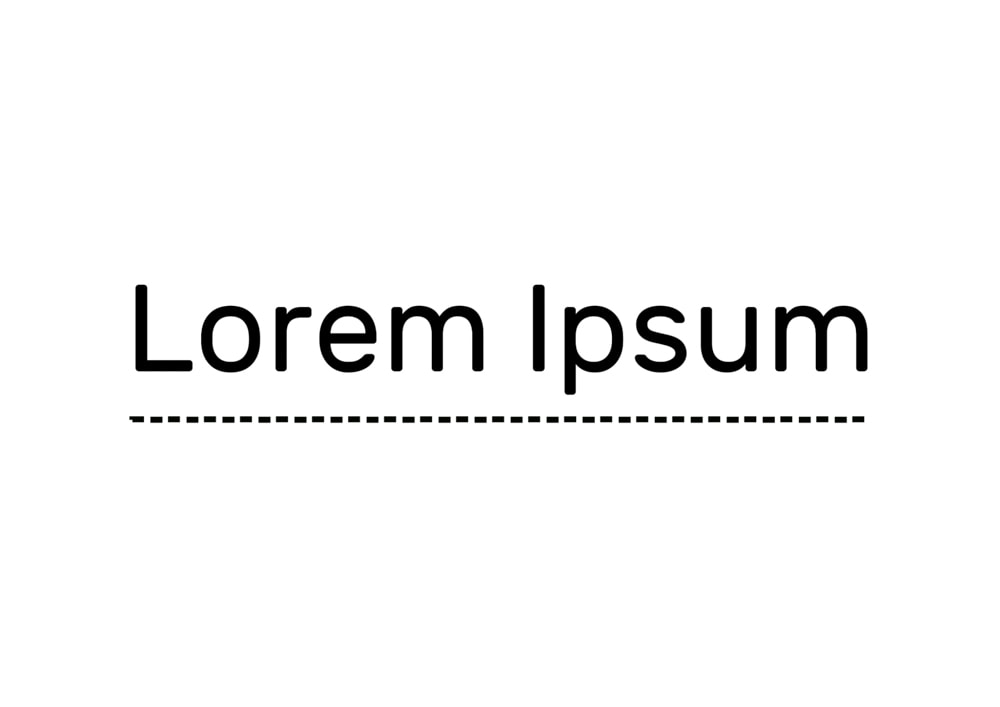
After creating your dotted or dashed underline, you can link the underline and the text layer to ensure the elements move and scale together.
So, with these different methods, you can quickly underline any piece of text in Photoshop. If you want to create dotted or dashed underlines, it will work best with a single line of text. For simplicity, underlining multiple lines of text is best done using the underline settings within the Character Panel.
Happy Underlining!