
Removing Green Screen In Photoshop
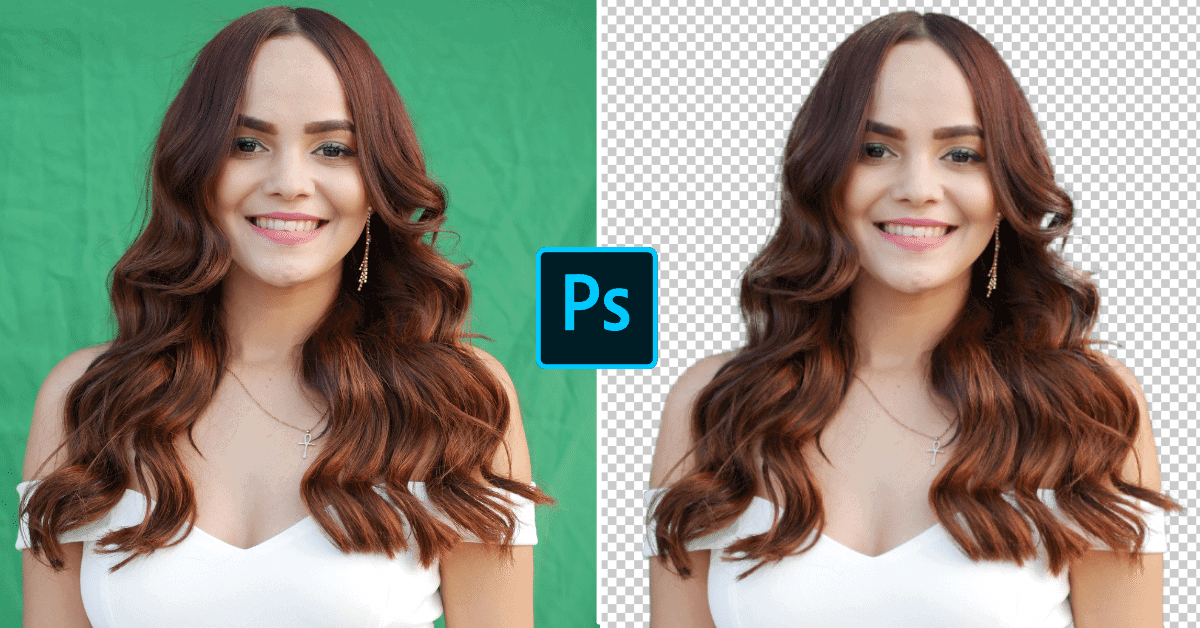
There are a variety of simple ways to remove green screen backgrounds in Photoshop. Since you only need to remove a single color, Photoshop can accurately select around your subject with ease. Although many tools would work to remove a green screen, one of the fastest is called Select Color. In this tutorial, you’ll learn how to use Select Color to remove a green screen in no time. After the initial selection is complete, I’ll then share an easy way to remove green spill from your photo using Select And Mask.
Let’s get started!
How To Remove A Green Screen Background – Step By Step
By following the steps below, you can quickly remove a green screen background from an image in Photoshop. For this tutorial, I’ll be using the select color method; however, you could use Channels or the Magic Wand Tool as well.
Select Color tends to do the best job and gives you more customization options, which is why I recommend it for this scenario! Here’s how it’s done:
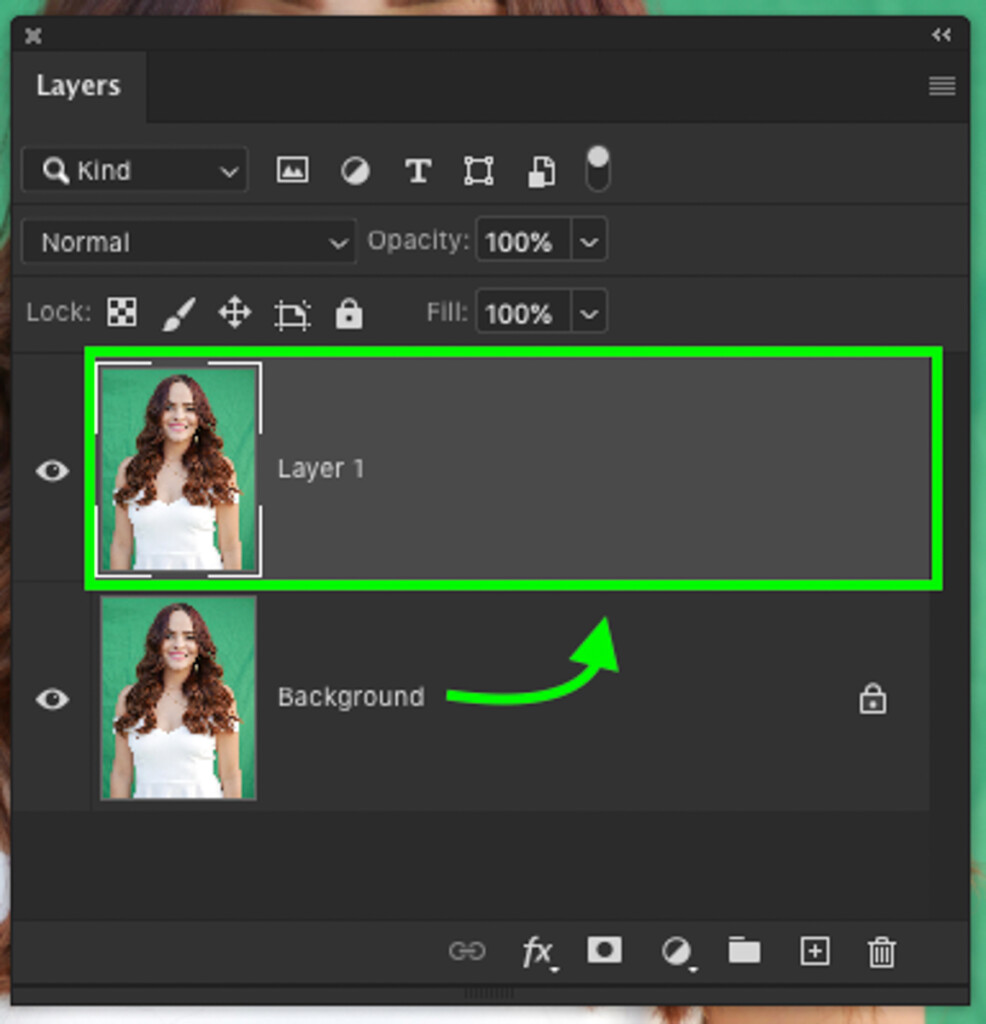
Step 1: Select And Duplicate Your Image Layer
To ensure you’re editing non-destructively, it’s helpful to always have a backup of your original image. By selecting your image layer, press Command + J (Mac) or Control + J (PC) to duplicate your layer.
Step 2: Go To Select > Color Range
With your newly duplicated image selected, go to the top of your window and choose Select > Color Range.
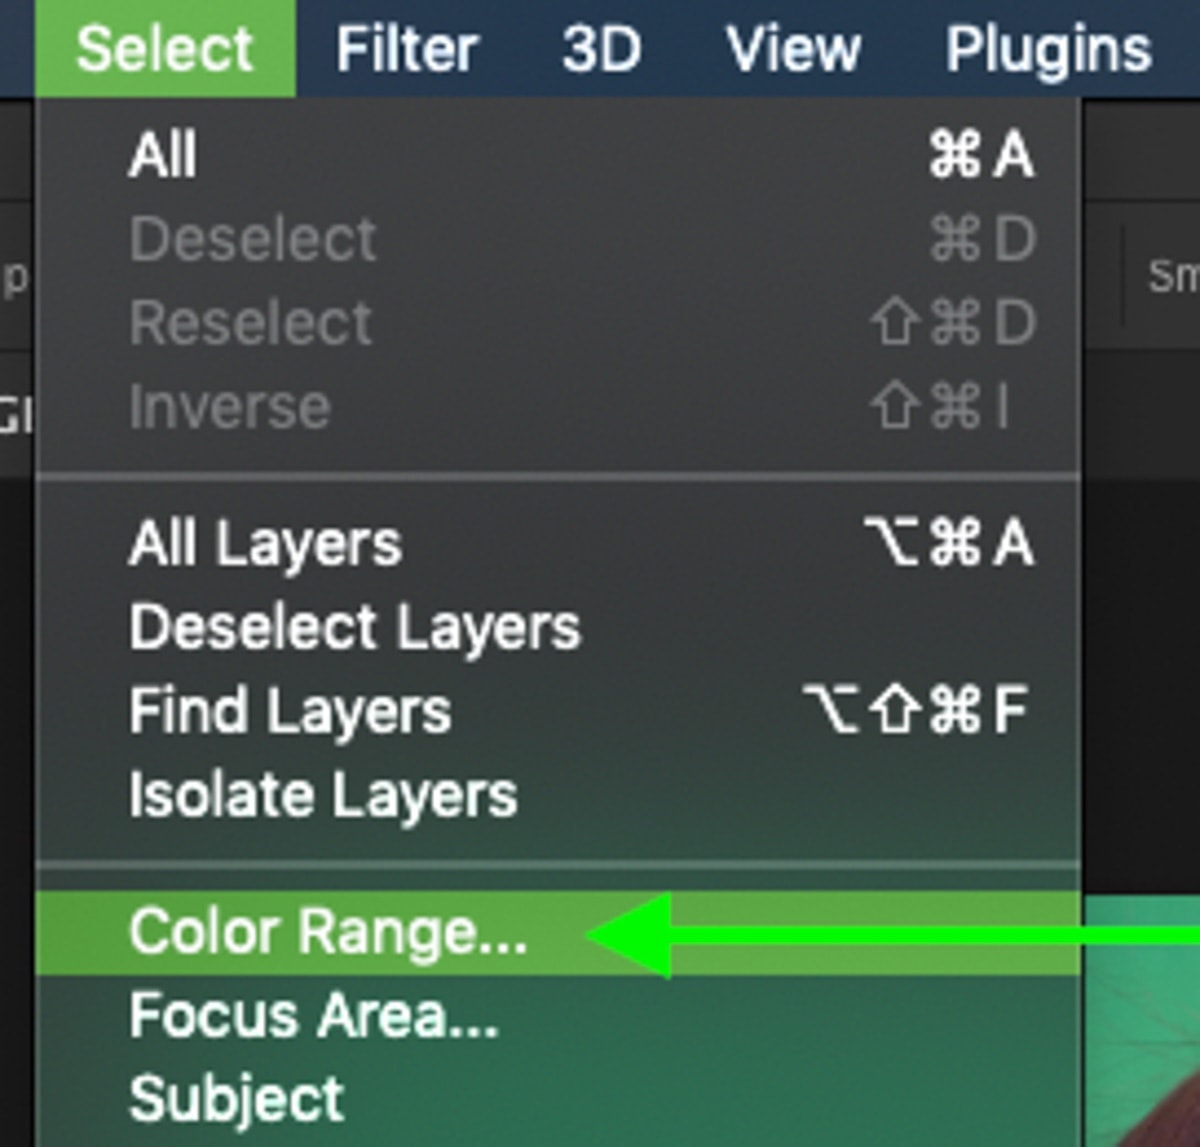
This will open the color range dialogue box where you can begin to select and remove the green screen color.
Step 3: Sample The Green Screen Background To Select It
If you aren’t familiar with removing backgrounds with select color, let’s quickly explain how it works. Unlike other selection tools in Photoshop, this method uses sampled colors to create selections. By grouping various hues, Photoshop can tell the difference between edges in your photos and ultimately make a selection.
In the case of keying out a green screen, there’s no better tool for the job! If you want to learn more of the specifics, I discuss the tool more in-depth in this post.
To make life easy, set the dialogue box preview to “Selection” and change your selection preview to “None”. That way, you can see what’s being selected while still making all of the green easily visible for sampling.
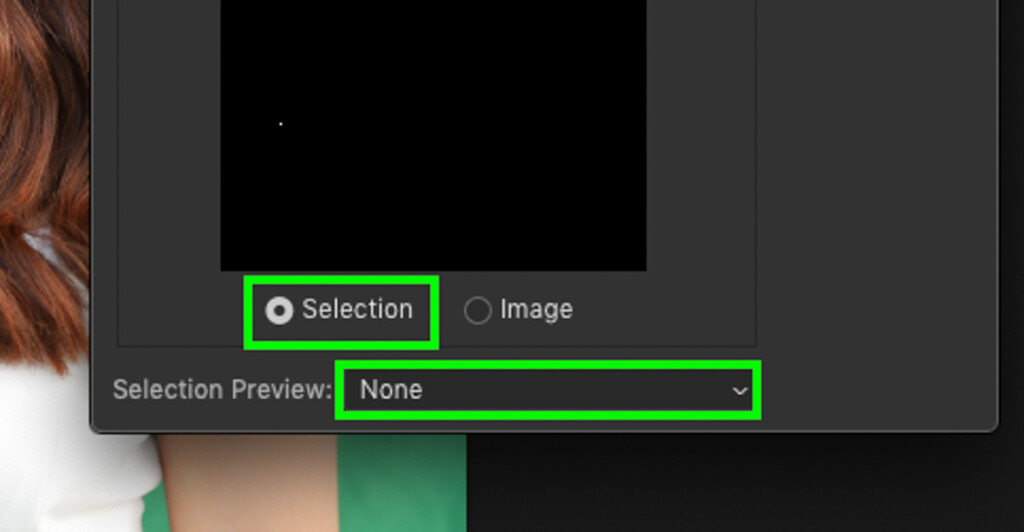
Looking at the dialogue box preview, it works exactly like a layer mask. Everything that is white is visible, while everything that is black is transparent. The goal when removing a green screen is to sample the different colors in the background. Photoshop will easily separate the two and divide them into black (invisible) and white (visible) based on the samples.
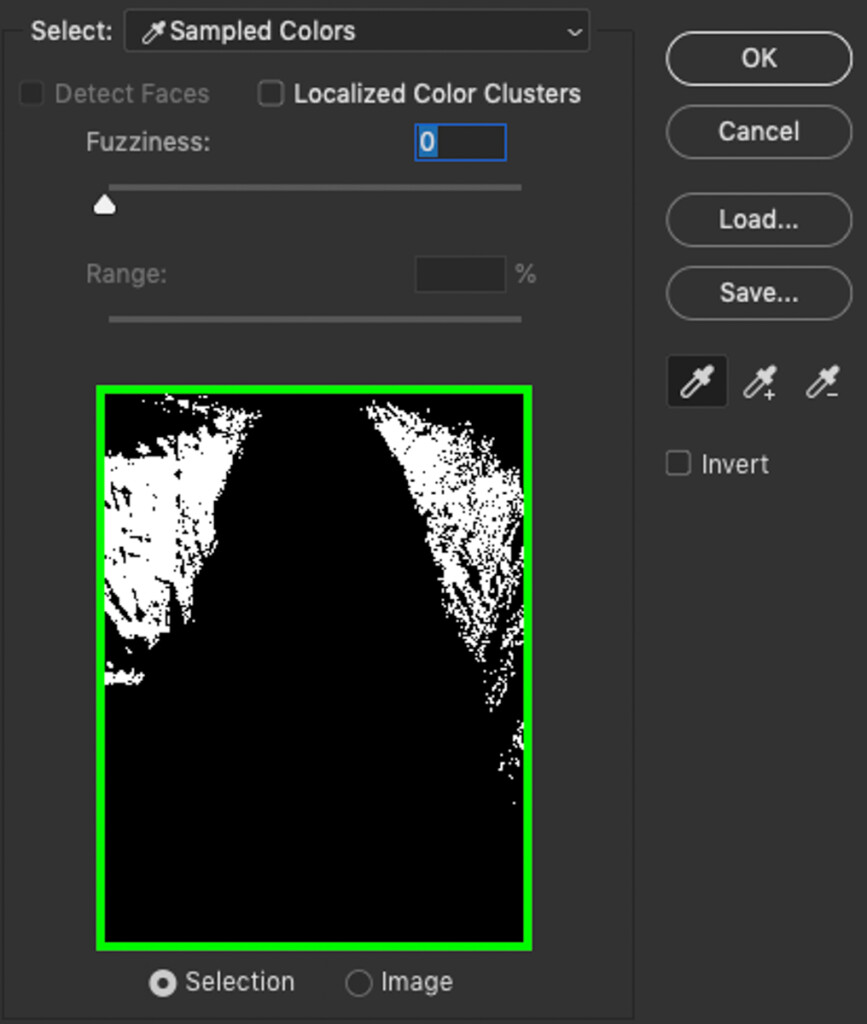
To sample a color, make sure the Eyedropper Tool is selected and click anywhere on the background of your image. After sampling, you’ll see which areas have been selected by looking at the dialogue box preview.
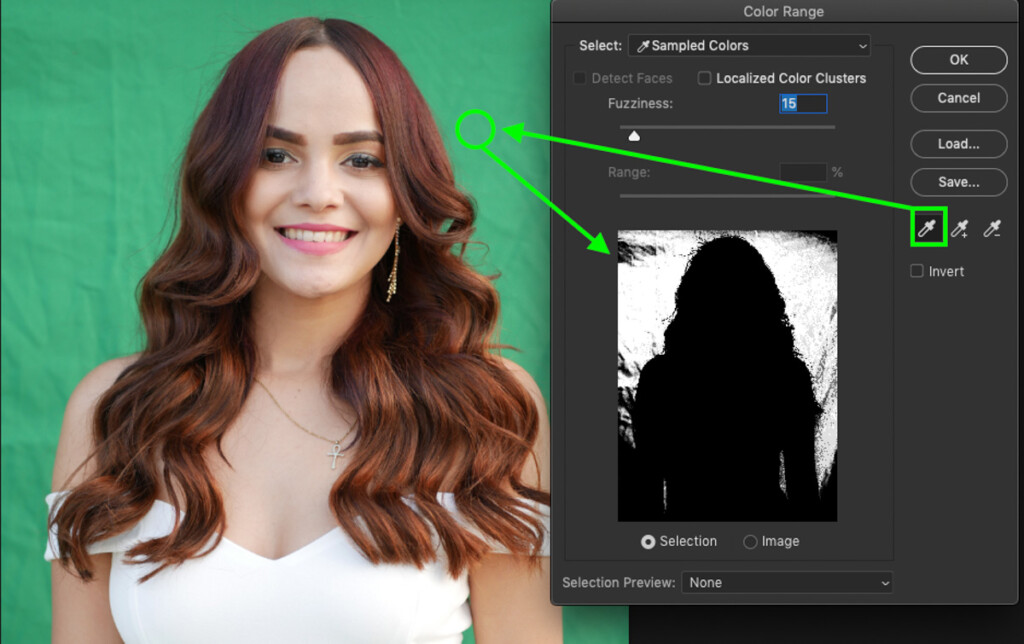
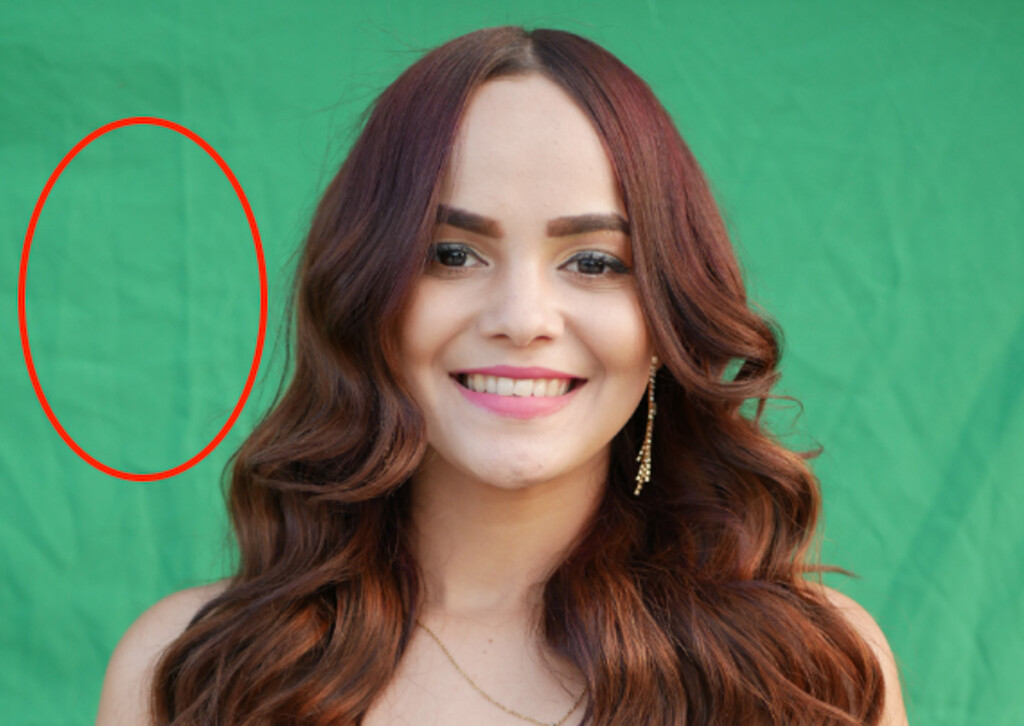
In this example, the background has a few creases and shadows, giving me different shades of green, so it didn’t select everything first go. That means I’ll need to add to my sampled area.
To add to your sample, hold the Shift Key and continue to click around on the background. You can even drag your cursor to make things even easier. If you accidentally sample an area you want to exclude from your selection, hold the Alt or Option key to subtract from your sample.
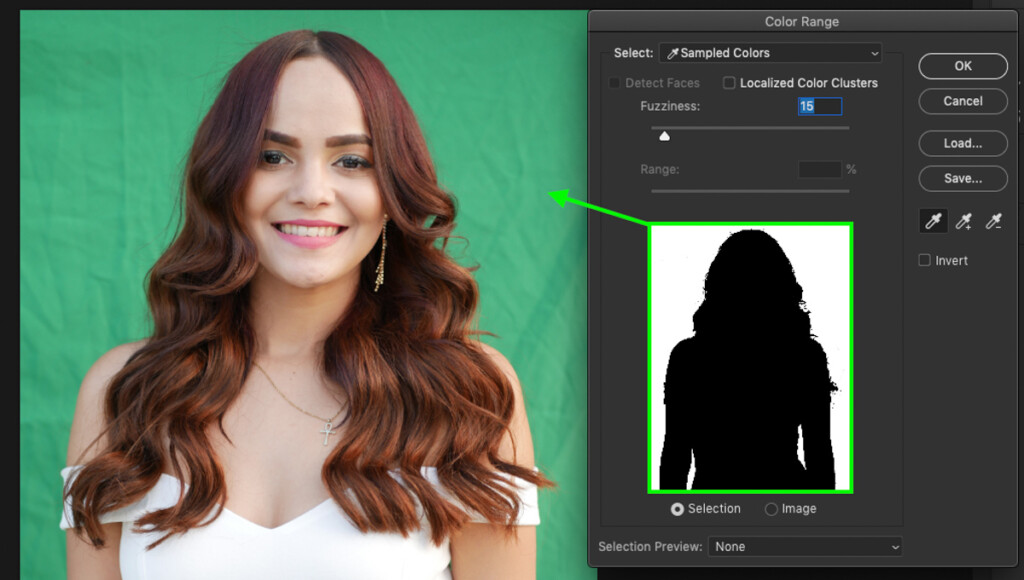
At this point, the entire background should look white in the dialogue box preview, indicating all of the green is selected. Now it’s time to refine your sampled area.
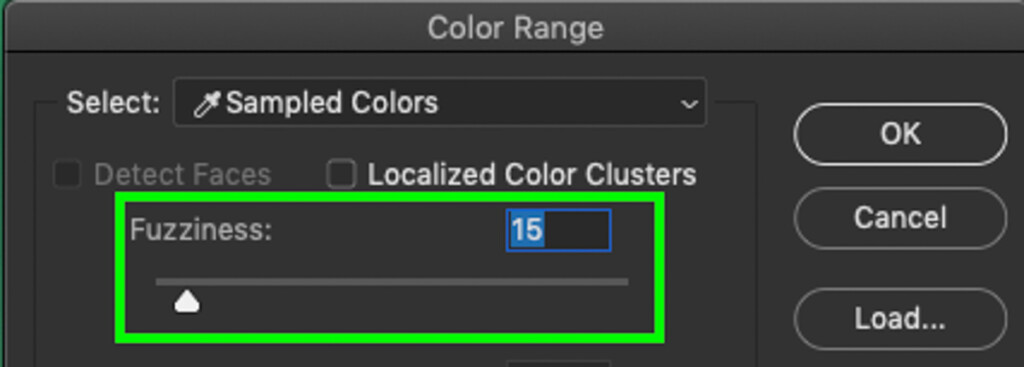
Step 4: Adjust The Fuzziness Value
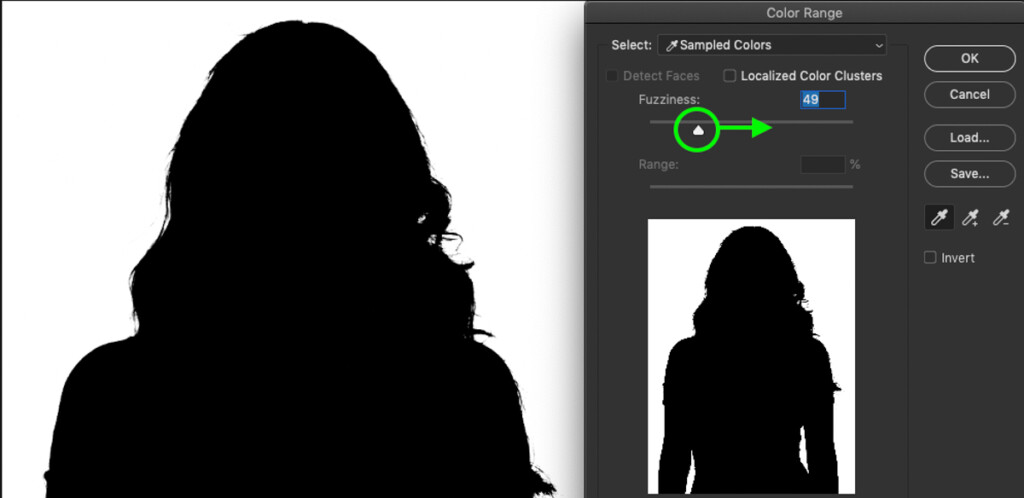
At the top of the color range dialogue box is a slider labeled “Fuzziness.” This controls how much tolerance Photoshop will have between the sampled colors and similar hues. By increasing the fuzziness, you can get rid of green screen spill or get a more accurate selection around the hair.
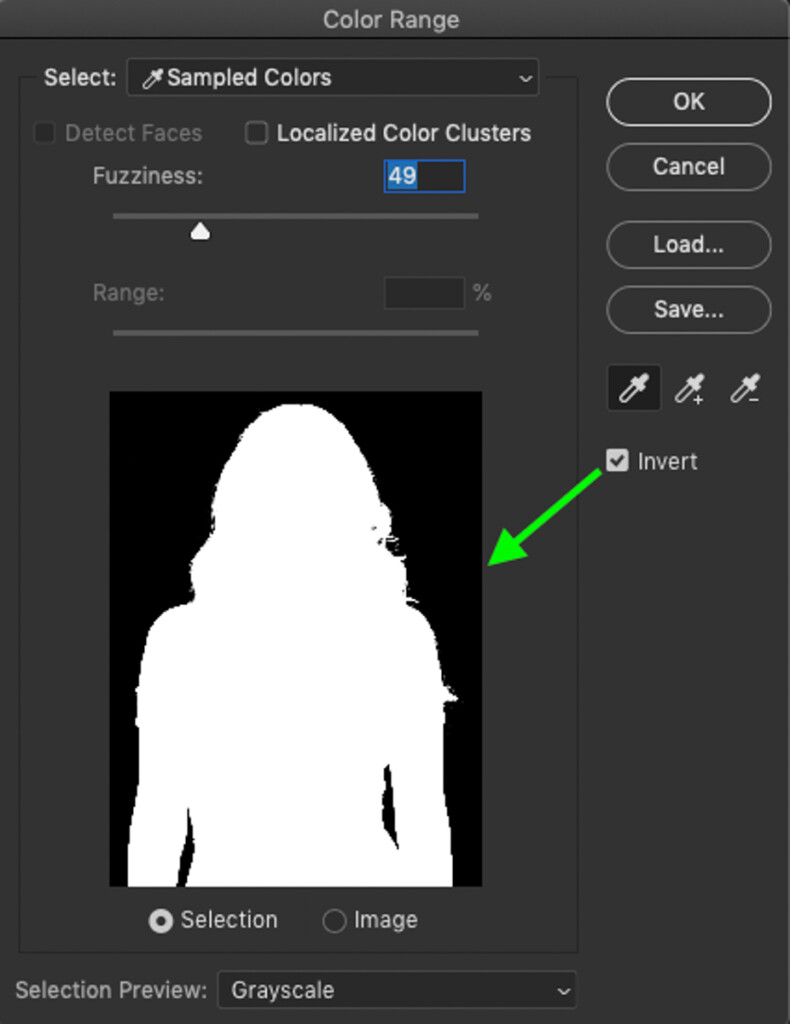
There isn’t any right or wrong setting for this, as it depends solely on the image you’re working with. To help you get a better idea of how your selection is looking, take a moment to change the selection preview from None to Grayscale. This way, you can easily see how the fuzziness slider affects the selection area.
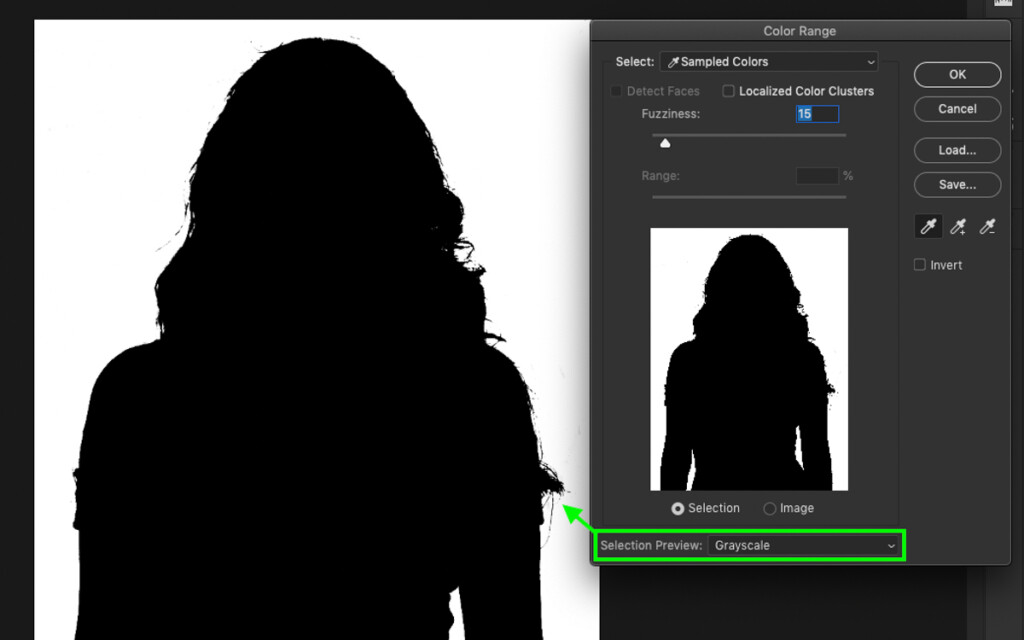
Ultimately, you want to adjust this slider until you’ve refined the selection without losing too much detail. For example, if I were to go too crazy with this slider, I would lose the flyaway hairs that make the cutout look realistic. Aim for as good as you can, without losing information from the image.
Step 5: Invert Your Selection Preview
Since you’ve sampled the background, you’ll have the opposite of what you want to be selected. To switch this around, simply check off the Invert option on the color range panel’s right side.
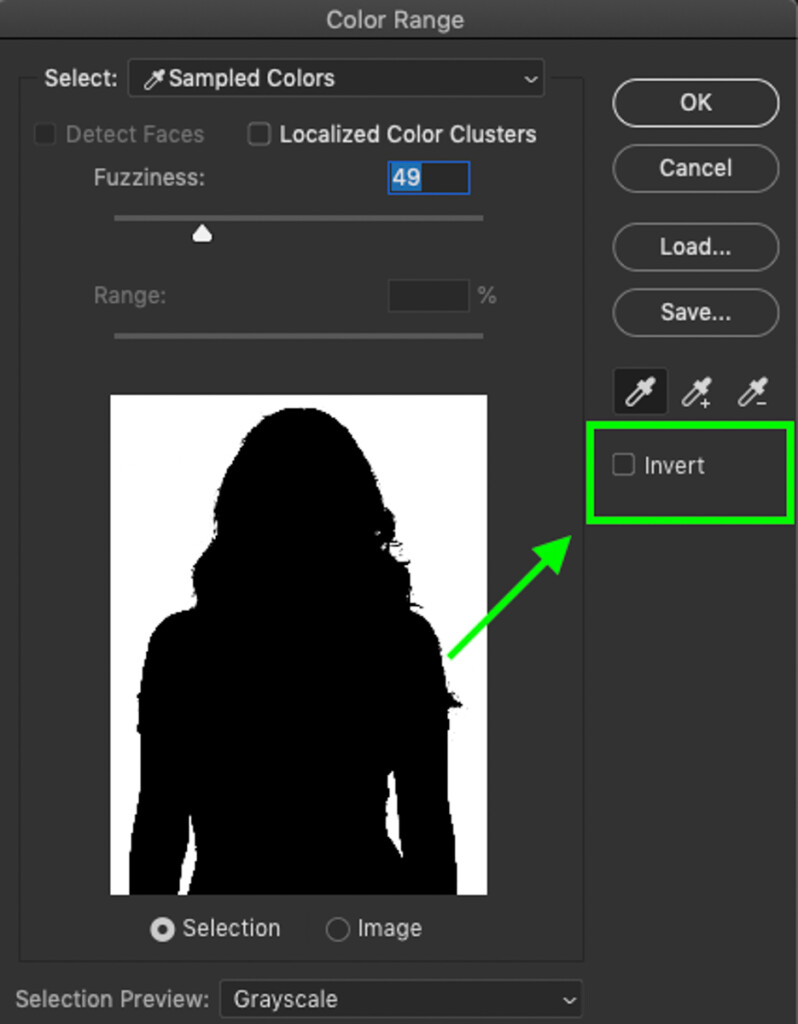
Your subject will become white (100% visible) while the background will become black (100% transparent).
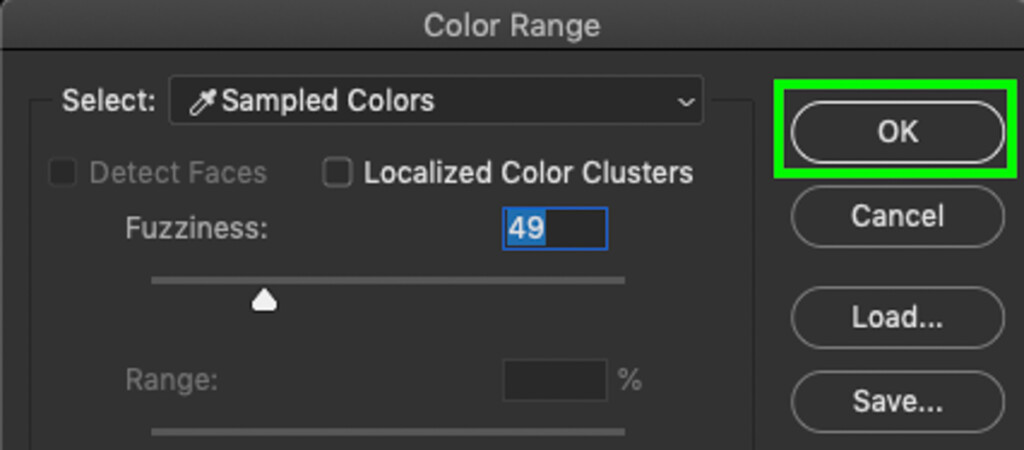
Click OK to commit to your changes and create a new selection.
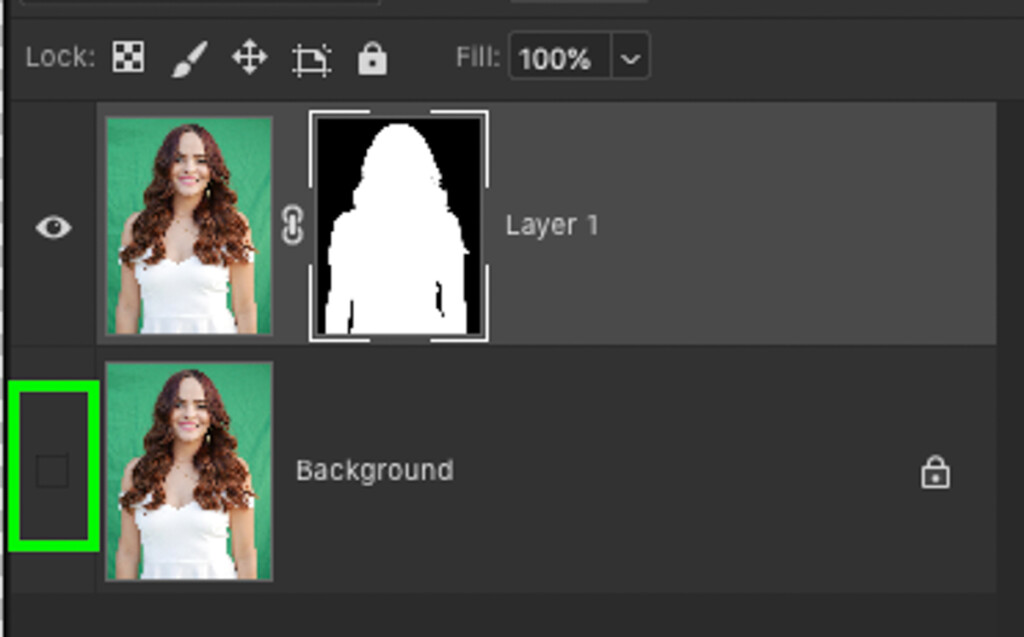
Step 6: Add The Active Selection To A Layer Mask
With your active selection, make sure your previously duplicated layer is selected, and click on the layer mask icon.
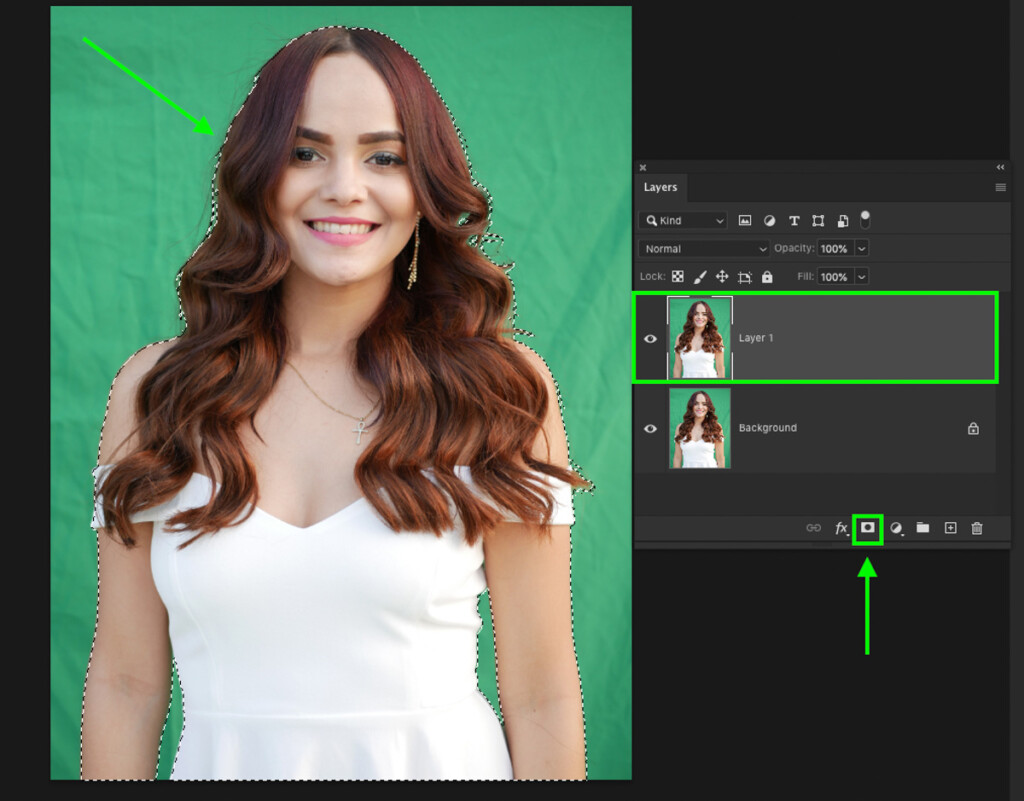
The selection will automatically be applied to your layer mask, and the green screen background will be removed.
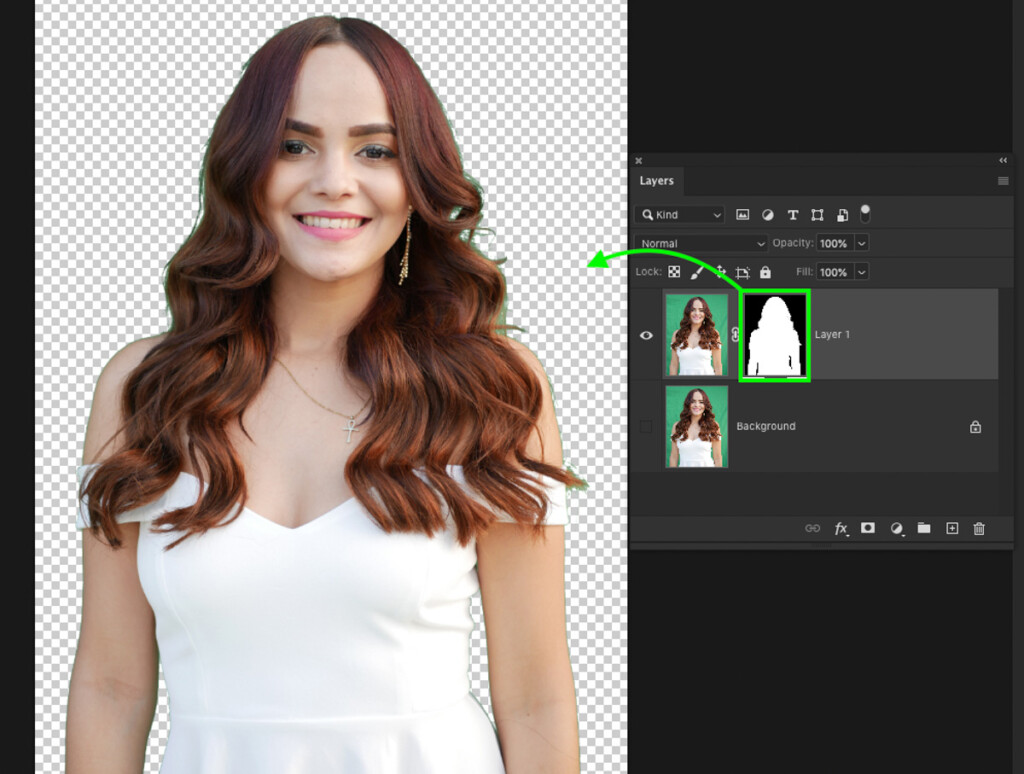
Also, be sure to turn off your backup layer’s visibility, so it doesn’t show through in the background!
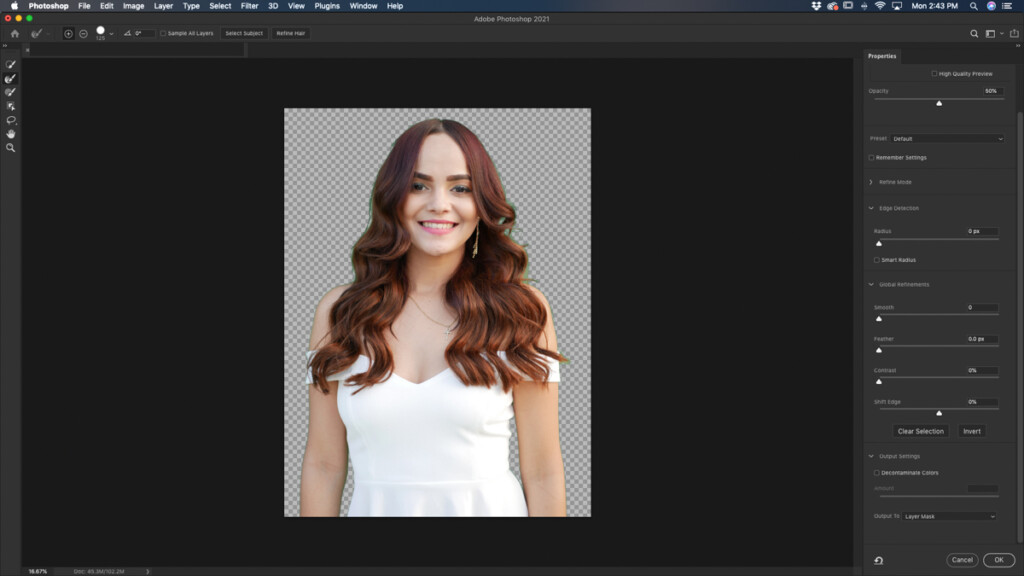
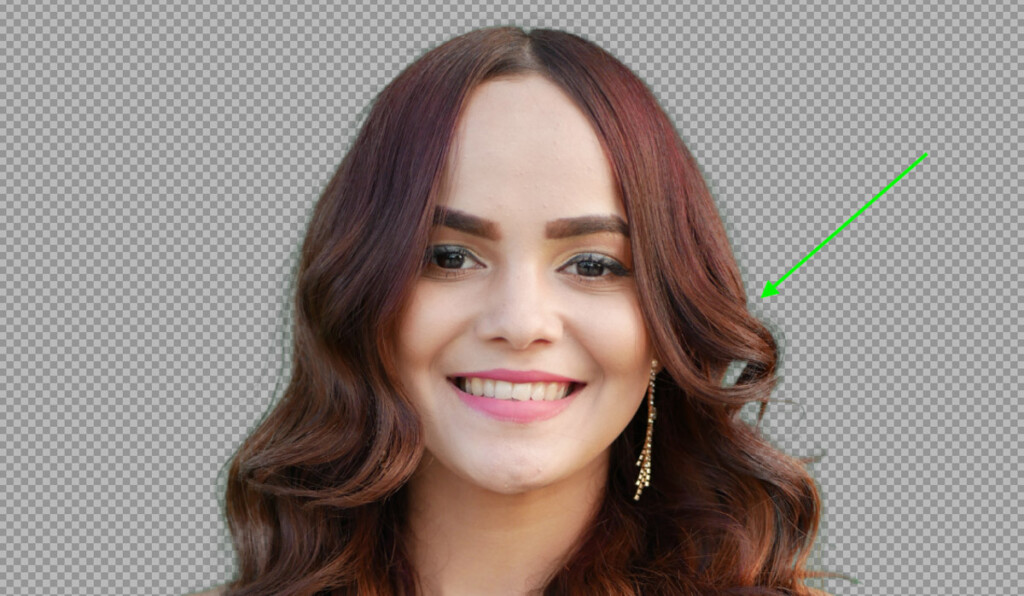
– The Result

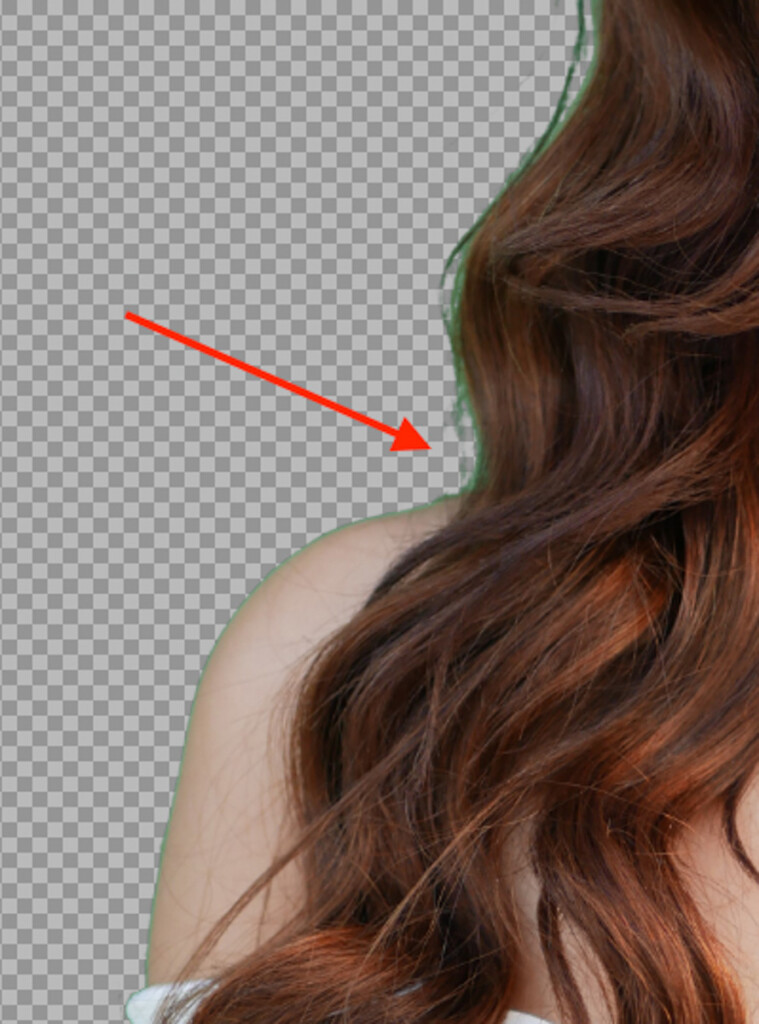
Now you’ve gotten rid of the green screen background from the photo, but it’s likely there is a lot of spill left over. This can happen from light reflecting off the backdrop and coloring your subject with a green hue. This is particularly common around the edges of things, such as the arms and hair of this model.
Obviously, this doesn’t look very good and makes it obvious that this was photographed on a green screen. In the next section, we’ll go through how to use Select And Mask to remove any of the remaining green screen spill!
How To Remove Green Screen Spill
Select And Mask is a powerful tool in Photoshop for refining edges and making more accurate image cutouts. Using the refine edge brush tool and some automatic refinement options, you can quickly eliminate green screen spill.
Step 1: Open Select And Mask
To access Select And Mask, double click on the layer mask of your image layer.
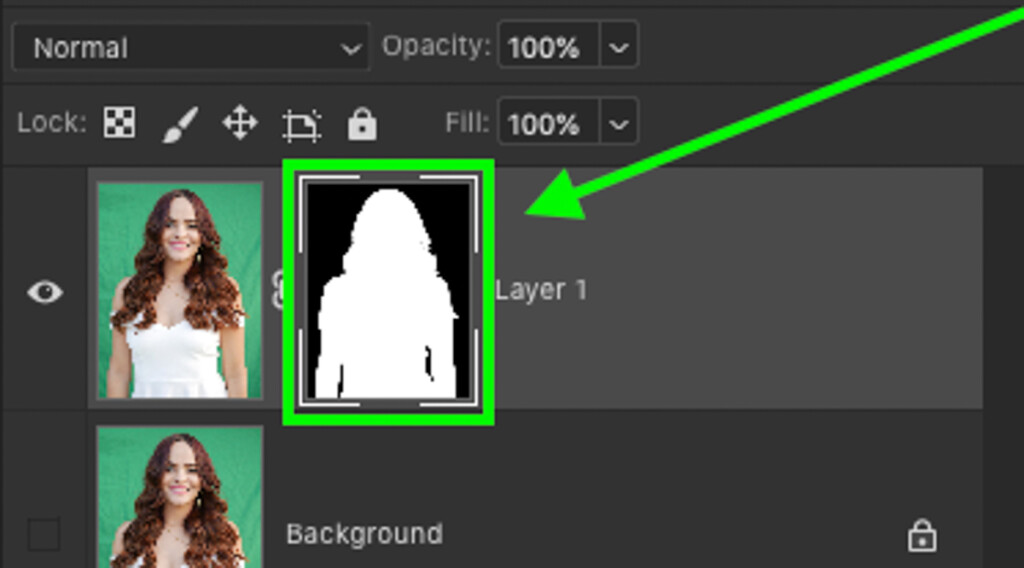
A new window will appear with a variety of new tools and settings. This is called Select And Mask!
Step 2: Set Your Edge Detection To “Smart Radius”
Before you begin refining anything, go to your edge detection tab and check off the Smart Radius option.
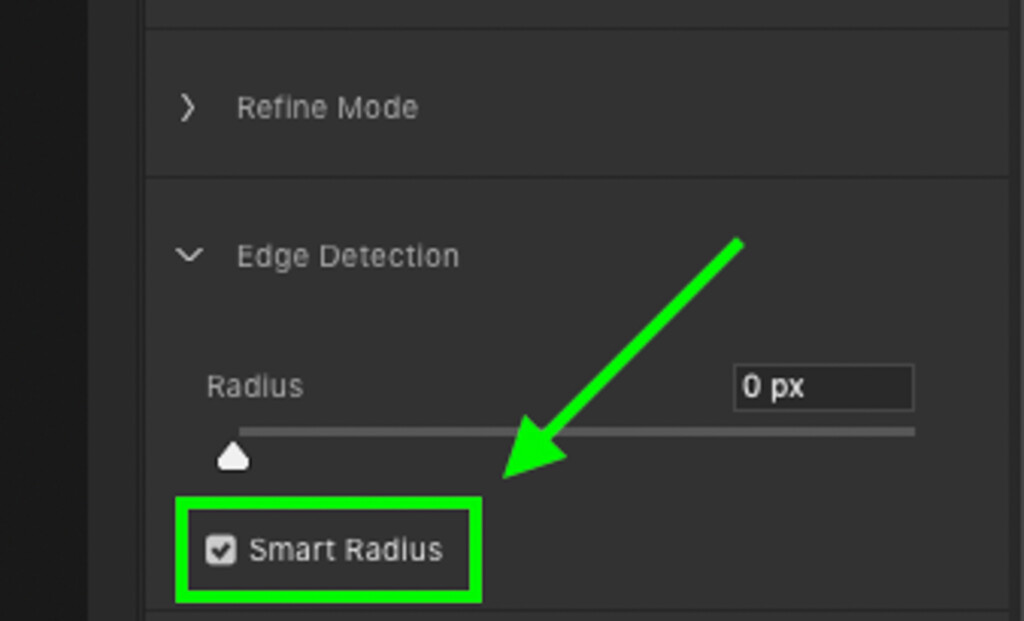
Smart Radius automatically adjusts the hardness of your brush depending on the edge you’re near. In layman’s terms, it improves Photoshops edge detection capabilities. This proves extremely useful for the next step with the Refine Edge Brush.
Step 3: Paint Over The Green Spill With The Refine Edge Brush
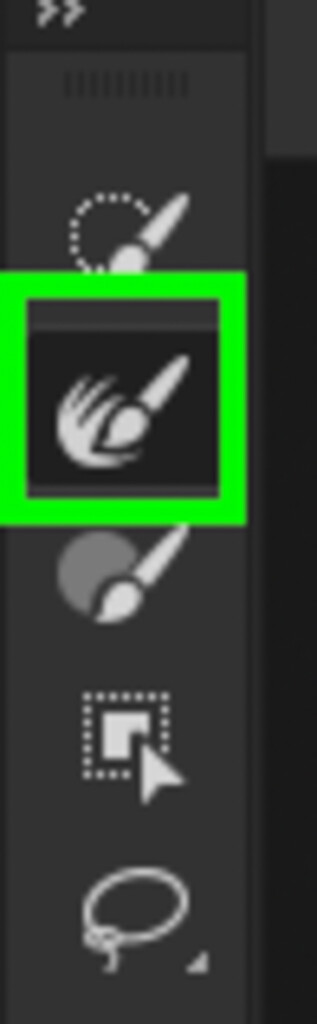
First, select the Refine Edge Brush Tool from your toolbar.
This tool operates just like any other brush-type tool in the program. If you need to change the brush’s size, just use the [ or ] keys to scale it.
Begin by painting over any areas that have been affected by the green spill. You may also need to paint over areas that the previous color range option didn’t properly select in some cases.
As you paint around your subject, Photoshop will automatically refine the edge for you. You can even paint around strands of hair to get rid of any green glow that’s around them!
If you are working with an image like mine, there is an easier way to select the hair than using the Refine Edge Brush. In recent versions of Photoshop (2020 and newer), you’ll find a Refine Hair button in the upper settings bar. Simply click on this button, and Photoshop automatically eliminates the green spill around strands of hair!

Talk about a time-saver, am I right?
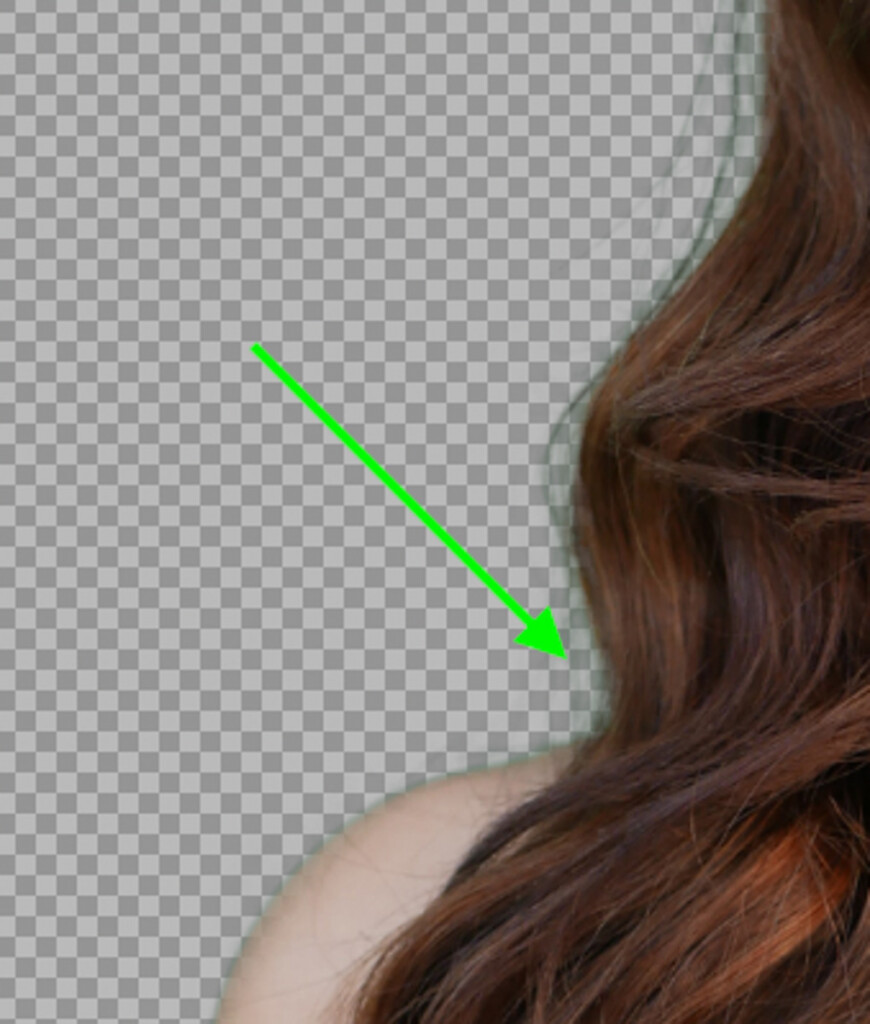
Continue to go along the edges of your subject until most of the green spill is gone.
Step 4: Shift The Selection Edge Inwards
If you still have a bit of green leftover, you can use the Shift Edge slider within the Global Refinements Tab.
Decrease the edge value to a negative percentage to bring the selection edge inward from its original position. This helps to get rid of the green fringing and further refine the cutout.
Step 5: Check-Off Decontaminate Colors (Optional)
This final step is optional, as it helps some images while not so much for others. This setting further eliminates the fringing in your photo and is a perfect final option for getting rid of that green spill.
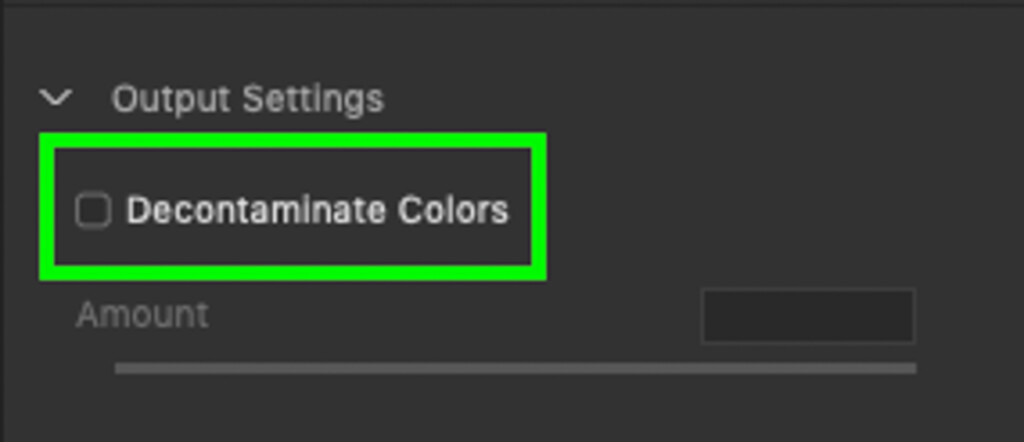
You can find this setting at the bottom of the Select And Mask adjustment bar and can select it by checking it off. Try it out and see what effects it has on your photo. After all, if it doesn’t work out, just uncheck it afterward!
Step 6: Choose Your Output Options And Click OK
With all your settings in order, select your output options for your selection adjustments. You can apply them directly onto your existing layer mask, add them onto a new layer mask, and more. By clicking on the drop-down menu, you’ll find all of the options available for your image.
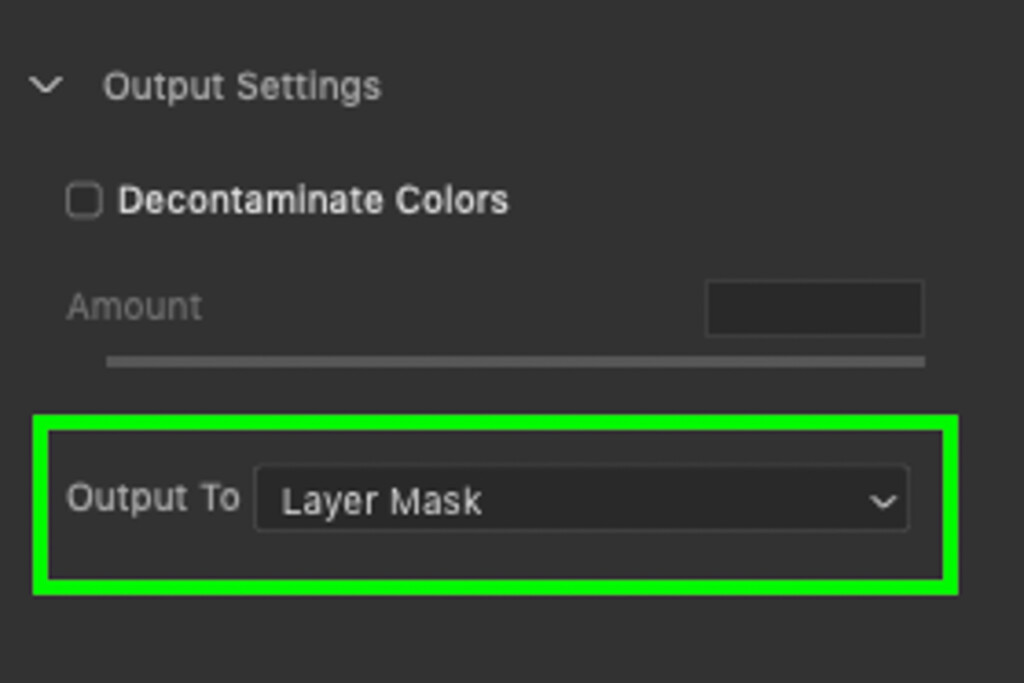

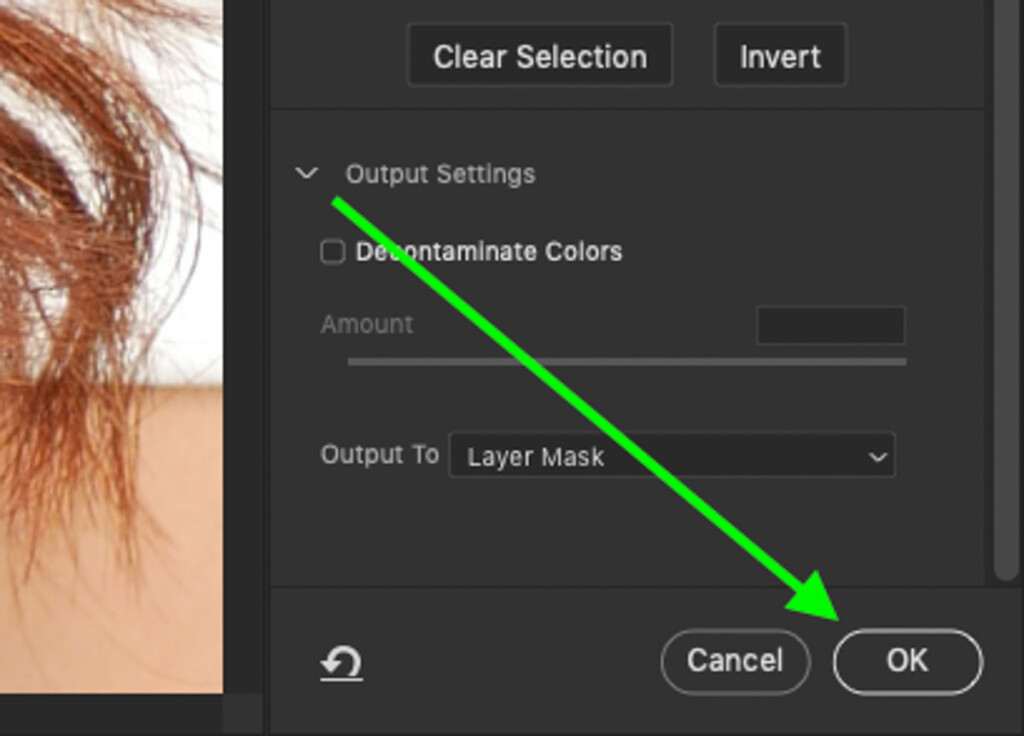
Since I don’t want to have an extra layer, I’ll set the output option to “Layer Mask” so the changes will apply to the mask that already exists.
Finally, click OK to commit to your changes!
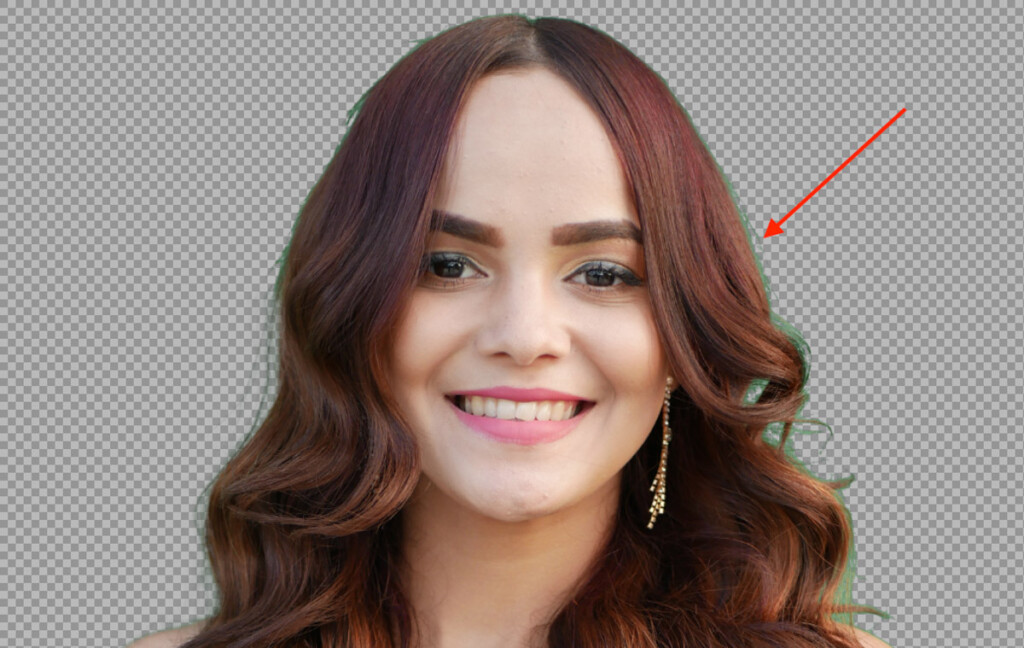
– The Result
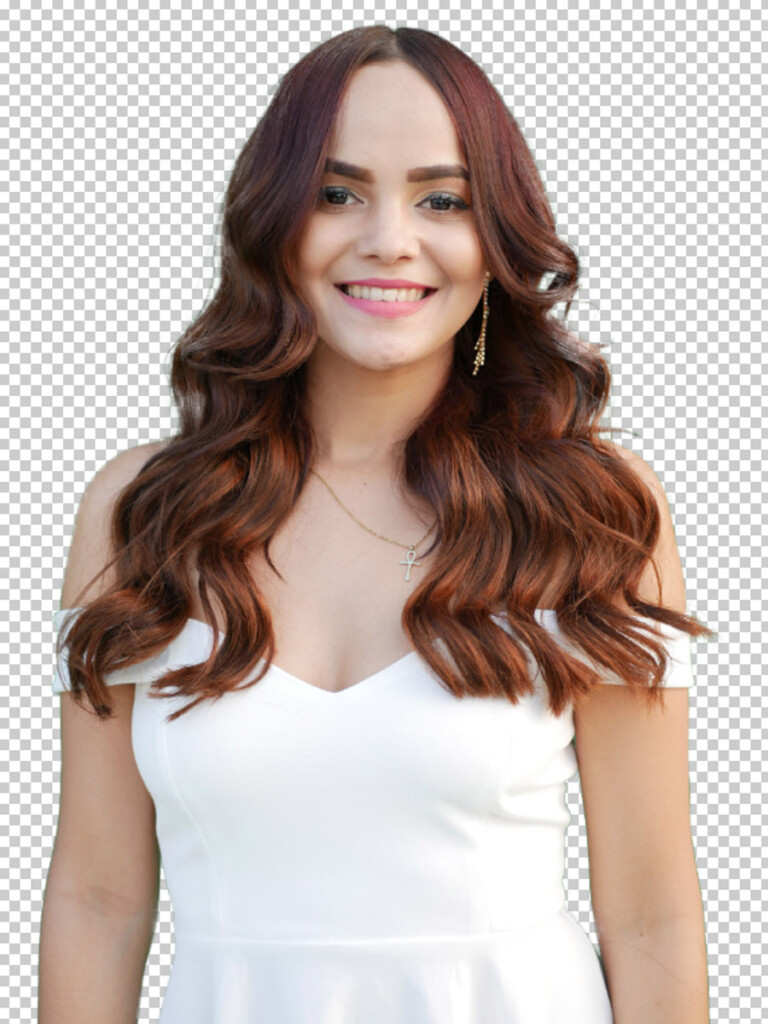
Now the green screen has been removed from the background, and you’ve gotten rid of the green spill around your subject! With a perfect cut out, you can easily change the background or add your subject into other images.
If you simply want to add a new background image to your photo, just drag and drop your background image into the project and place it below your cutout.
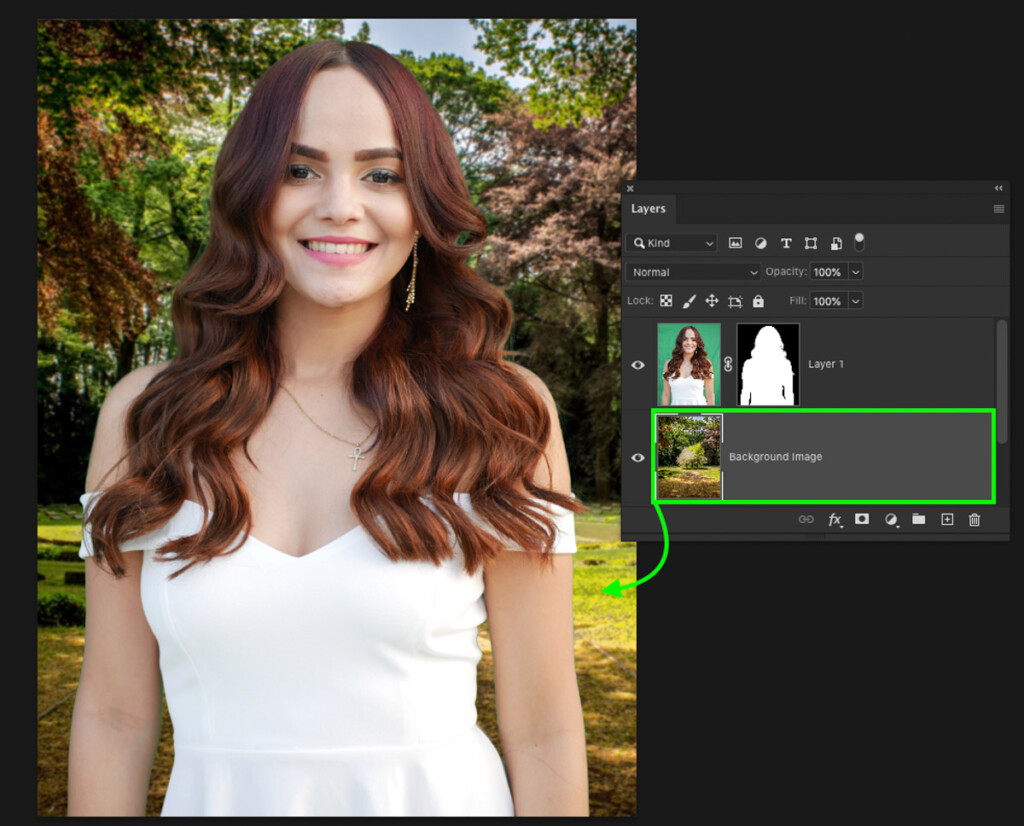
Now you have a new background, and you’ve successfully gotten rid of the green screen using Photoshop. Score!


Happy Editing,
Brendan 🙂


