
An easy way to draw your viewer’s attention or isolate your subject is to create a vignette in Photoshop. Luckily, there are 4 easy ways you can add this effect to your images, whether you want a classic darkening around the edges or a less traditional color vignette.
In this tutorial, I’ll show you my favorite methods to add a vignette to your images, offering you different levels of control and customization for you to create the effect you want.
Let’s get started!
Option 1: Add A Vignette Using Lens Correction
Using the Lens Correction filter in Photoshop, you can create vignettes with the click of a slider.
Note: If you want to create the effect non-destructively, first convert your layer to a smart object. Otherwise, the changes will be permanent.
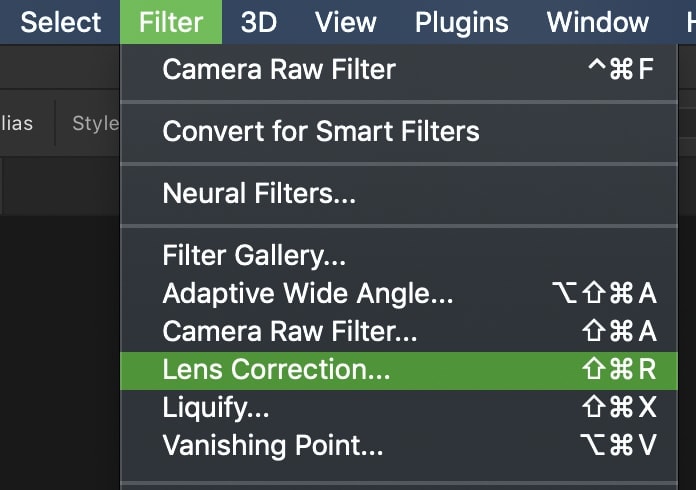
Step 1: Go To Filter > Lens Correction
To begin, select your image layer and go to Filter > Lens Correction.
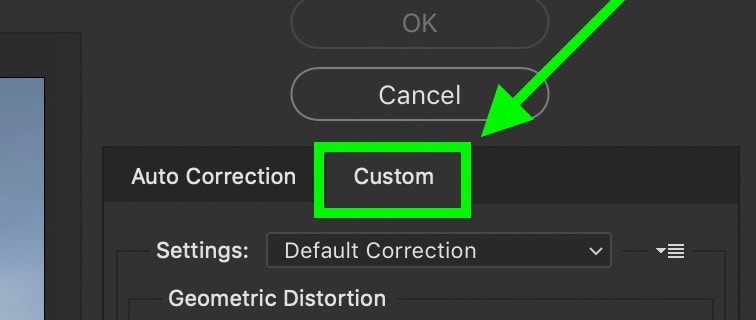
Step 2: Switch To The Custom Tab
The Lens Corrections window opens, which is generally used to correct vignettes, but you can also use it to create vignettes. To do this, first, switch to the Custom tab in the panel on the right-hand side.
Step 3: Adjust The Vignette Sliders To Darken Edges
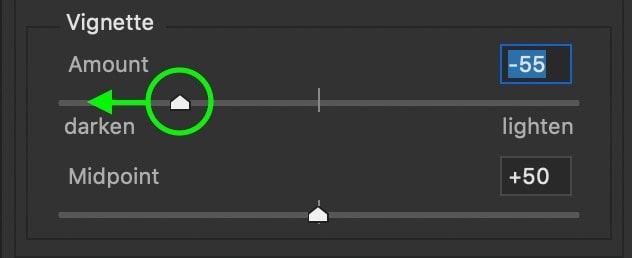
In the setting bar, there are two Vignette sliders called Amount and Midpoint.
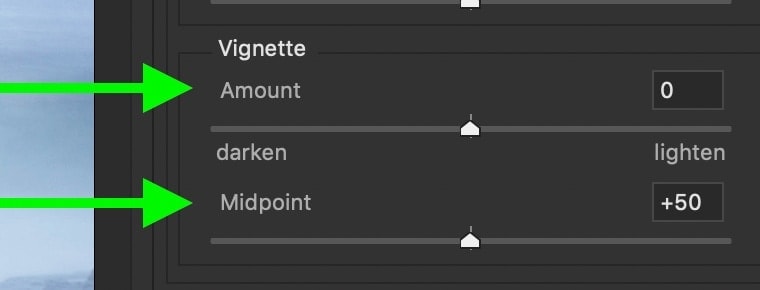
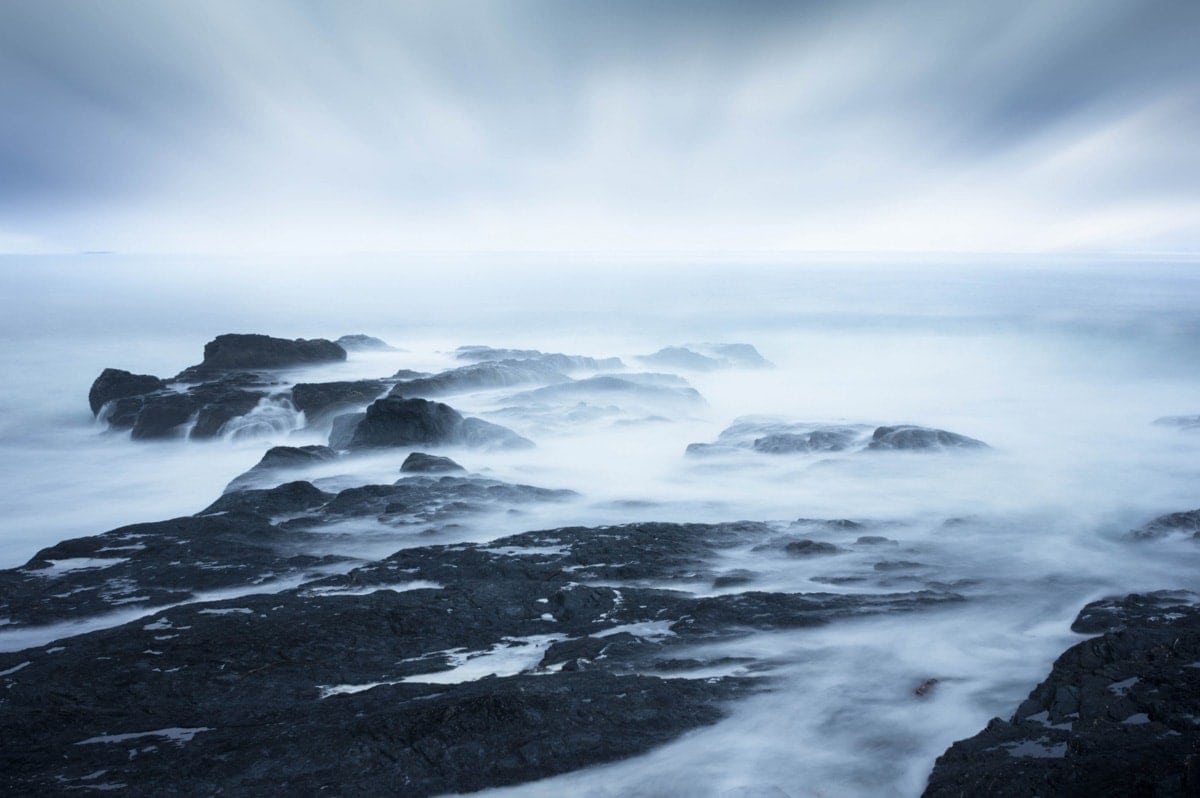
By moving the amount slider left, you’ll darken the edges of your photo and increase the intensity of your vignette. If you move the amount slider right, you’ll brighten the edges.
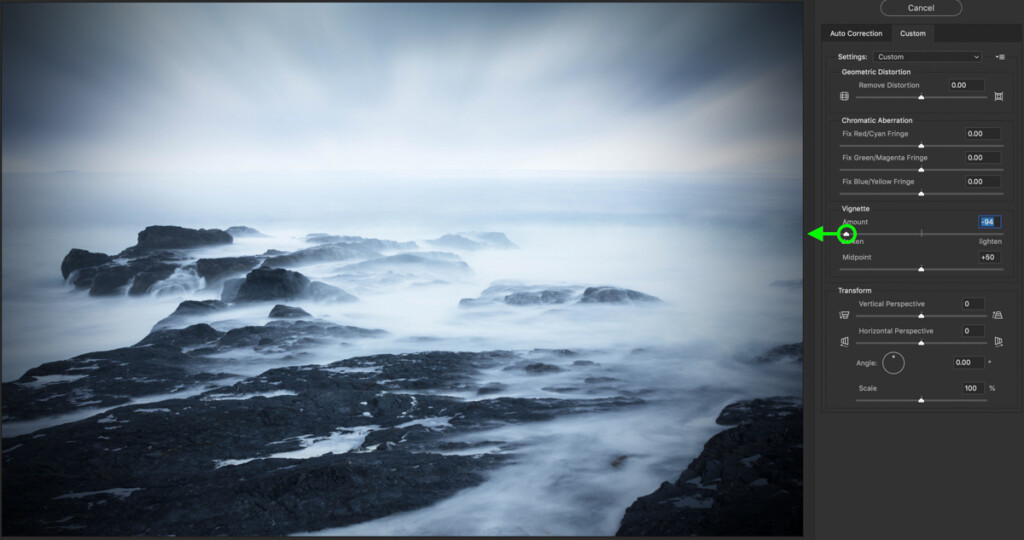
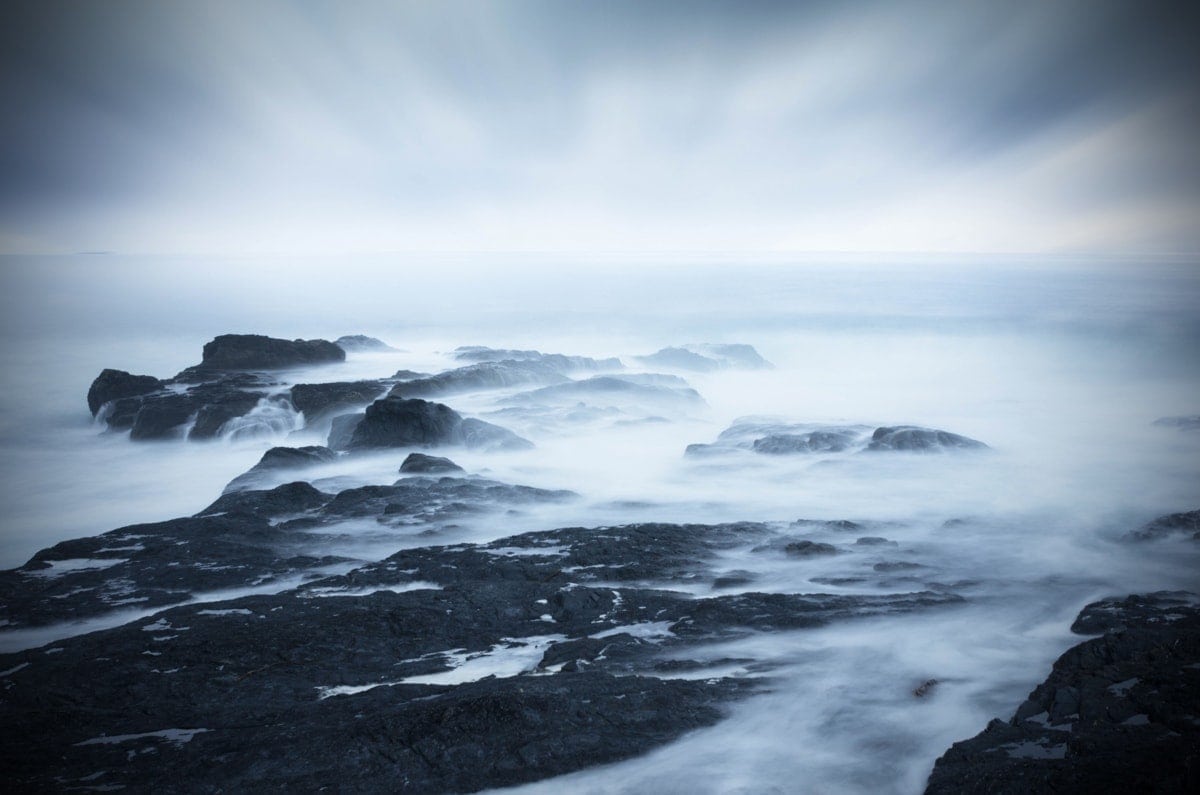
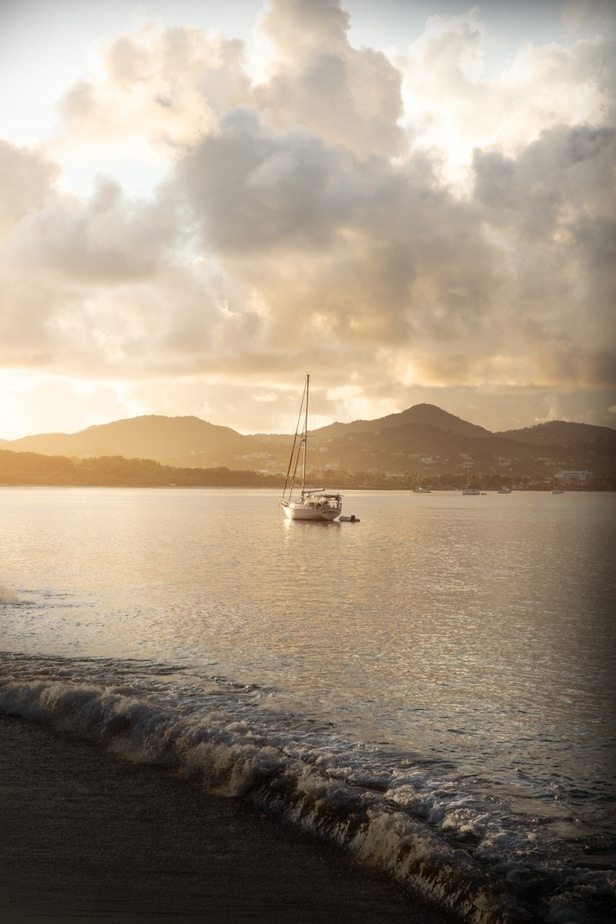
In this case, I want to add a regular vignette, so I’ll drag it left to darken the edges of my image.
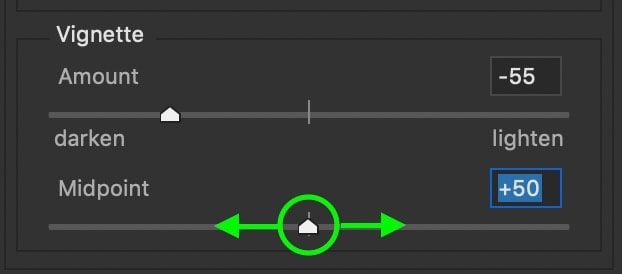
The next slider is the Midpoint, which controls how far your vignette spills inwards from the edges. A lower midpoint setting of +15 will bring the darkening inwards compared to the default setting of +50. Adjust this setting to change the intensity of the vignette.
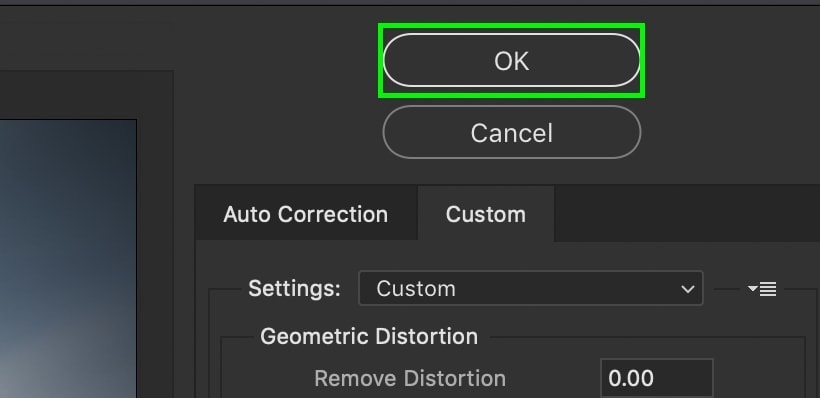
Step 4: Save Your Changes
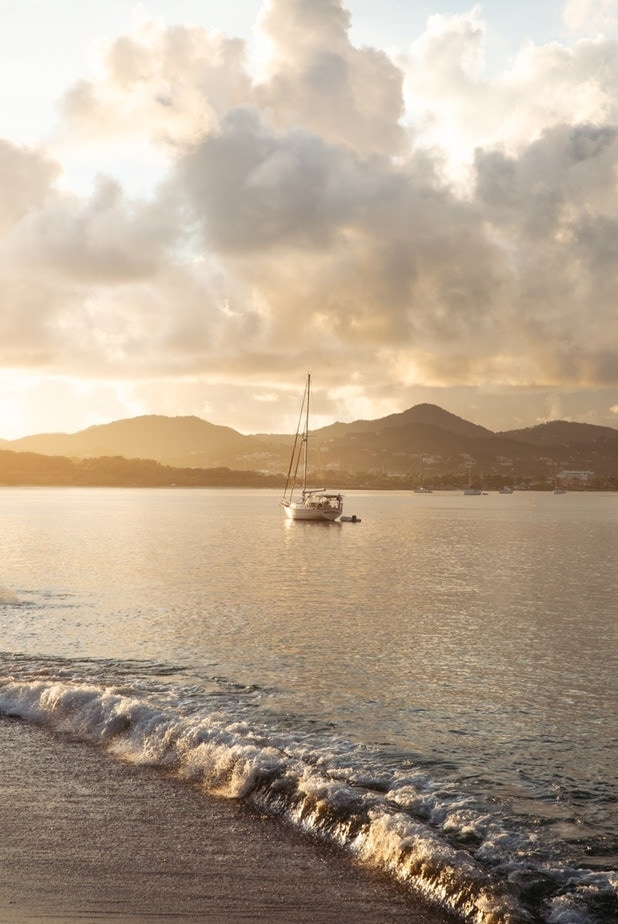
Once you’re happy with the vignette effects, click OK to commit to your changes. The filter adjustments will be added to your layer, and your vignette will be applied.
Option 2: Create A Vignette With Camera RAW
Another simple way to create a vignette in Photoshop is by using Camera RAW.
Note: Camera RAW will automatically open when you import a RAW photo or can be accessed from your current Photoshop project.
The beauty of this method is that you have a lot of advanced vignette adjustments, all refined to a couple of sliders. Giving you a lot of creative control.
Step 1: Open Your Image In Camera RAW
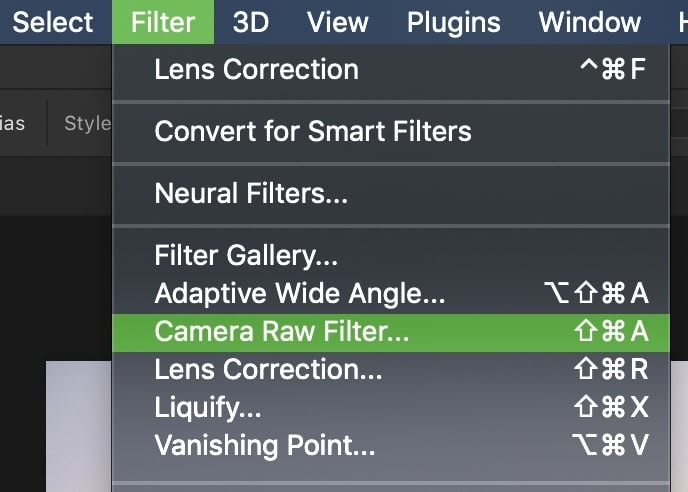
Open a RAW image in Photoshop, or if it’s not a RAW image, select your image layer and go to Filter > Camera RAW Filter. You can also press Control + Shift + A (Win) or Command + Option + A (Mac).
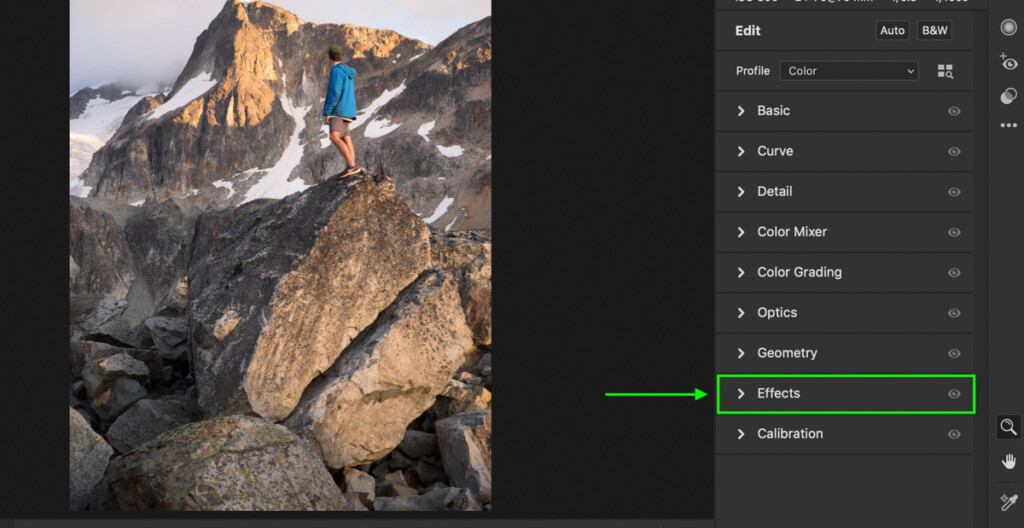
Step 2: Open The Effects Tab
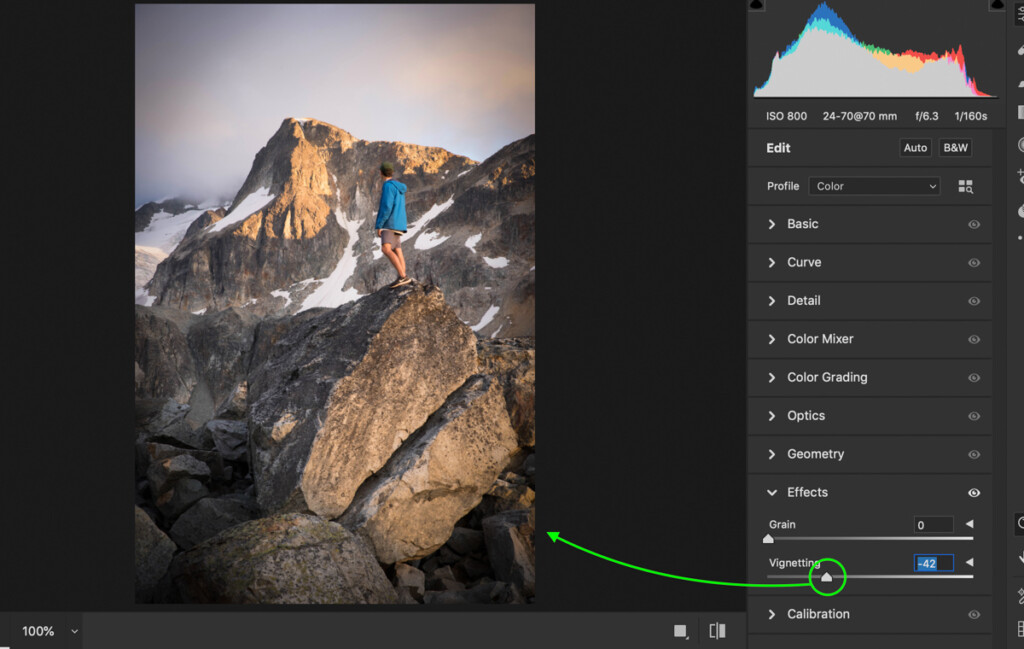
Scroll down through your settings until you see the Effects Tab. This is where all the vignette adjustments are found.
Step 3: Adjust The Vignette Slider
Start by moving the Vignetting Slider left (darken) or right (brighten). The further to each end you bring the slider, the more intense it will look.
Step 4: Refine Your Vignette With The Advanced Settings
Now that your base vignette is complete, you can customize the effect by clicking on the drop-down arrow beside the Vignetting slider.
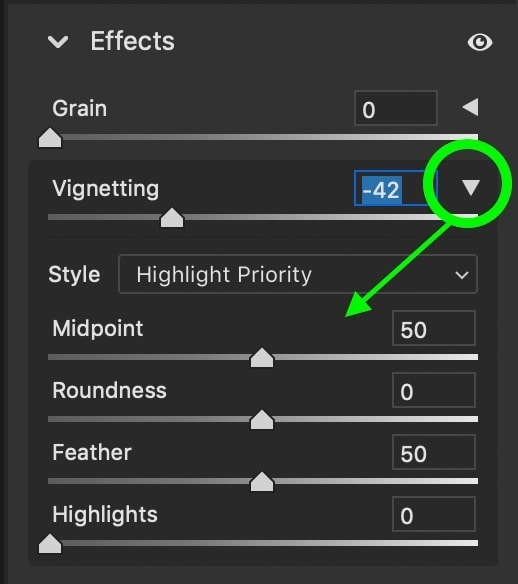
Here’s what each slider does for your image:
- Midpoint: Controls how far the vignette reaches inwards from the outer edges
- Roundness: Changes the classic oval shape of the vignette to different circular shapes
- Feather: Determines how blurred the edges of the vignette are. A higher feather amount creates a blended effect, and a lower feather creates sharper edges around the vignette
- Highlights: This slider lets you recover highlights within the vignette, so certain areas pop against the darker areas.
Step 5: Save Your Changes
To apply your vignette effects to your image, click OK.

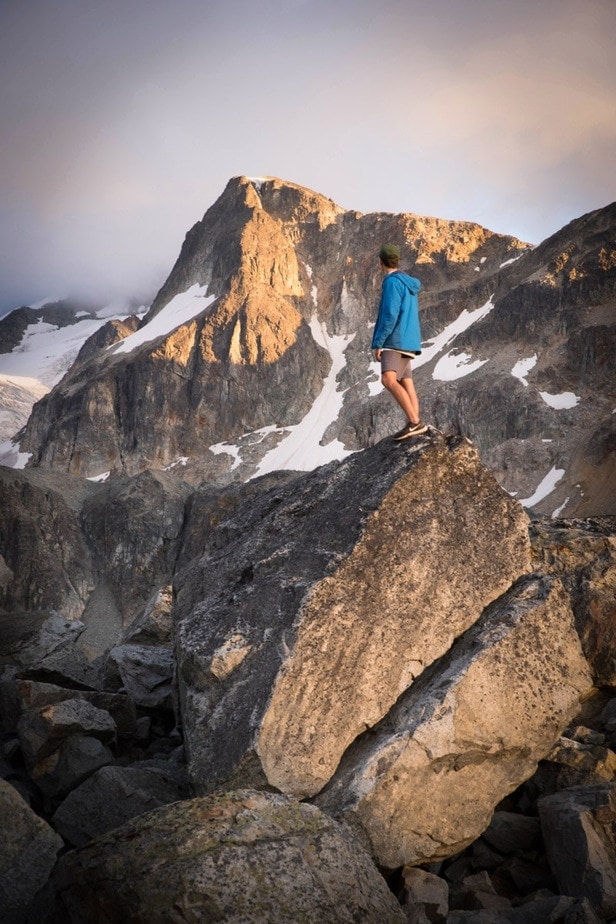
Your image will now have your customized vignette effect applied.
Option 3: Using Layer Masks To Create A Vignette
With the previous two methods, you’re restricted to the shape and size of your vignette. By using Layer Masks and an exposure adjustment layer, you can manually paint your adjustments. That way, you can get the most customized vignette look in your photo.
Step 1: Create An Exposure Adjustment Layer
For this method, you’ll start by creating an exposure adjustment layer and darkening your entire image.
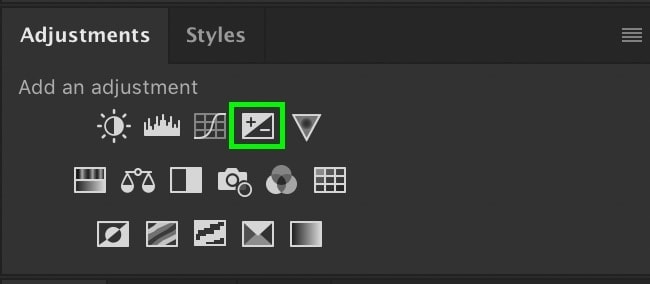
Select the exposure adjustment from your Adjustments Panel or access it via the bottom of the Layers Panel.

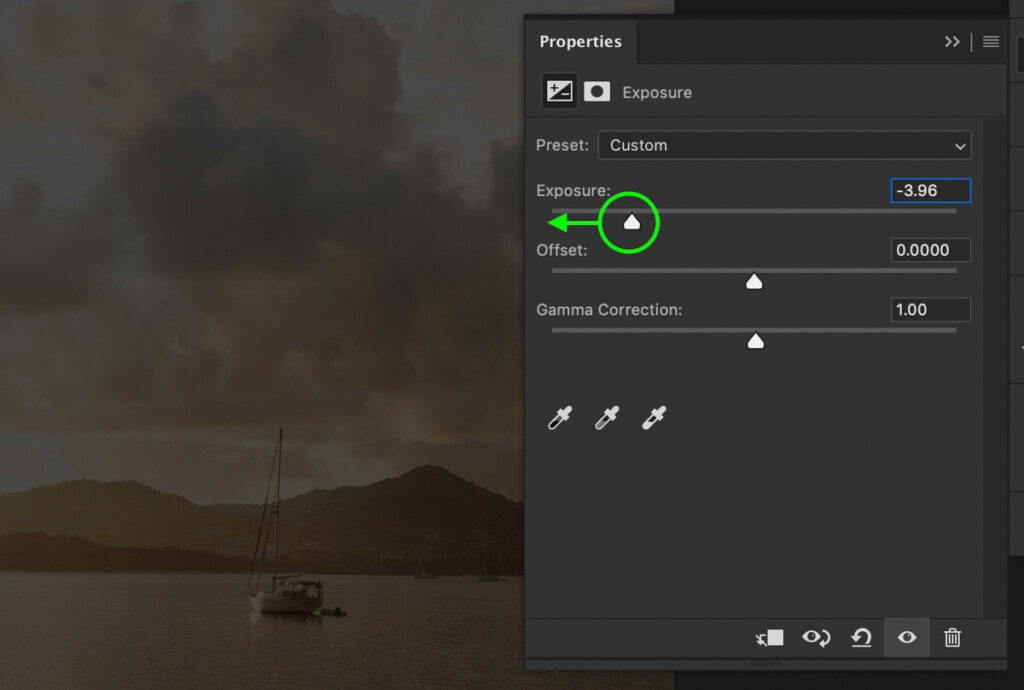
In the Properties Panel, click on the exposure slider and drag it left to darken your image. This will control how dark your vignette looks, so experiment with different values.
Note: If you want a brighter look (white vignette), you can increase the exposure slider instead.
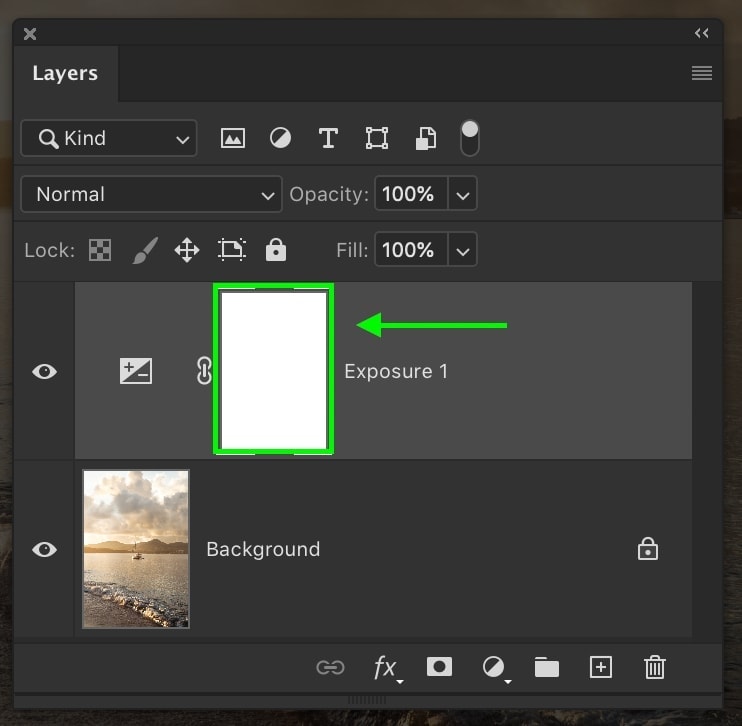
Step 2: Press Control/Command + I To Invert The Layer Mask
Now, your exposure adjustment is visible across the entire image. To help you paint it back in manually, let’s invert the layer mask to make the adjustment invisible.
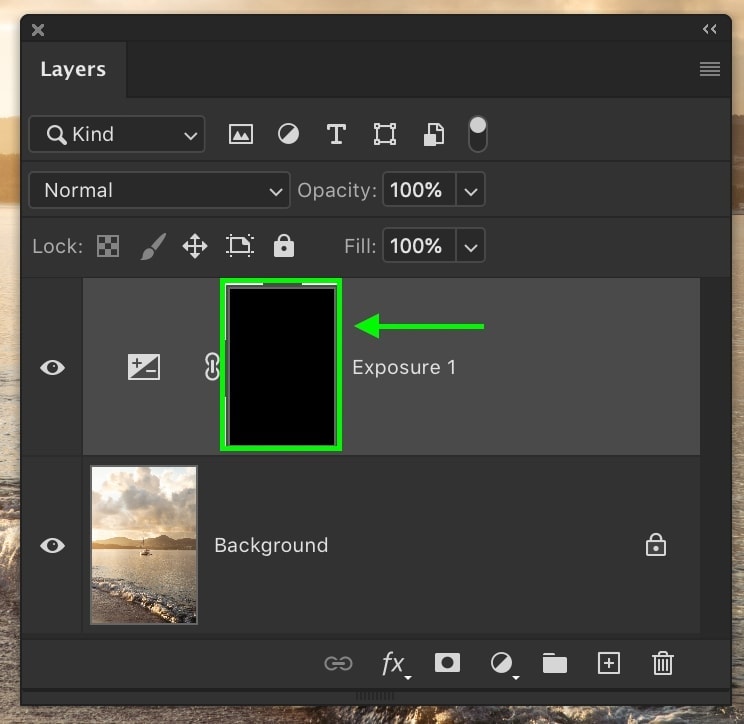
With the layer mask selected, press Control + I (Win) or Command + I (Mac) to invert the mask.
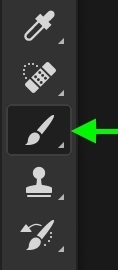
Step 3: Select The Brush Tool (B) And Set The Foreground Color To White
To make the exposure adjustment visible once again, we’ll paint white onto the layer mask.
Start by accessing the Brush Tool (B) and choosing a soft round brush. Ensure your Opacity and Flow are at 100%.
Next, set your foreground color to white and click on the exposure adjustment layer mask to select it.

Step 4: Paint Around The Edges Of Your Photo To Add A Vignette
With your brush settings in order, click and drag across your image to paint on the adjustment. Wherever you paint, you will make the exposure adjustment visible again.
For the vignetting effect, paint around the edges of the photo. This will darken the edges based on where you paint!

This is one of my favorite ways of darkening a photo’s edges since you have complete control.
Option 4: Add A Vignette Using Solid Color
For the final method of creating vignettes in Photoshop, you can use a selection area to fill with black. This technique works best if you want a hard-edged vignette but can be further blended with a Gaussian Blur.
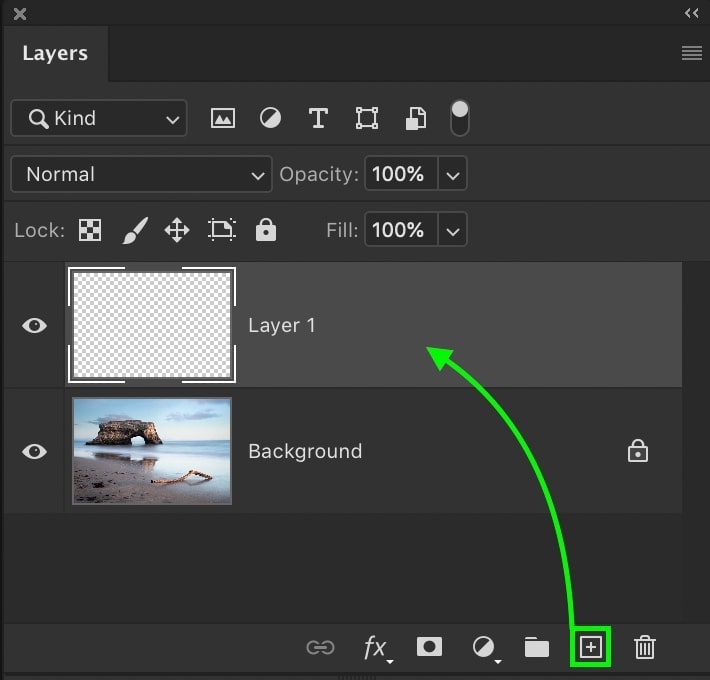
Step 1: Create A New Layer
First, add a new layer by clicking on the Create New Layer icon at the bottom of the Layers Panel. This is important to ensure you’re editing non-destructively.
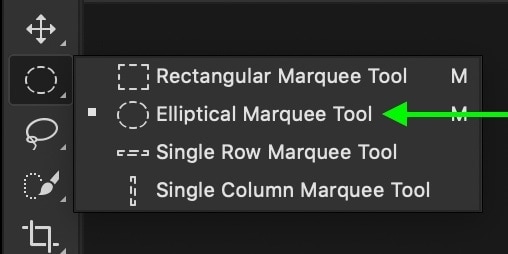
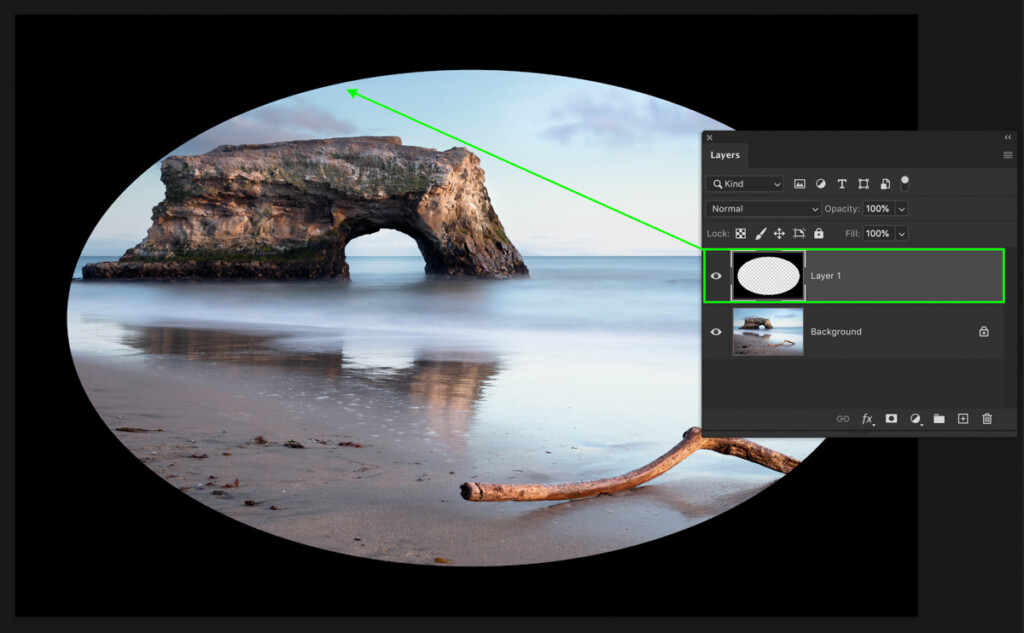
Step 2: Create An Elliptical Marquee Selection To Define The Vignette
Grab the Elliptical Marquee Tool from your Toolbar. Then, choose New Selection and set the Feather to 0px in the Options Bar.

Now click and drag out on your image to create a selection. The oval shape will define where your vignette is added.
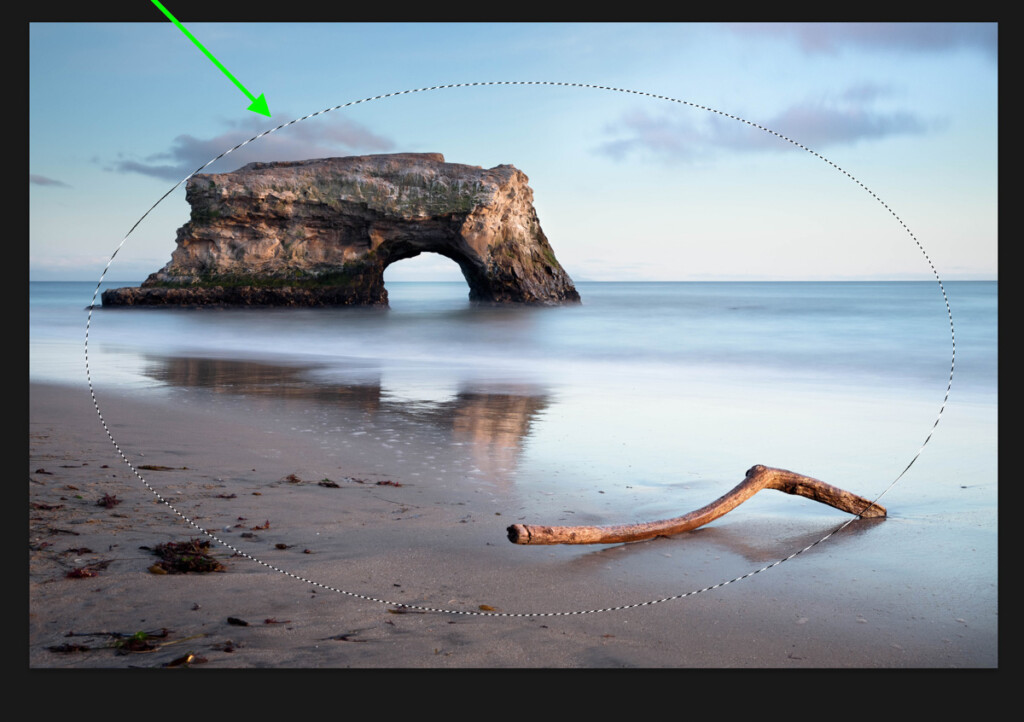
If you want a perfect circle, hold the Shift key while dragging outwards.
Otherwise, you can freehand the selection while pressing the space bar to move the whole selection if necessary.
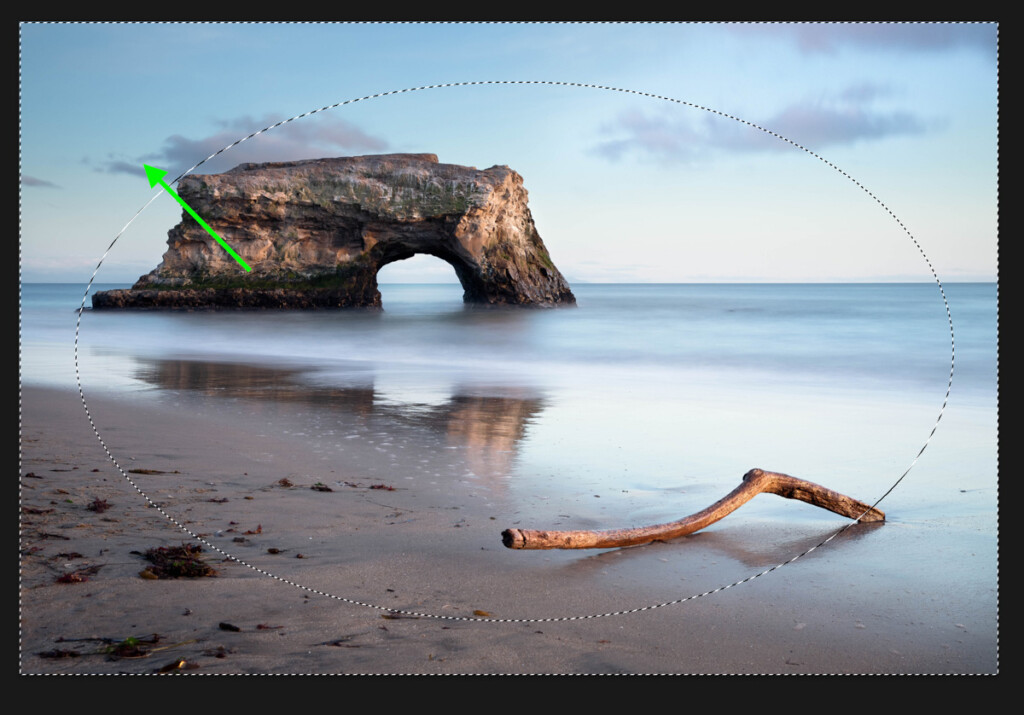
Step 3: Invert The Selection Area
Currently, the inside of the selection is active. Since you want to fill the outside of the selection with black, you need to invert the selection area.
Once you’ve created a selection, use the keyboard shortcut Control + Shift + I (Win) or Command + Shift + I (Mac) to invert the selection.
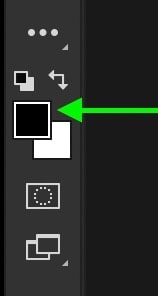
Step 4: Fill The Active Selection With Your Foreground Color
Now it’s time to add some color in the selection area. Start by setting your foreground color to black.
With the new layer selected, press Alt + Delete (Win) or Option + Delete (Mac) to fill your selection with black. If you want your vignette to be colored, choose a different foreground color to fill the selection with.
Then press Control + D (Win) or Command + D (Mac) to deselect the active selection.
Now you’re left with a hard-edged vignette on its own layer. If that’s the look you were going for, then your job is done! However, if you want to blend it further, continue to the next step.
Step 5: Add A Gaussian Blur To Blend The Vignette
With the vignette layer selected, go up to Filter > Blur > Gaussian Blur.

Experiment with different radius values by moving the slider up or down. The further you move the slider, the more blurred the edges of your vignette will become.
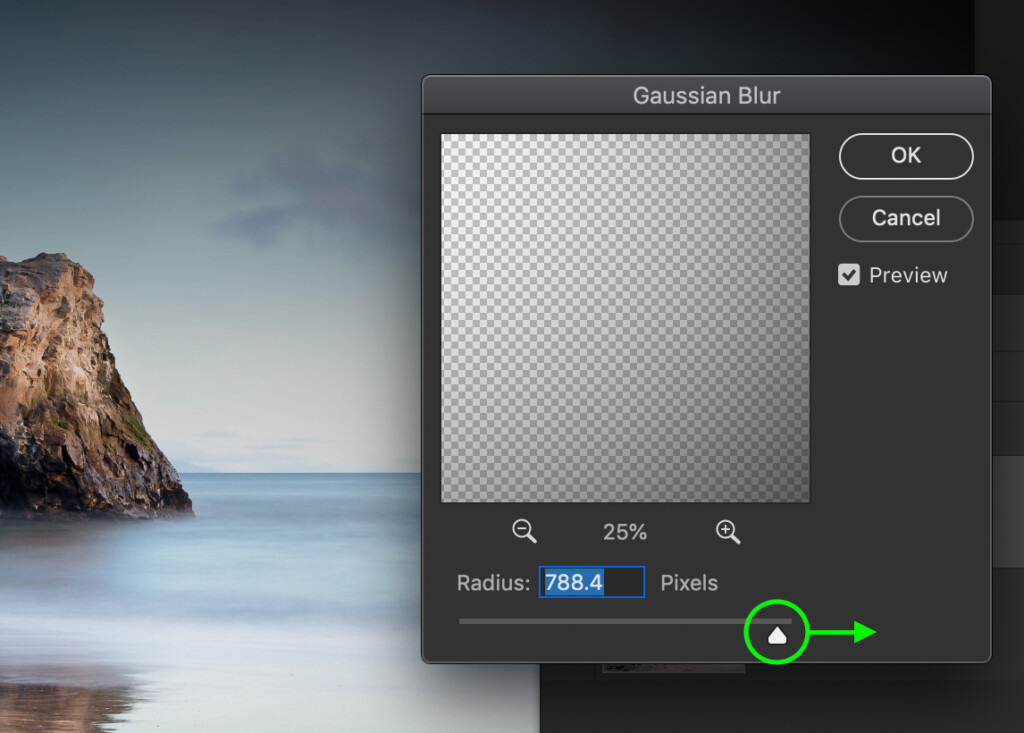
If you’re looking for a better-blended vignette, then a higher blur radius is ideal. Once you’re happy with the look, click OK to commit to your changes.
Now you’re left with another great vignette look, this time using selections.
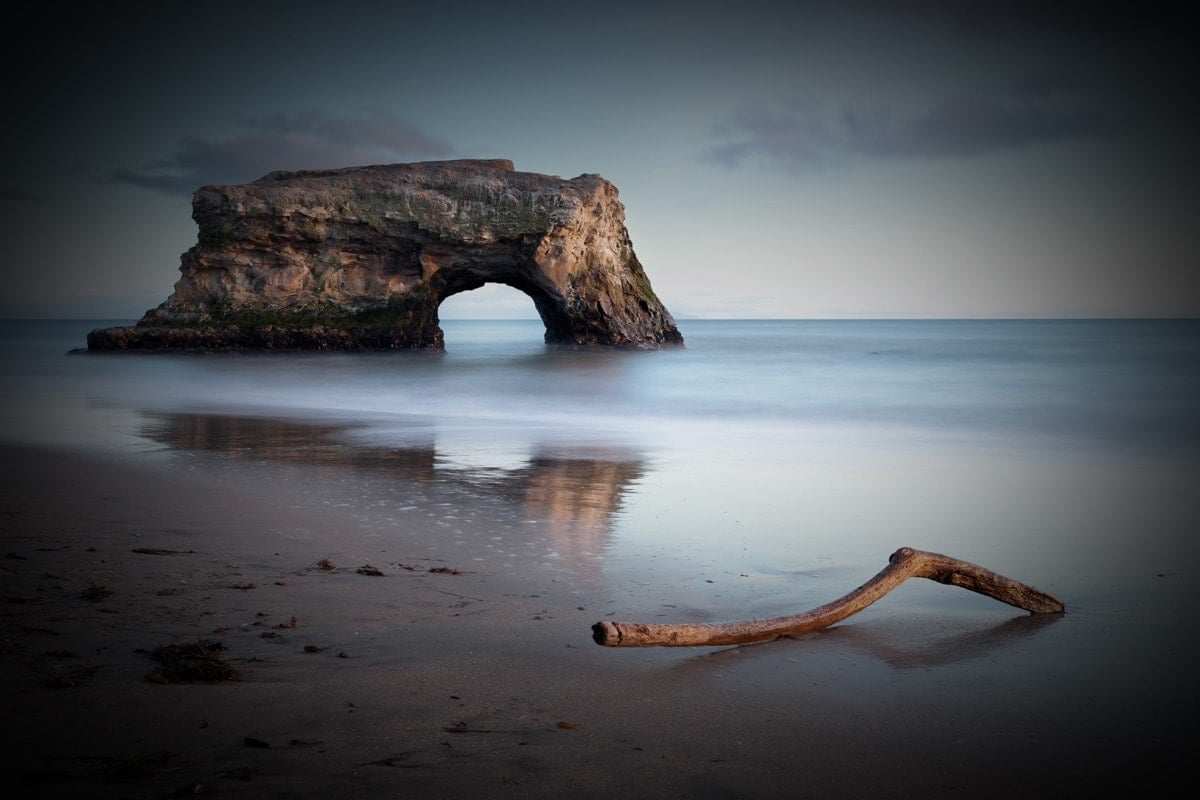
As you can see, there are quite a few ways to make vignettes in Photoshop. Whether you want to quickly make it with a slider or get more specific with selections, these four techniques let you do it.
Try experimenting with the four ways of creating vignettes outlined here, and see which one fits your workflow best!
Happy Editing,
Brendan 🙂


