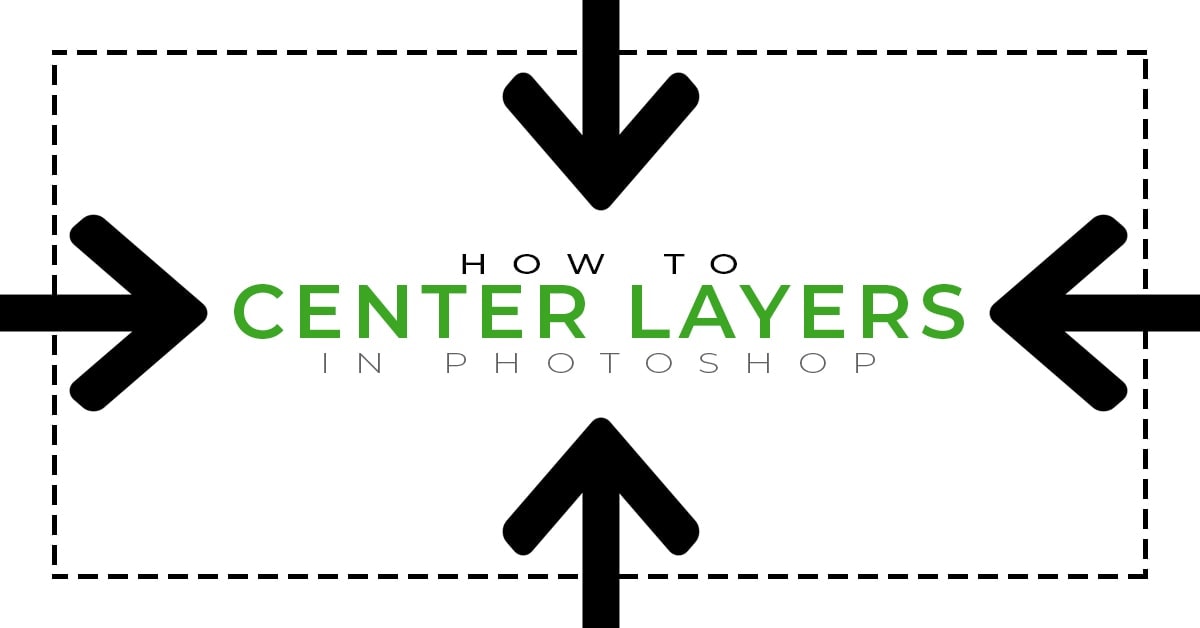

Sometimes, centering text isn’t the most straightforward process, especially when the alignment options are greyed out. Luckily, you can quickly learn how to center text in Photoshop using these easy techniques below.
In this post, I’ll share how to center text and image layers in Photoshop, but the same steps apply to any other type of layer (shapes, smart objects, etc) as well!
Video Tutorial
How To Center Text In Photoshop
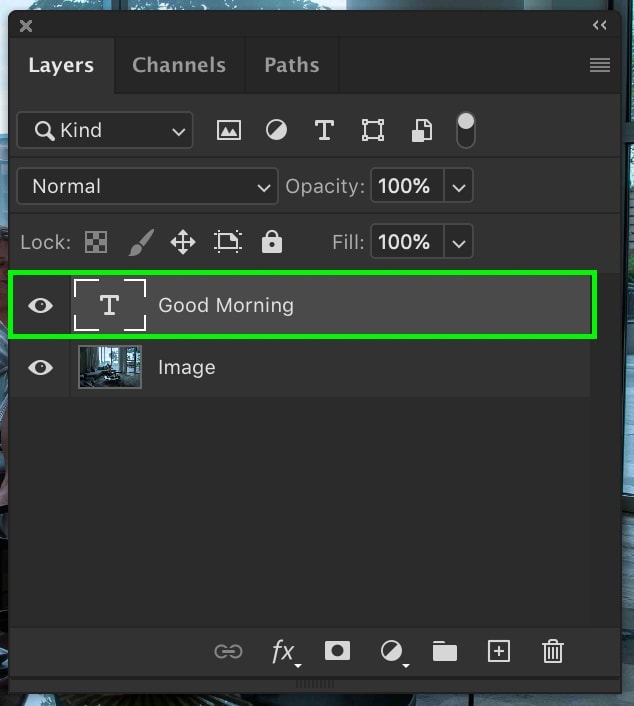
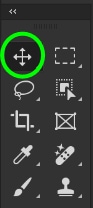
Step 1: Activate The Move Tool (V)
With the layer you want to center highlighted in your Layers Panel, grab the Move Tool from the Toolbar or press V on your keyboard.
Step 2: Press Control/Command + A (Win/Mac) To Select The Entire Canvas
After using the shortcut, you will notice marching ants around your canvas, indicating a selection.

Step 3: Select The Align Horizontal And Vertical Centers Options
In the Options Bar, click on the icons for the Align Horizontal Centers and Align Vertical Centers options to center your layer within the selection.

Step 4: Press Control/Command + D (Win/Mac) To Deselect Your Canvas
Once your text has been centered on the canvas (you can choose whether to center horizontally and vertically or just one of them), you can deselect the area to continue editing your design.

How To Align Text in Photoshop
Just like in basic word programs like Pages or Word, you can align text to the left, center, or right in Photoshop. This will help further refine how your text is aligned to get a perfect position.
Step 1: Select The Type Tool (T) And The Text Layer
Grab your Type Tool by pressing T or accessing it in your Toolbar. Then, click on the text layer you want to adjust the alignment of.

Step 2: Select The Center Align Option In The Options Bar
In the Options Bar, you’ll find the different alignment options. Click on the Center Text option to align the center of your text to the middle of your text box.

This is a simple way to align your text to itself without any particular selection. This method won’t center your text to your canvas, but it repositions the text based on the text box. It’s another excellent method to know about when learning how to center text in Photoshop!
How To Center Text To A Selection In Photoshop
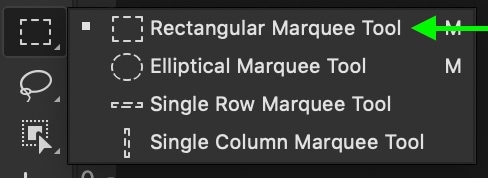
Step 1: Select The Rectangular Marquee Tool (M)
Select your Rectangular Marquee Tool by pressing M or clicking on the Marquee Tool in the Toolbar.
Step 2: Create A Rectangular Selection On The Canvas
Next, click and drag out a selection based on where you want to center the text. In this example, I’ll draw my selection to fit in the top right corner. You will now have an active selection represented by marching ants around your selection.

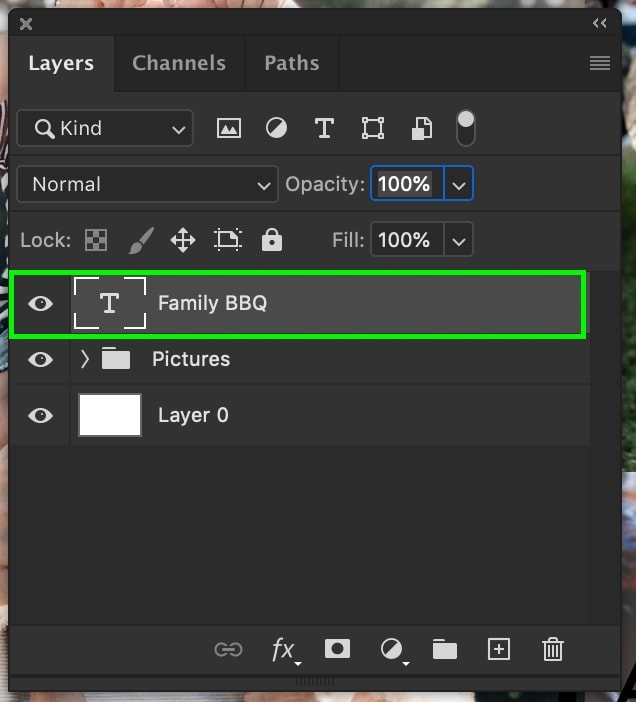
Step 3: Select The Layer You Want To Center
Select the layer you want to center by clicking on it in the Layers Panel.
Step 4: Activate The Move Tool (V) And Select The Align Options
Grab the Move Tool by pressing V or find it in the Toolbar.
Select the alignment icons based on how you want to align your text. In this case, I want to align the horizontal and vertical centers.

Now, my text will automatically align to the inside of my selection! If you want to align your text to an edge, you can do so by selecting a different alignment option. Press Control + D (Win) or Command + D (Mac) to deselect the selection when you’re done.

Although not completely obvious at first, learning how to center text in Photoshop is very straightforward. There are a variety of different methods that you can deploy to center your text in a variety of situations. By using the methods outlined here, you’ll be able to center text in Photoshop with ease!
Want more tutorials like this? Sign up for our weekly newsletter for more photography and photo editing tips!
– Brendan 🙂


[…] How To Center Text & Layers […]