If you want to draw more attention to a subject in your photo, create depth of field, or give an image a whimsical feel, you must learn how to blur a layer in Photoshop. However, it can seem a bit confusing how to get a blur to apply in only sections of your layers.
So, let’s take a look at how you can blur a layer so you can refine this technique to your own taste.
How To Blur A Layer In Photoshop
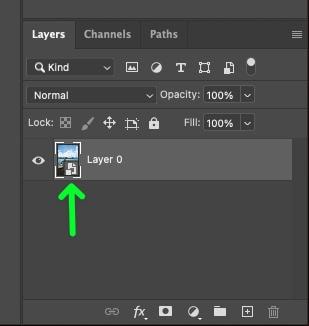
Step 1: Right-Click On The Layer And Select Convert To Smart Object
To convert your layer into a Smart Object, right-click on the layer, then choose Convert To Smart Object. You will know if your layer is a smart object when you see the smart object icon in the bottom right corner of the thumbnail.
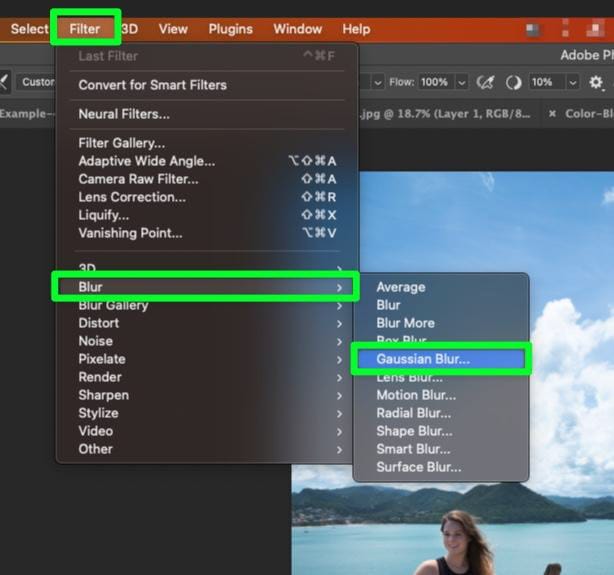
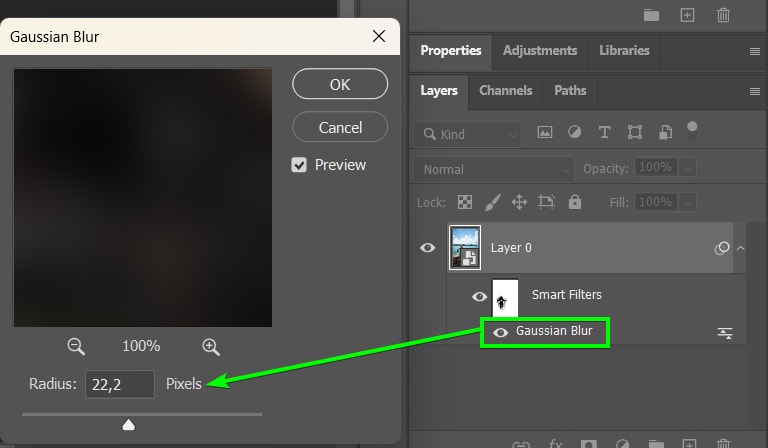
Step 2: Go To Filter > Blur > Gaussian Blur To Apply The Blur Layer
Go to Filter > Blur > Gaussian Blur to apply your blur layer. Applying the Gaussian Blur filter will give you the best settings for the next step.
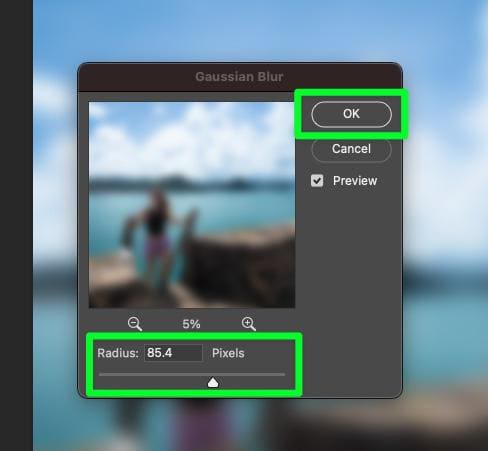
Step 3: Increase The Gaussian Blur Radius To Add Blur
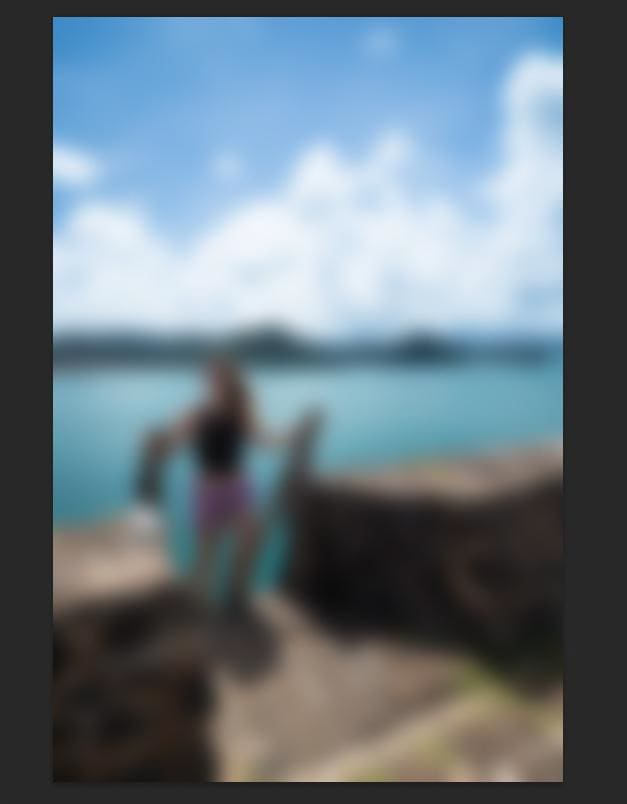
First, ensure the Preview box is checked so you can see the blur effect in real-time in the Preview Window. Then, use the Radius Slider or input a number in the Radius Box to adjust the Gaussian Blur. Once you’re satisfied with how the blur looks, click the OK button to confirm.
Step 4: Select The Layer Mask And Selectively Remove Blurred Areas (Optional)
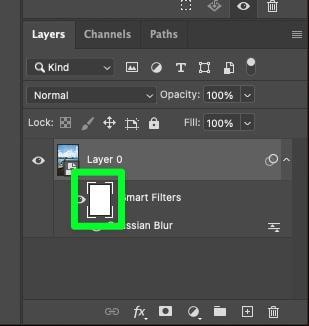
If you plan on removing parts of the blur layer to showcase the original layer below it, select the layer mask that is automatically attached to the smart filter below your layer by clicking on it.
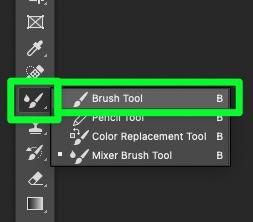
Next, select the Brush Tool (B) in the Toolbar. In the Options Bar, click the Preset Brush Picker button and choose the Soft Round brush. Set your Foreground Color to Black.
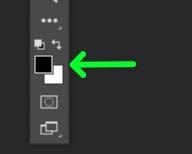
Once you’re ready, use the Brush Tool to paint over the areas you want to keep from your original image.
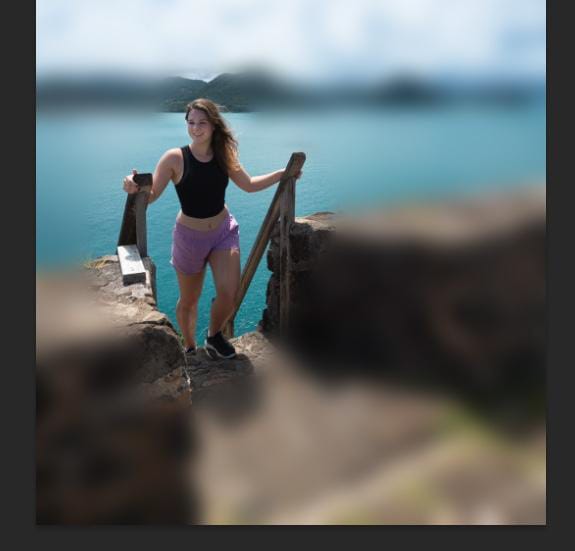
Remember, you can easily change your brush size with [ or ] to brush over larger or smaller areas of your blur layer.
If you make the mistake of concealing too many pixels while using the Brush Tool, you can always change your Foreground color to White and then paint over the areas you need to bring back.
Step 5: Double-Click The Blur Filter And Reduce The Radius To Reduce The Effect (Optional)
To adjust the blur effect itself, double-click the blur layer, then move the Radius slider down to reduce the blur effect. This is a helpful step if the blur effect is still too intense.
You now have a blurred image with your subject highlighted.
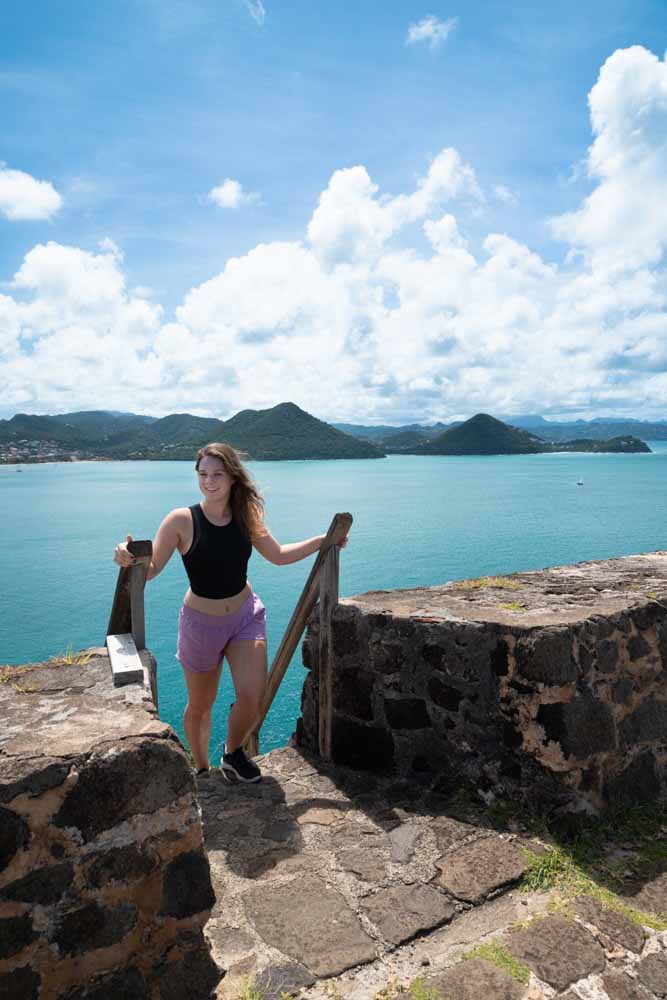
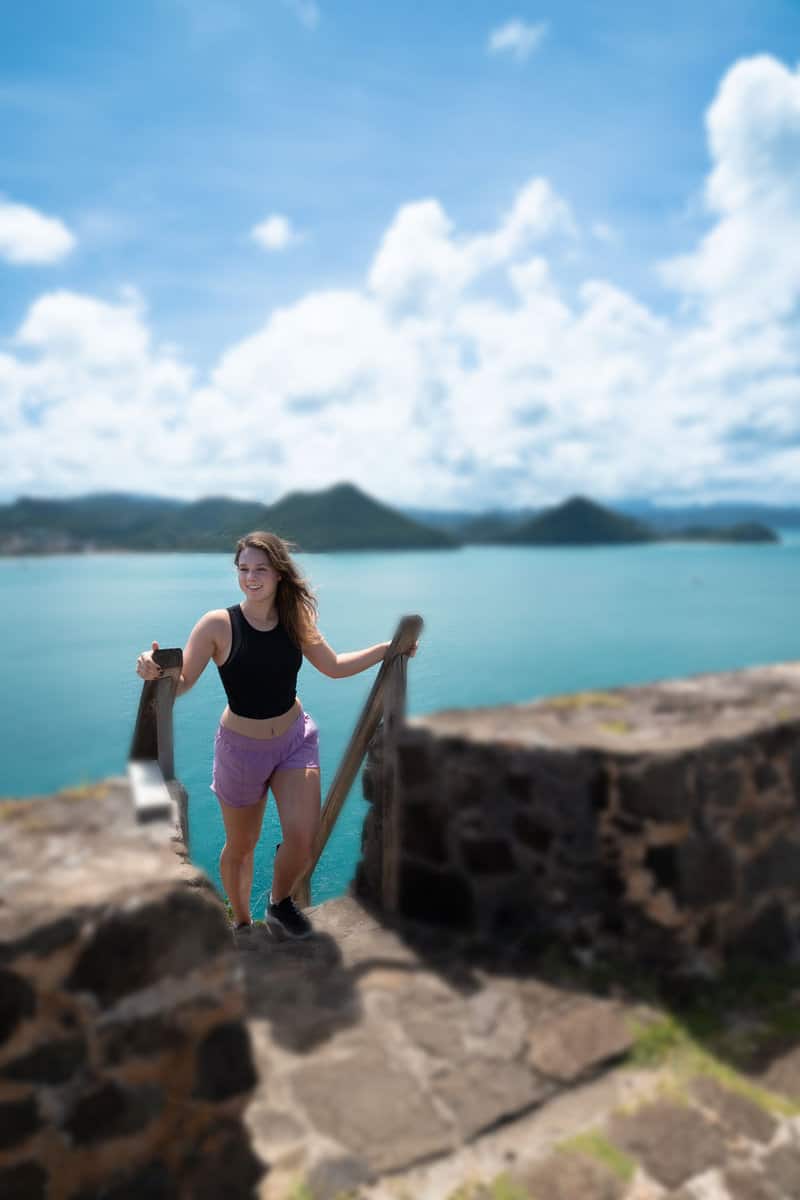
Now, you can refine your blur effects to add subtle blur effects to your layers in Photoshop.
Happy editing!