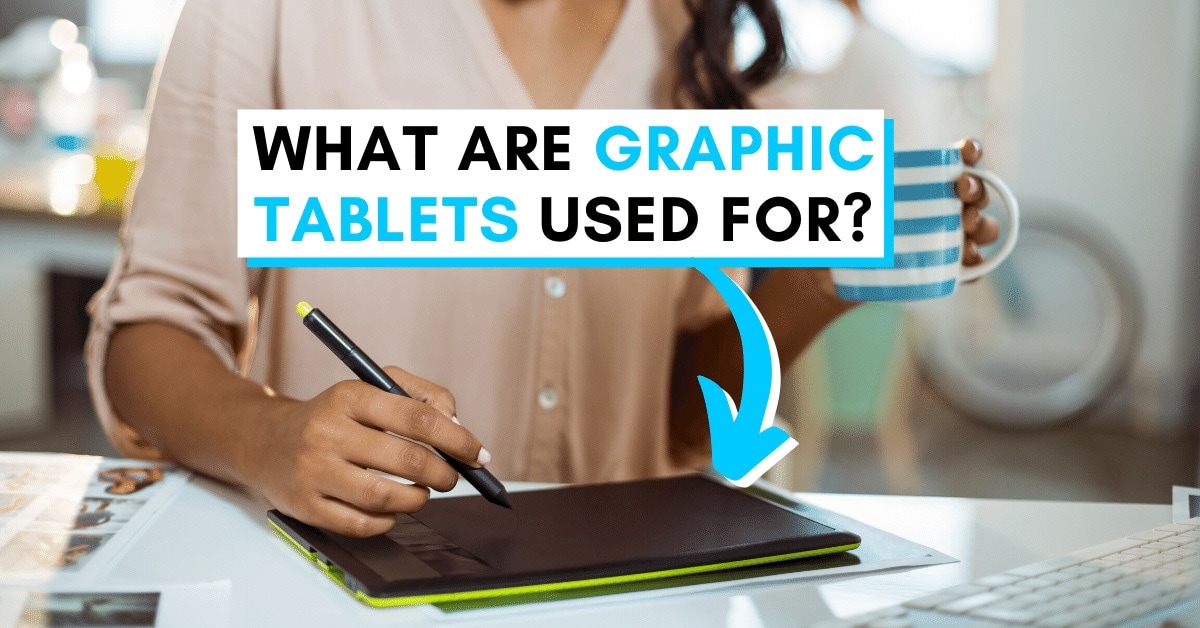

What Are Graphics Tablets Used For?
The first time I saw a graphics tablet, I thought it was Apple’s latest version of the iPad. Hence my confusion when I noticed it didn’t have a screen. I had no idea that graphics tablets were something available for creators, and couldn’t have imagined how much it would transform my workflow. Whether you’re a photographer, graphic designer, or illustrator, graphics tablets are incredibly valuable tools. But what exactly is a graphics tablet used for, and why would you want one?
A graphics tablet is a device for artists and photographers that replaces your mouse with a stylus and digitized drawing pad. This gains creators the ability to make very specific brush strokes and pen paths that feel similar to drawing on paper. Since a graphics tablet feels more natural and precise than a mouse, they’re a common tool used by many artists to improve their digital artwork.
I’ve personally owned and used a graphics tablet for a number of years, and have never looked back. Let’s dive into why graphics tablets are the bee’s knees that not enough people are talking about.
What Can A Graphics Tablet Be Used For?

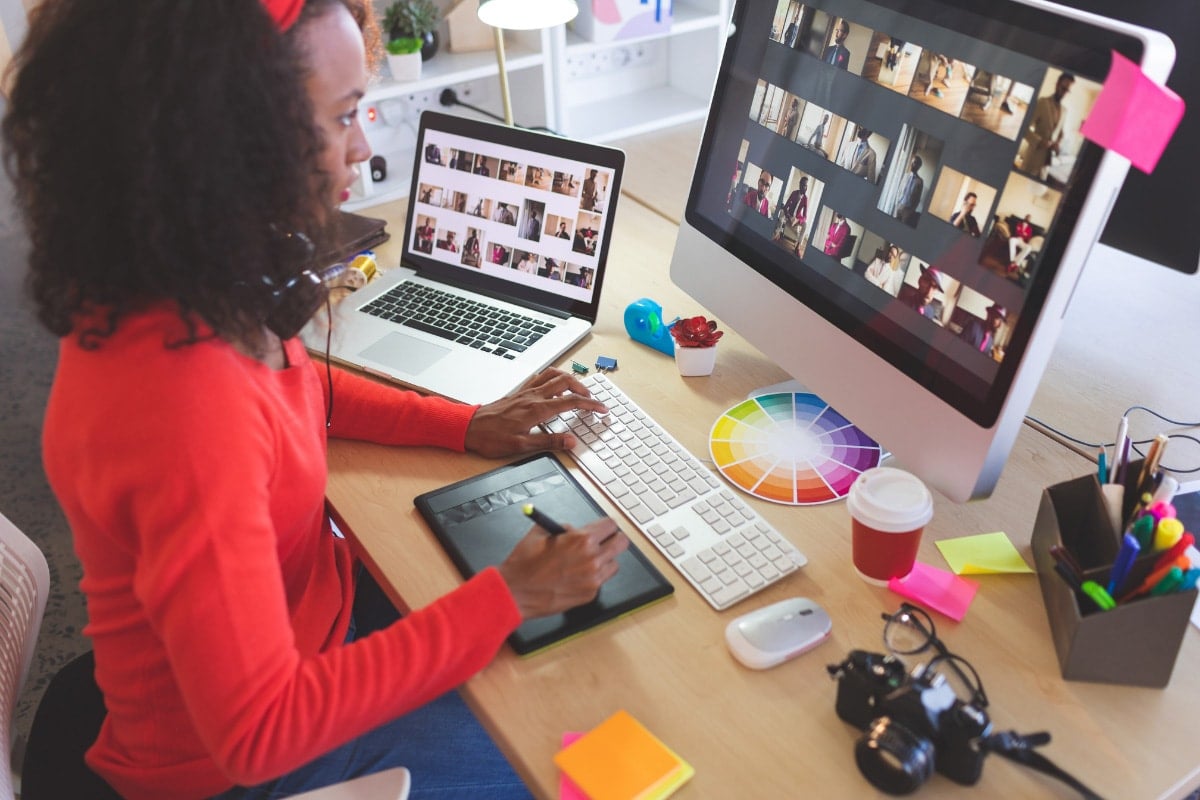
There isn’t one single use that graphic tablets are used for. They’re an essential tool used across a bunch of different industries and creative niches. With that said, there are a few main ones that you’re guaranteed to see someone using a graphics tablet for. Whether you spot one in the office, at a local coffee shop, or your friend’s house, it’s a safe bet it’s being used for one of these three things.
– Drawing
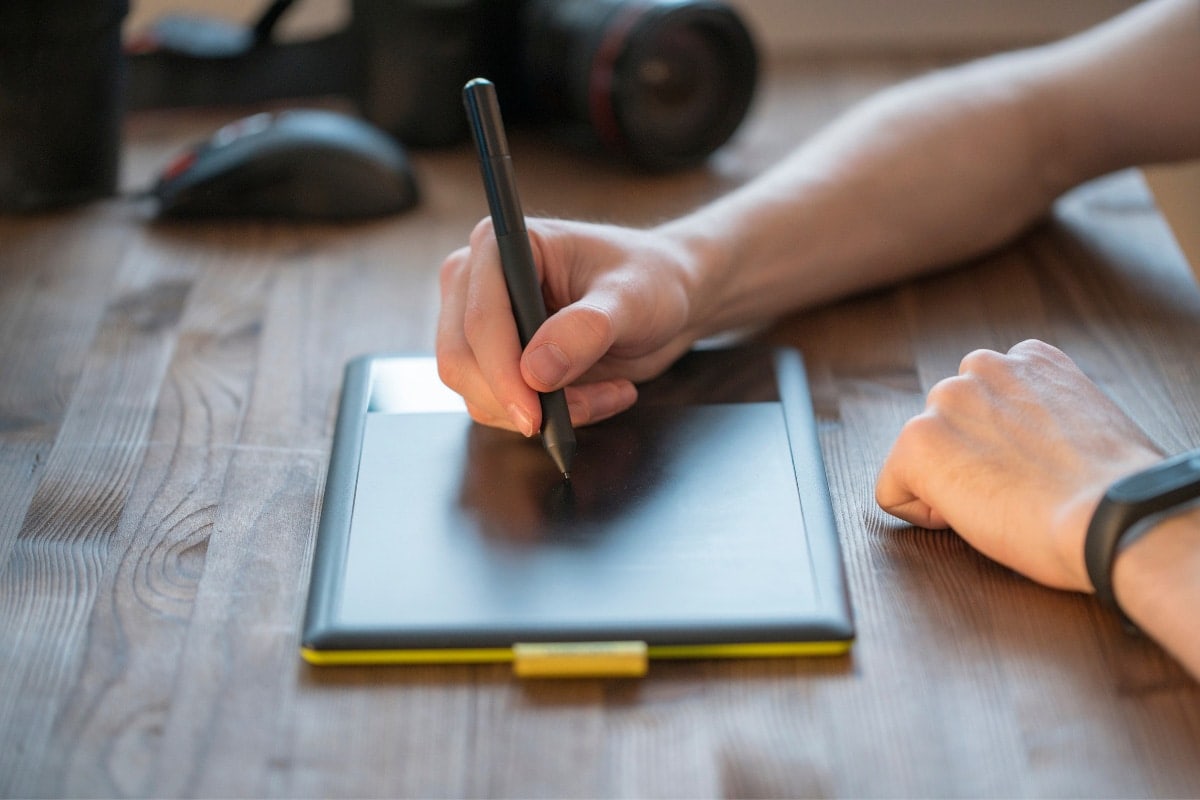
The immediate thing you might associate a graphics tablet being for is for drawing, and you would be right! Traditionally drawing has always been done on paper with various pencils, markers, or other drawing utensils. Since each piece of artwork requires extremely precise lines and pressure to change the quality of each stroke, a regular computer mouse couldn’t cut it. With a graphics tablet, things are different.
When you use a graphics tablet, you’re essentially replacing your pencil and paper for a stylus and a touchpad. These two items allow you to easily translate the pen-like stylus’s exact movements into accurate lines on your computer. Couple this with modern drawing programs having a wide variety of realistic drawing textures and tip types, and you have all the tools you need. This time, made digital!
– Graphic Design
You don’t need to be hand drawing everything to get the full value out of a graphics tablet. As a graphic designer, you’ll quickly start to see why graphics tablets are useful in your line of work. Since you’re constantly working with text and shapes, having a stylus makes creating and editing paths so much easier than before.
I used to dread having to create any path in Photoshop or Illustrator. That’s because using a mouse, to me, feels a lot like using a brick instead of a fine adjustment tool. With a graphics tablet, it feels far more natural to work with lines and shapes. It creates a feeling as if you’re drawing on paper and makes the entire process more enjoyable.
– Photo Editing
Photo editing? What does that have to do with drawing or graphic design, you ask? Well, as it turns out, graphics tablets are used by countless photographers worldwide for a good reason.
Although there is an aspect to photo editing that only requires you to push sliders around, there is a more refined part of the process. Take skin retouching, for example. As you start to clone away blemishes and imperfections, you want to be as accurate as possible. If you apply your adjustment too broadly, it’s easy to wind up with a poor result. By using a graphics tablet, you can be extremely accurate with where an adjust is applied. By using a graphics tablet, it makes photo editing feel like more of a painterly process compared to using a mouse.
Are Graphic Tablets Worth It?
When I first heard about graphics tablets, I was skeptical. I read everything there was to know about these things but still wasn’t sure if anything mattered to me. I’m sure you’ve felt that same way about graphics tablets at one point or another. To put your worries to rest, I’ll give you one simple answer: yes, they are worth it!
But here’s why:
They Save You Time
No matter how much you love the creative process, you also want to save time where you can. Speeding up certain parts of your workflow is crucial when working on big projects where time is money. Using a graphics tablet, you don’t need to mess around with as many buttons and shortcuts. Since most tablets have a series of express keys (more on that later), you can quickly access your favorite shortcuts right from the tablet.
To give you an example, I use my graphics tablet primarily for photo editing in Photoshop. I am constantly changing the brush sizes, undoing, moving layers, and whatever else needs to be done. To streamline the process, I added shortcuts to buttons on my stylus and touchpad. Rather than going back and forth on my keyboard, I can make my adjustments faster in one place.
They Allow You To Be More Specific
Trying to draw something with a mouse versus a tablet is like comparing a brick to a pencil. Which would you prefer to use? The reason a graphics tablet is useful is that it is pressure sensitive. Unlike a mouse where every click is the same, a tablet will understand how hard you press and translate that differently onto your canvas. While using a brush tool, I can use the same brush type but get completely different results. All because of pressure sensitivity.
When you apply more pressure, the lines will become darker and thicker. Just like it would when you apply more pressure to a pencil on paper. When you draw gently, the line becomes thinner even though the brush settings remain the same. This is a huge bonus for any creative because you don’t need to constantly fine-tune your brush settings. Instead, you can physically change how you apply each stroke to get a variety of different results.
They Make The Editing Process Feel More Natural
Besides everything else, a graphics tablet can be used to make the editing process feel more natural. It feels therapeutic to draw something onto a piece of paper, and it feels much the same to edit with a graphics tablet. Since you get instant feedback from your actions on your screen, it feels easier to make the exact adjustments you want—no fiddling around with unnecessary settings.
A stylus is far more versatile and does an incredible job of reading the movements of your hand. Rather than telling the computer what you want, using a graphics tablet feels as though it already knows that you want. How poetic.
How Do Graphic Tablets Work?
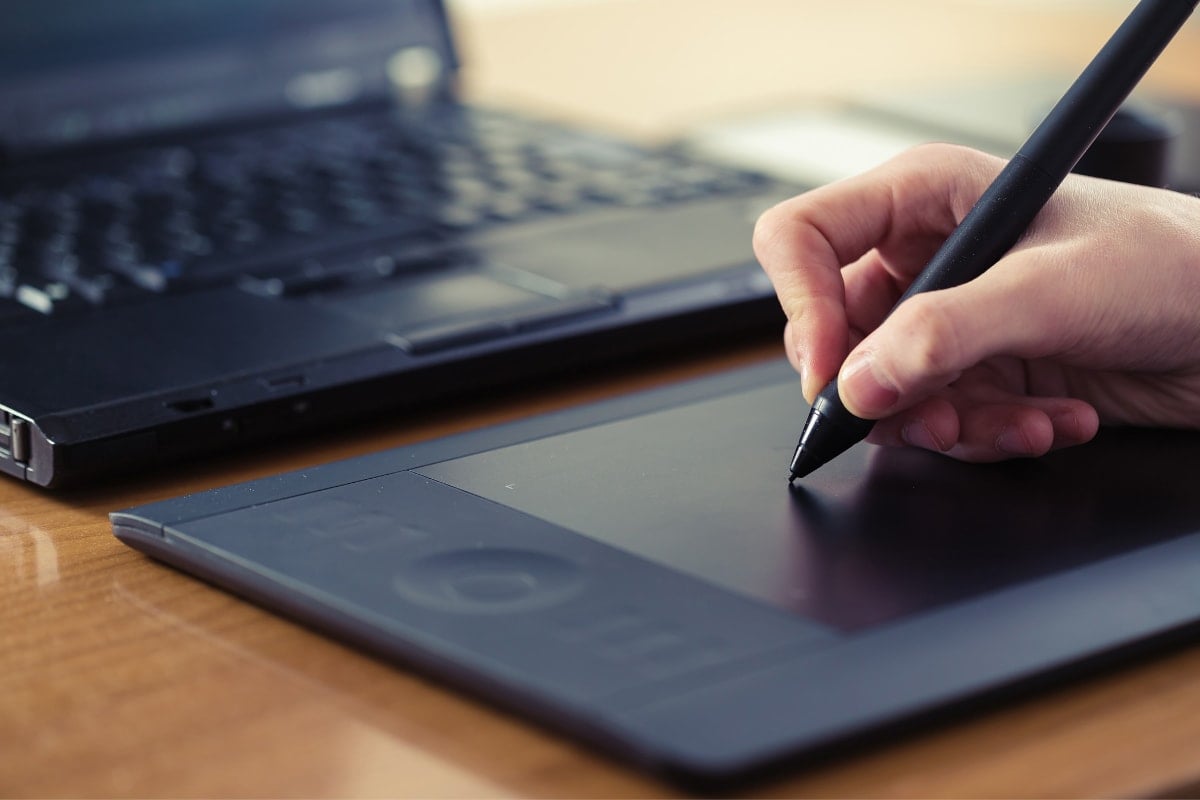
At first glance, a graphics tablet sort of looks like a giant laptop touchpad. Although relatively uninteresting to look at, there’s a lot of fascinating technology inside of them. Let’s discuss how graphic tablets work to help you better understand their role in your workflow.
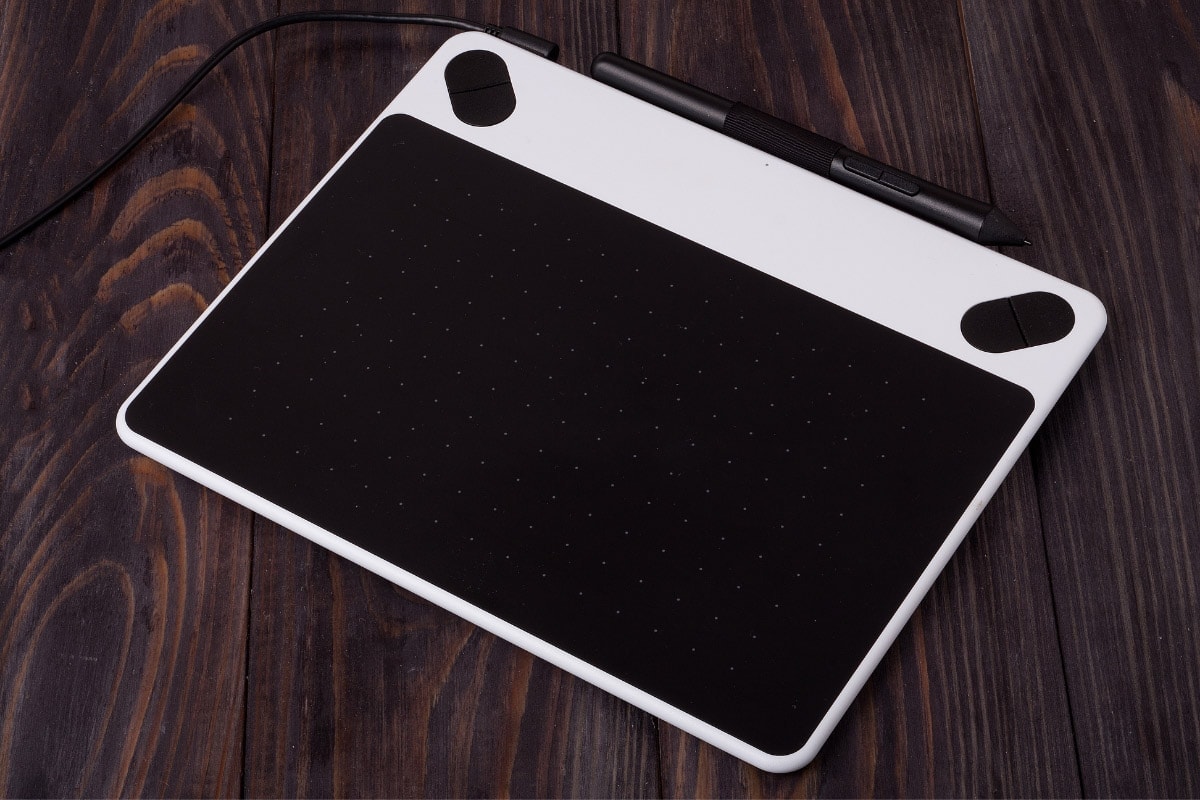
– The Touchpad
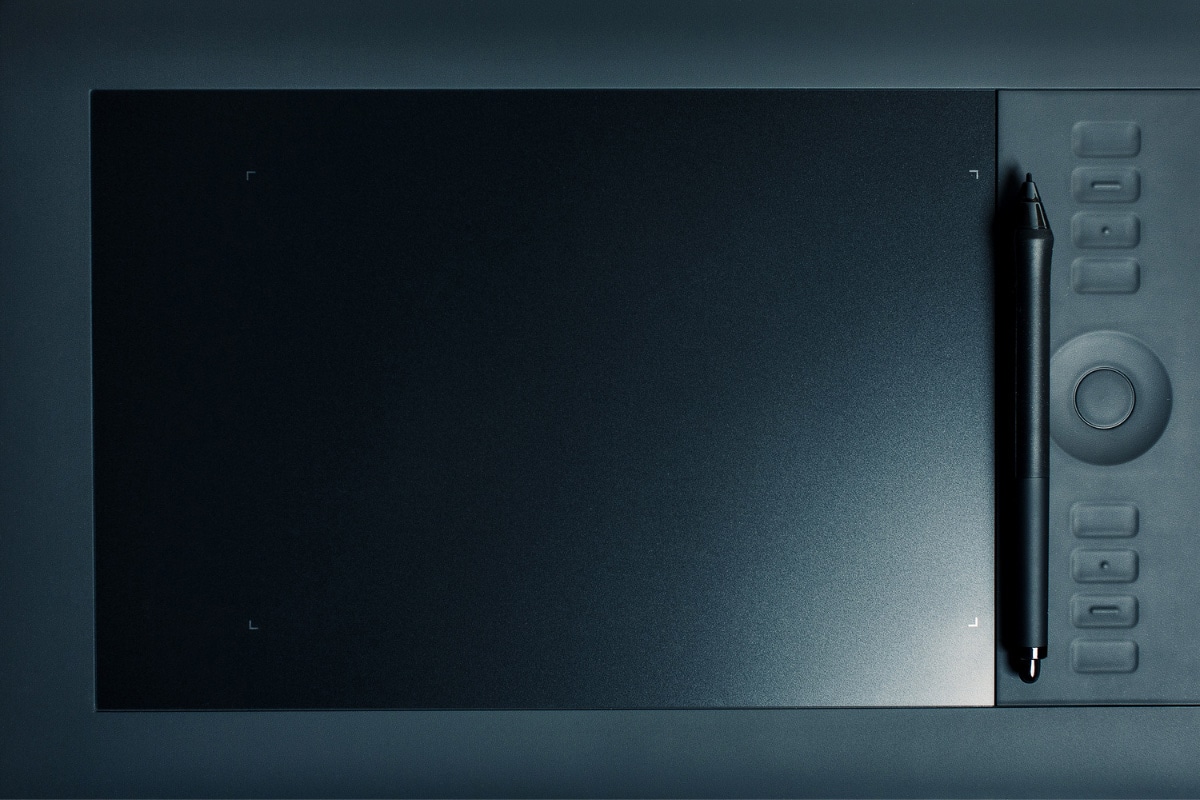
The touchpad is the large area on a graphics tablet that you draw on. Using the stylus, it reads and translates your movements into information for your computer to understand. Without the touchpad, you’d have a pretty hard time getting anything done. The tablet works by mapping your entire computer screen to the active area of the tablet.
The “active area” is the area of the touchpad that can actually detect the stylus. Some kind of markings usually indicates this on the tablet itself.
As you move your mouse across the active area, it will change locations on your computer screen. By default, the top corner of your tablet will equal to the top corner of your computer screen. This can take a little bit of getting used to, but it’s fully customizable on most tablets.
With my tablet, I map my entire screen to the top left quarter of the active area. This way, I can move across my entire screen without having to move my whole hand across the tablet.
Ultimately, the touchpad has a very simple function but is the lifeline between your stylus and your computer.
– The Stylus
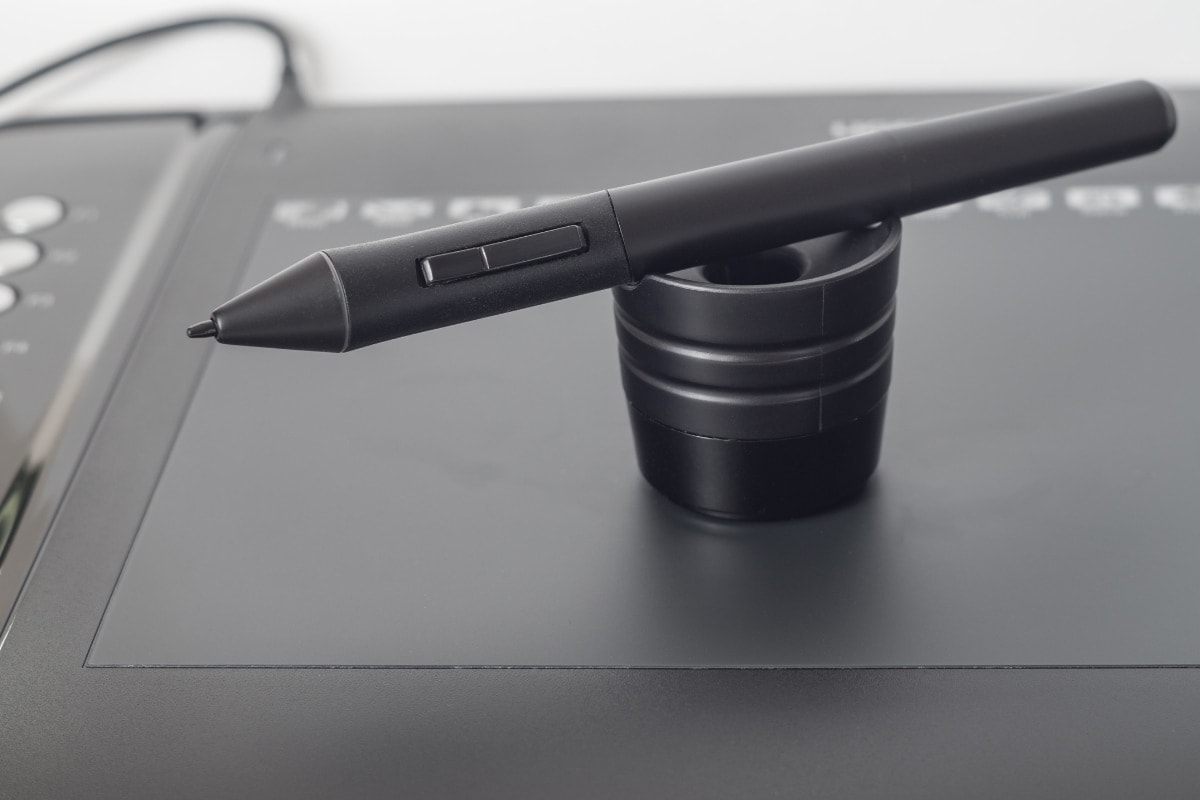
The stylus, also known as the pen, is what you use to ‘draw’ on the tablet. It comes with a few different parts, most notably the nib and eraser. The nib is the piece that comes out of the stylus and actually makes contact with the touchpad. Most graphics tablets will come with various nibs to create different textures and feelings while you draw. Depending on which nib you use, the stylus can feel a bit like a paintbrush or a regular pencil.
On the other end of the stylus is the eraser, which can undo or erase things you’ve created. Since it feels so similar to trying to erase pencil from paper, it’s very intuitive and natural to use. After all, you’ve been using a pencil since your first days of grade school! Not all stylus’s come with eraser tips, but it is a common thing you’ll find across many tablet brands.
Lastly, the pen is what actually affects how a brushstroke appears on your canvas. As I mentioned earlier, by pressing harder with the stylus, you’ll create a darker and thicker line. They can even alter the look of a brushstroke depending on the angle of the stylus itself. Many tablets come with a tilt recognition os +/- 60º of tilt. There’s truly no other way to get this refined of results when drawing or painting an adjustment. The stylus is what makes a graphics tablet so amazing to use.
– Express Keys
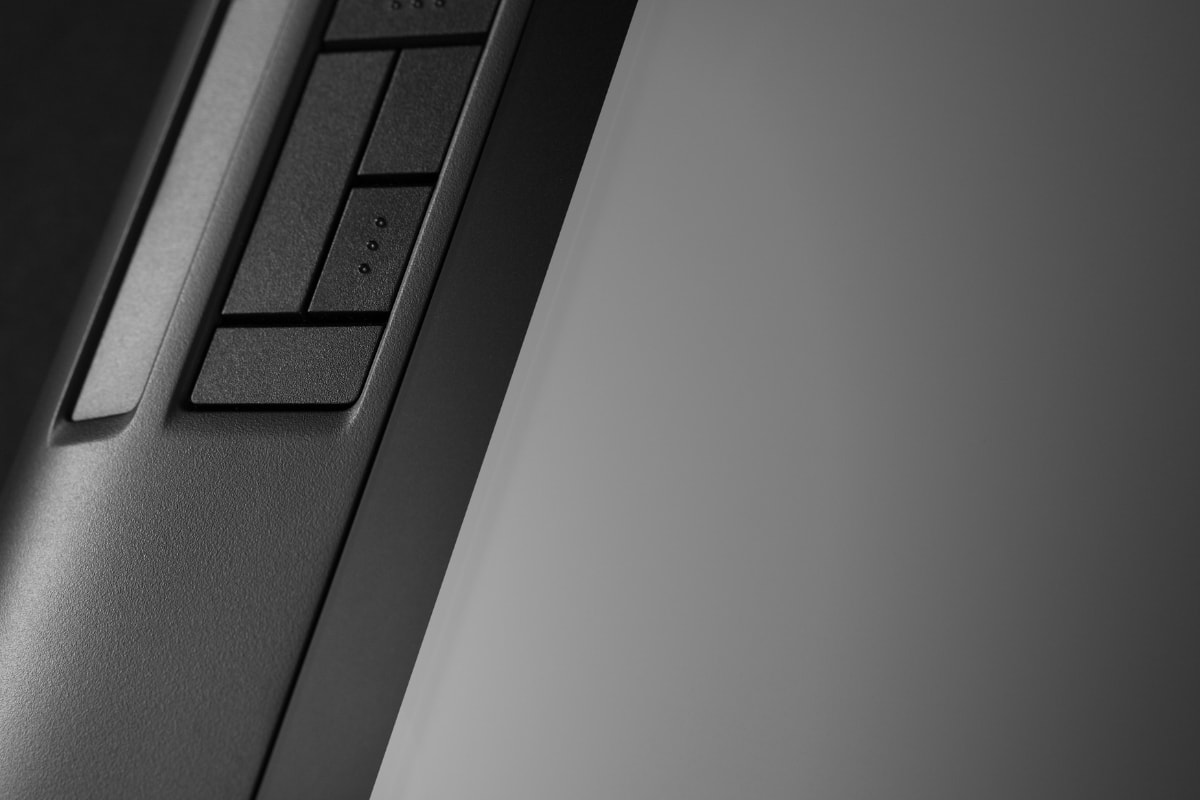
On many graphic tablets are a set of buttons called express keys. These buttons can be mapped to different actions or keyboard shortcuts on your computer to help speed up your workflow. With my graphics tablet, I use the express keys to change brush size, opacity, flow, and other common adjustments I need to make. Meanwhile, I dedicate others for more basic tasks such as undo or zoom in and out.
The easy way to look at express keys is as a shortcut to your shortcuts. Rather than having to punch in a keyboard shortcut, you can press an express key and get the job done instead. Not all graphics tablets will have these features, but they are worth getting if you love to use keyboard shortcuts as much as I do.
– Bluetooth Or Wired Connection
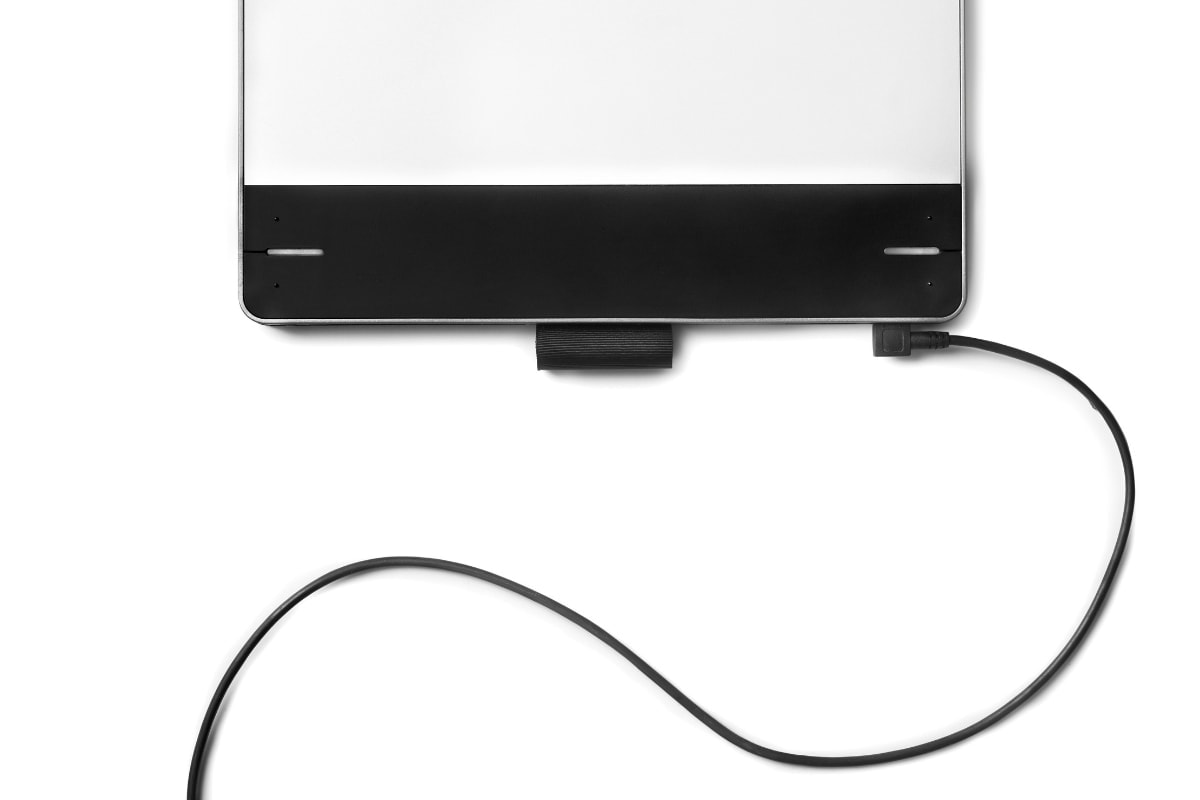
There are a variety of different ways a graphics tablet connects to your computer. You’ll have a Bluetooth or wireless connection via a small wireless USB on most mid-level to high-end tablets. Rather than having to deal with a cable sprawling across your desk, it’s a lot nicer to have a wireless connection of some sort.
On cheaper tablets, they will only come with a wired connection via USB. Both options work, but it’s important to know that there is a difference between how graphic tablets connect to your computer.
– Tablets With A Screen Versus No Screen

Some tablets will have a screen mirror from your computer, while others are just a solid colored touchpad. Depending on the work you’re doing, each one has its pros and cons.
If you’re an illustrator, using a screen-type graphics tablet is extremely advantageous. With a screen, you can perfectly trace things and feel as if you’re actually drawing on a pad of paper. Instead of having a mental disconnect between your hand and the screen, this type of tablet makes the entire process feel more intuitive. However, the real advantages to this are mostly found by anyone who’s drawing with their tablet.
For designers and photographers who aren’t necessarily drawing a picture, a standard graphics tablet with a regular touchpad is perfect. Since you don’t always work with brush strokes, having a tablet without a screen strikes a better balance. That way, the tablet functions well as a regular ‘mouse’ and as a way to make very specific adjustments to your project.
The Price Of A Graphics Tablet
The average price for a graphics tablet sits around $200. However, some are well over $1000 while others are under $50. The price all depends on the capabilities and size of the tablet.
The biggest factor in price usually comes down to the size. Some graphics tablets can be as big as your desk, while others are only a few inches in size. The reason why bigger graphics tablets are used is for artists working on larger art projects. For photographers and graphic designers, you won’t notice the difference between a large and small tablet. I prefer to use a smaller tablet like the Wacom Intuos Pro Small for ease of use and portability.
But I’m also a photographer, so perhaps I’m a little bias…
Since we all like to save money, here are a few awesome graphics tablets worth checking out that are under $100 on amazon:
- XP-PEN G640 Graphics Tablet
- Wacom CTL4100 Intuos Graphics Tablet
- Huion Inspiroy H640P Graphics Tablet
To see a list of my favorite graphics tablets, click here.
Do You Need A Computer To Use A Graphics Tablet?
As you start to shop around for graphics tablets, some of the images can be a little misleading. With screen-type graphic tablets, it’s easy to believe that everything operates off the tablet alone. Unfortunately, that’s not the case.
With screen-type graphics tablets, you need to have a computer to run everything from. Something to run your editing program, hold your photos, and save files to. The tablet is simply mirroring everything that is on your computer and acts as a secondary display with touch capabilities.
As for regular graphics tablets without a screen, your computer still is the only tool you have to actually see what you’re editing. These tablets aren’t meant to replace your computer, but to replace your mouse. Think of them as an accessory to your computer over anything else.
So Should You Get A Graphics Tablet?
The moment you begin working with a graphics tablet, you’ll never look back. Having the added level of control and accuracy with your adjustments cannot be paralleled with another method. Using a graphics tablet has completely changed my workflow for the better and I know they’ll do the same for you.
To start, try getting a cheaper graphics tablet to see how you like it. For $50, you’re not out much if you decide you totally hate it. If you end up loving it, you’ll still have access to a capable tablet that can get the job done. As your needs progress and your work improves, you can upgrade your tablet accordingly.
If you’ve been looking for a way to make artistic work in the digital world feel more natural, a graphics tablet is your answer.
– Brendan 🙂


