
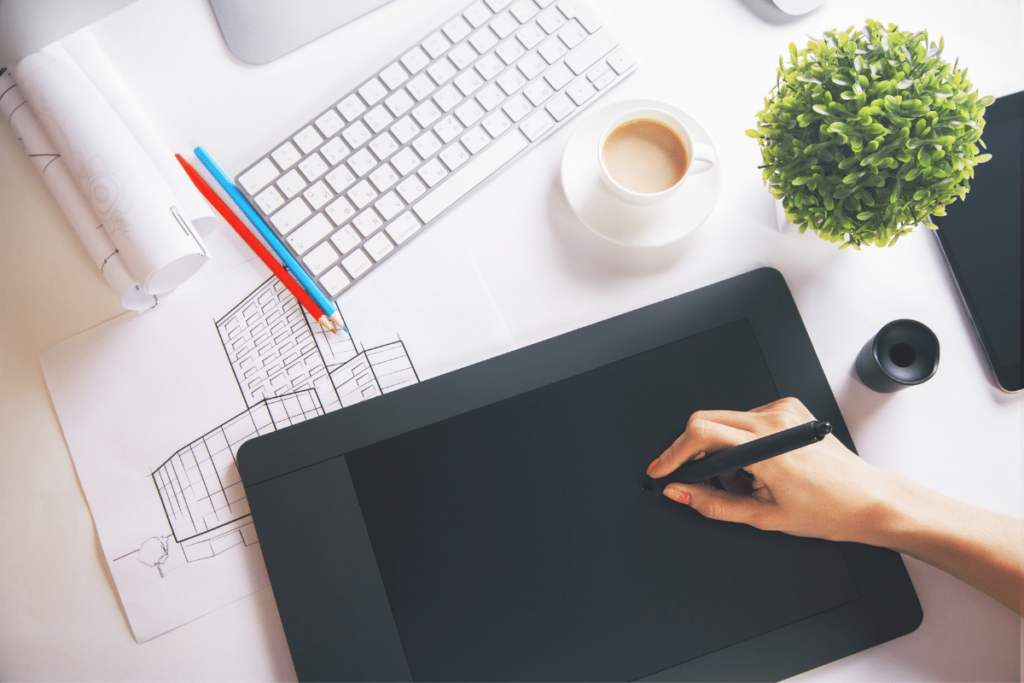
Photo editing tablets are one of the most valuable tools for your editing workflow. These handy devices help to transform your mouse into a paintbrush to make highly accurate adjustments. If you’ve been in the market for photo editing tablets, then you’ve come to the right place. Here’s a round-up of the best editing tablets for photo editing and Photoshop.
Why Are Editing Tablets Useful For Photo Editing?
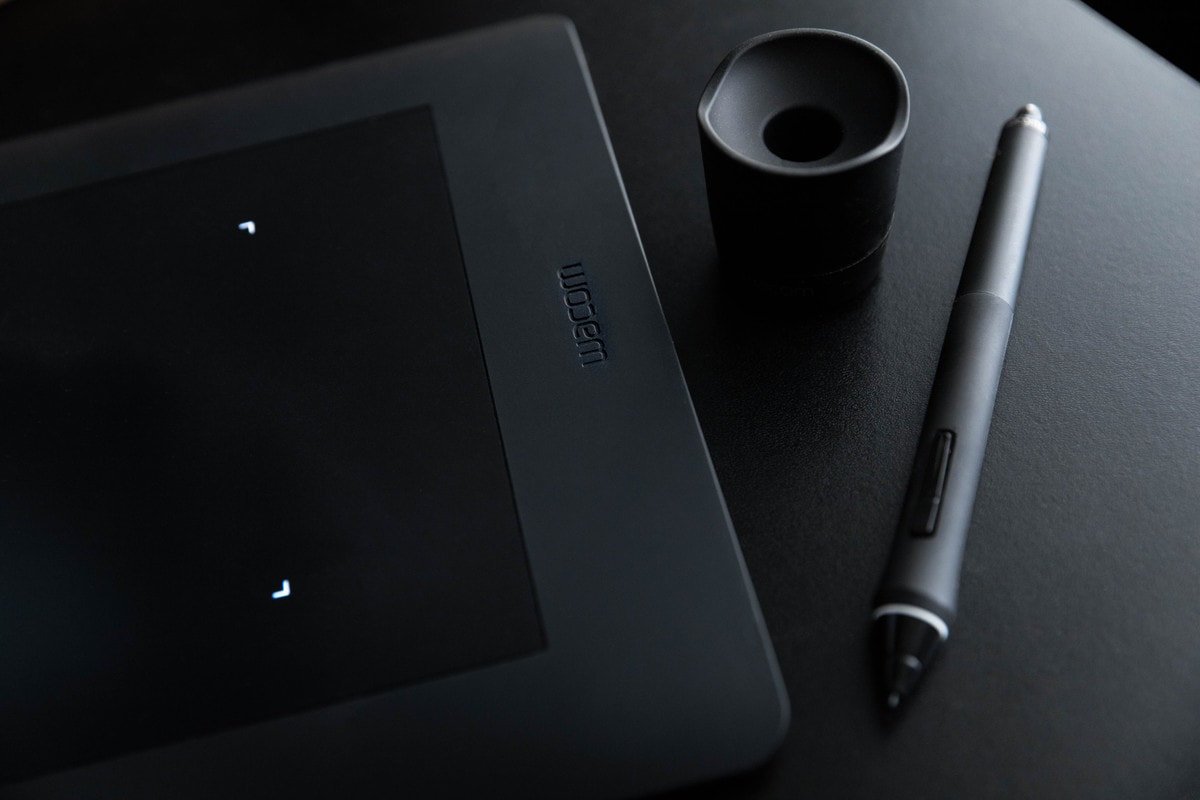
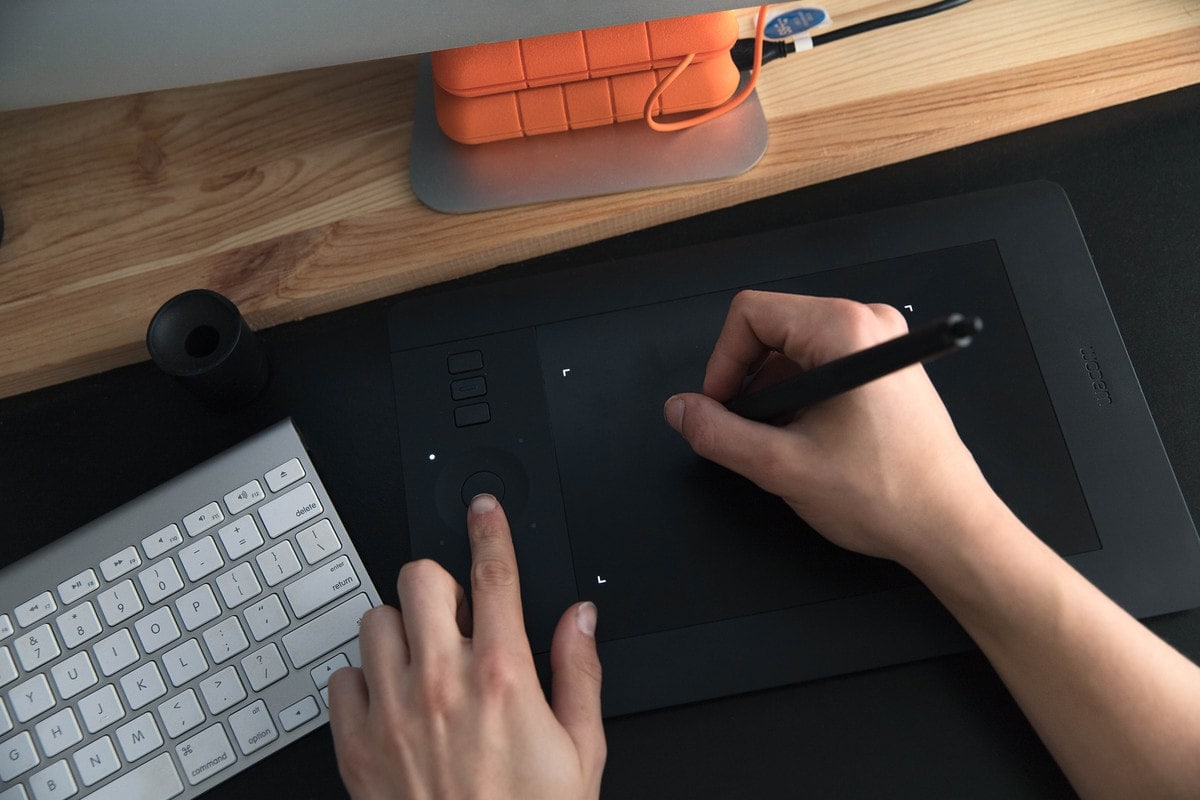
Photo editing tablets allow you to take more control over your adjustments compared to a mouse. I mean, have you ever tried painting a picture with a brick instead of a paintbrush? That’s the best way I can describe how it feels using a mouse after switching to an editing tablet.
Photo editing tablets unlock new potential with the brush tool in Photoshop. Rather than having to continually change brush sizes, a tablet uses pen pressure. Just like when you are drawing on paper, the harder you press will alter the look of the brush stroke. This is exceptionally efficient when making adjustments to layer masks or dodging and burning.
Besides the brush tool, editing tablets give a new feel to the way you edit. Adjustments feel much more intuitive, and it feels as if you’re painting on the image. You can track your screen to a certain area of the tablet, making it like a giant trackpad.
However, unlike a trackpad, an editing tablet uses a pen to give you complete control. On some models of tablets, the pen pressure and angle will change how an adjustment is made on-screen.
Whether you’re using a tablet to fine-tune your adjustments, create composite images or illustrations, they are one of the most valuable tools you can own as a creative.
Types Of Photo Editing Tablets
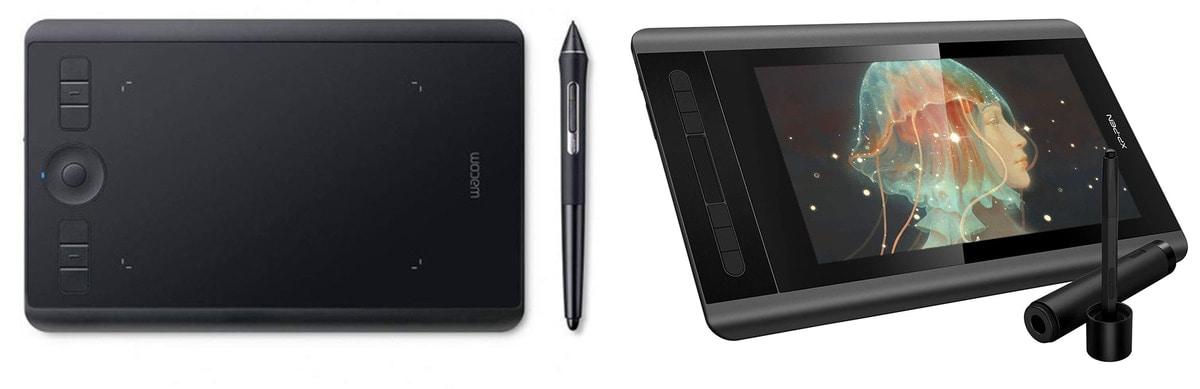
When you boil it all down, there are only two types of editing tablets. The first option is a trackpad type tablet, while the other is a screen-type tablet. Each is valuable in its own right, but it’s important to consider which best suits your style.
Trackpad type tablets do not have a screen. Only a pad, pen, and even a few express keys on certain models. This type of tablet replaces your mouse and makes adjustments on your actual computer screen. This is a common editing tablet amongst photographers as it’s simple and lets you use your actual computer monitor. That way, you can trust the colors you see to be true!
The second type of tablet is the screen type. The screen tablets typically connect to your computer via USB and HDMI to display your screen on the tablet. From there, you can use the editing tablet to directly draw onto your image as if you’re painting. This is a preferable option for anyone who does illustrations or graphic overlays in their photography.
Regardless of which tablet best suits you, this post shares a few great options for all types of photographers!
Best Editing Tablets For Photo Editing And Photoshop
Now let’s get into the nitty-gritty of the best photo editing tablets for photographers. Below is a list of some of the best tablets currently on the market. Each varies in price and capabilities, but all are worthy options for you. Be sure to consider your own editing workflow to decide what specs (and cost) seem most suitable for you!
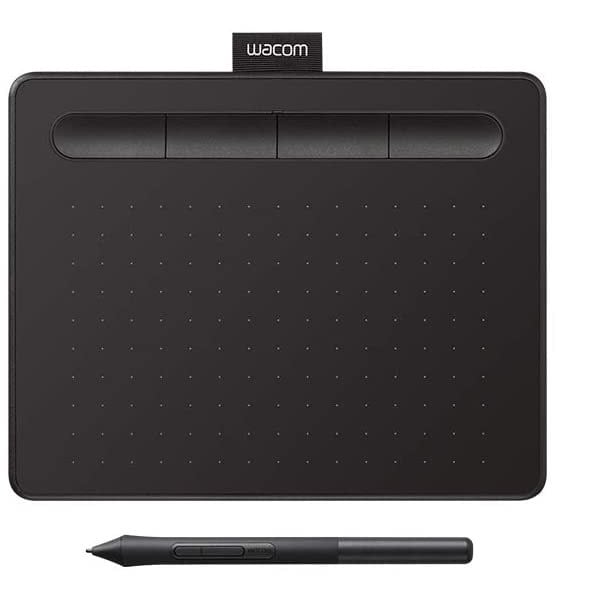
#1. Wacom Intuos CTL4100 (Most Popular)
Wacom Intuos CTL4100 Specs:
- 4096 Pen Pressure Points
- 2540 LPI (Lines Per Inch)
- USB Connection (Unless purchasing Bluetooth model)
- Comes in one size of 7.9″ x 6.3″ (6.0″x3.7″ drawing area)
- Compatible on Mac and PC
- 4 Application-Specific Expresskeys
- Multi-touch: YES
- Tilt-Sensitivity: NO
This tablet is a perfect starting ground for any photo editor or digital artist. Its small size is ideal for travel or limited desk space. It’s complete with pressure sensitivity to make brush adjustments easier than ever. Depending on how hard you press, the output of your brush will change, similar to when you draw on paper!
It has 4 customizable express key shortcuts along the top of the tablet that can be customized as you see fit. For example, you could map the ‘undo’ or ‘export’ command to an express key on the tablet.
It connects to your Mac or PC via USB and comes complete with a battery-free pen. Now you can forget about having to charge your tablet before use! The Wacom Intuos CTL4100 is hands down the most powerful and affordable editing tablet for Photoshop and other editing programs.
Check The Latest Intuos CTL4100 Price
#2. Wacom Intuos Pro (Editors Choice)
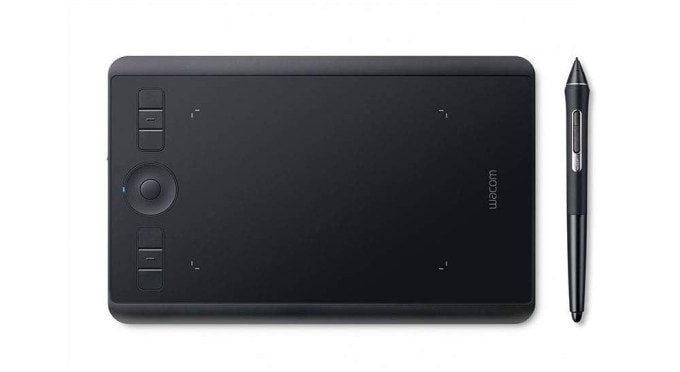
Wacom Intuos Pro Specs
- 8192 Pen Pressure Points; 2048 Pen Pressure Points on the small version
- 5080 LPI (Lines Per Inch) Resolution
- Bluetooth Connection to computer or mobile; USB connection also available
- Comes in Small, Medium, and Large
- Compatible on Mac and PC
- 8 customizable Expresskeys; 6 customizable Expresskeys on the small version
- Multi-Touch: Yes
- Radial menus & customizable touch ring
- Pro Pen 2 included
- Tilt-Sensitivity: YES, +/- 60-Degrees
- 2 months FREE Adobe Creative Cloud Photography Plan
The Wacom Intuos Pro tablet is an absolute powerhouse for all photographers. This tablet ups the ante with 5080LPI, +/- 60-degree tilt recognition, pressure sensitivity, wireless connectivity, and more.
If you’re looking for one of the best photo editing tablets money can buy, then look no further. I have personally been using this tablet for several years and have zero complaints. It comes with 6 customizable express keys for you to map any keyboard commands you’d like to.
This Wacom tablet also comes complete with a radial menu to add more commonly used shortcuts to. The radial button can be further adjusted to a specific command. For example, I set mine to change brush size by moving my finger around the circle.
The Wacom Intuos Pro tablet utilizes the Pro Pen 2, which is one of the most powerful and versatile pens Wacom has to offer. Another interesting feature of this pen is a built-in eraser. Want to get rid of an adjustment? Simply flip the pen and erase it away! To really add a cherry on top of it all, you can get 2 months of free of Lightroom and Photoshop when you register your tablet.
Check The Latest Intuos Pro Price
#3. HUION KAMVAS Pro 12 GT-116
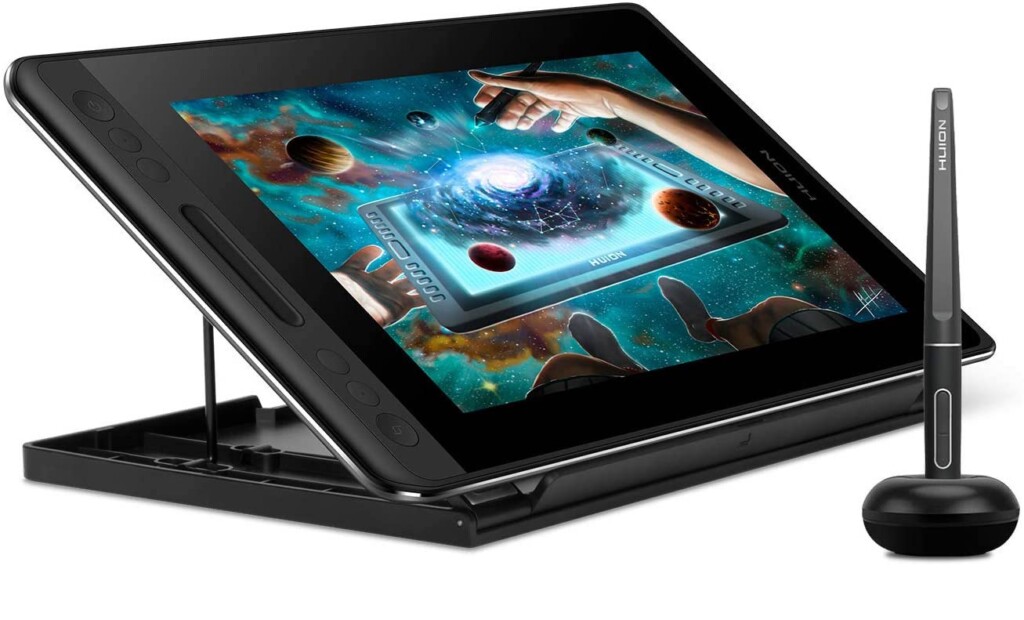
Huion Kamvas Pro 12 GT-116 Specs:
- 8192 Pen Pressure Points
- 5080 LPI (Lines Per Inch)
- Wired Connection Via USB and HDMI
- 4 Customizable Shortcut Keys
- Customizable Touch Bar
- 120% sRGB Color Gamut
- 1920×1080 HD Resolution
- 11.6″ Display
- Tilt Sensitivity: YES, +/- 60-degrees
- Compatible On Mac And PC
This screen type tablet offers a beautiful, laminated 11.6″ 1920×1080 HD resolution display. It has a 120% sRGB color gamut meaning it can see more colors in their true vibrance with reduced color bias. The Huion Kamvas Pro also comes with an aluminum rear case to protect the tablet and a holding tray to work at the optimal viewing angle.
The sensitivity is nothing to scoff at, coming in at 8192 pen pressure points with +/- 60-degree pen tilt recognition. It comes complete with 4 customizable shortcut keys and a touch bar that can be mapped to a specific action.
For example, you can use the touch bar to zoom in or out of your photo or even change the brush size! This tablet has an industry-leading report rate at 266PPS, which means virtually no lag as you edit. Lastly, this tablet can be easily connected to your Mac or PC via USB and HDMI connections.
Check The Latest Kamvas Pro 12 Price
#4. XP-PEN Artist12
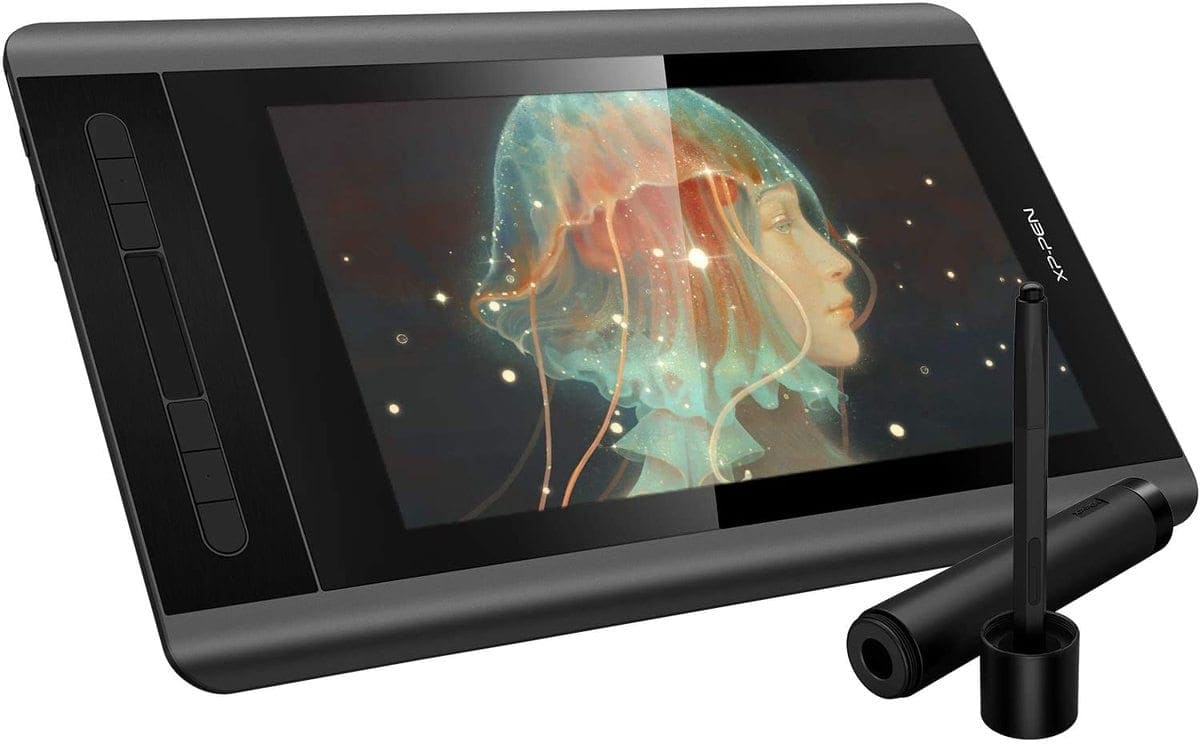
XP-Pen Artist12 Specs:
- 8192 Pen Pressure Points
- 5080 LPI (Lines Per Inch)
- 11.6″ 1920×1080 HD Display
- Anti-Reflective Coating To Reduce Glare
- 72% NTSC Color Gamut
- 6 Customizable Shortcut Keys
- Customizable Touch Bar
- Wired Connection Via USB And HMDI
- Tilt Recognition: NO
- Compatible With Mac And PC
The XP-Pen Artist12 tablet is another screen type tablet that boasts an 11.6″ 1920×1080 HD display with an anti-reflective coating to reduce screen glare. It has a 72% NTSC color gamut to display the vibrance in any photo you edit.
This tablet has 8192 pen pressure points, 6 customizable shortcut keys, and a slim touch bar to speed up your workflow. The Artist12 comes with the advanced P06 passive pen designed to feel and operate the same as a real pencil. This makes it perfect for fine adjustments or graphic design work you may find yourself creating.
The XP-Pen Artist12 editing tablet connects to your computer via HDMI and USB connection on both Mac and PC. If you’re looking for a quality screen type editing tablet for Photoshop or other programs, the XP-Pen Artist12 could be your perfect answer.
Check The Latest XP-Pen Artist12 Price
#5. Huion Inspiroy H1060P
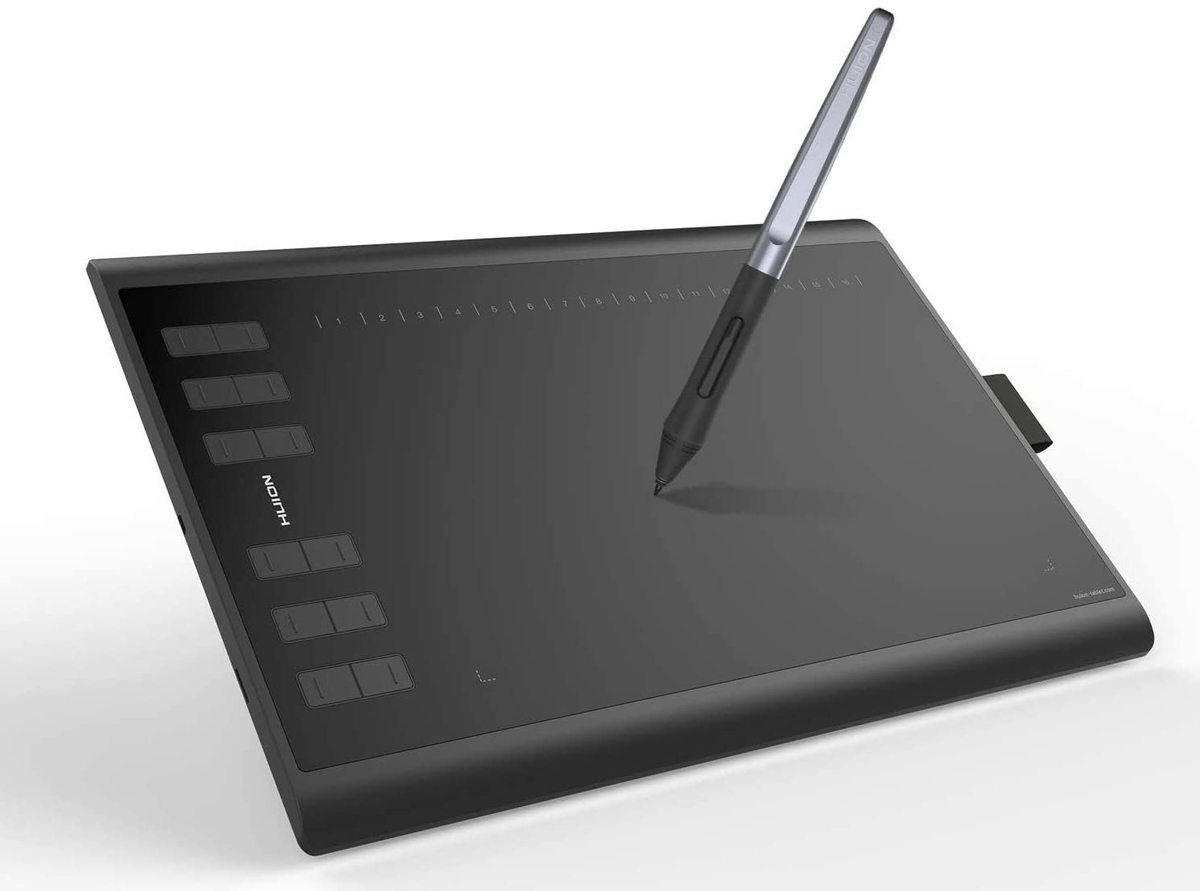
Huion Inspiroy H1060P Specs:
- 8192 Pen Pressure Points
- 5080 LPI (Lines Per Inch)
- 10″ x 6.25″ Working Area
- 12 Customizable Hard Keys
- 16 Customizable Soft Keys
- Wired Connection Via USB
- Tilt Recognition: YES, +/- 60-Degrees
- Compatible With Mac And PC
The Huion Inspiroy is a touchpad type tablet with an ergonomic working area of 10″ x 6.5″ with 8192 pen pressure sensitivity points. With the amount of pressure sensitivity points and a 5080LPI, there is virtually no lag to be found with this tablet. You can rest assured that your adjustments happen in real-time.
Unlike other tablets, the Inspiroy comes with 12 hard and 16 customizable soft keys for the ultimate level of accessibility and control in your workflow. To make things even better, this tablet has a +/- 60-degree pen tilt recognition and can swap between painting and eraser modes with the click of a button.
The tablet connects to your Mac or PC via a USB connection, and you can get additional add ons to use the tablet with your phone. This tablet is one of the more affordable on the list but doesn’t drop the ball in quality. If you’re looking for a great all-around photo editing tablet at an affordable price, the Huion Inspiroy H1060P is an optimal choice!
Check The Latest Huion Inspiroy Price
What Are Graphics Tablets For In Photoshop?
With a graphics tablet, you gain access to more precise controls and brush adjustments in Photoshop. By using the pen of a graphics tablet instead of a mouse, you can control things like pen pressure, angle, and brush size while editing an image. For graphic design work or refining layer masks, graphics tablets are a valuable tool to have.
– To Enable Pen Pressure
The first advantage you’ll notice when using a graphics tablet in Photoshop is how easy it is to make brush strokes. Rather than setting your brush size or flow beforehand, with a pen, you can simply change the way you draw.
For example, by painting lighter brush strokes on your tablet, you can get a more opaque brush stroke on your canvas. Similarly, by changing the pressure of your pen on the tablet, you can get different brush sizes as well.
Whether you’re going digital drawing or refining a layer mask, pen pressure makes a huge difference while photo editing.
– For A More Natural Feeling Workflow
If you aren’t used to drawing things on a computer, it can feel clunky and awkward at first. However, with an editing tablet, the editing process feels more intuitive. Similar to drawing on a piece of paper, your adjustments seem to make more sense in your head while using a tablet.
At least that’s what it does for me.
With a more relaxed and natural feel to adjustments, I always prefer using an editing tablet over a mouse.
– For Precise Brush Adjustments
Whether you’re outlining a photo, drawing something, or working with a layer mask, we all do a lot of drawing in Photoshop. Traditionally, you have to constantly rescale the brush to get the types of adjustments you’re looking for. With an editing tablet, that’s not the case.
By controlling the angle of your brush, the density, size, and more, using an editing tablet makes brush adjustments effortless.
– Multi-Touch Features & Hotkeys
With editing tablets that have multi-touch functionality or hotkeys, this is another great addition to your workflow in Photoshop. By mapping your favorite shortcuts to different buttons on your tablet, you can speed up those mundane parts of editing. For example, you could map a hotkey to undo and redo, so you don’t have to use a keyboard shortcut.
As for multi-touch, this is a useful tool to make zooming in and out or adjusting brush sizes a lot easier. Simply by moving your fingers across the tablet or touch ring, you can quickly make these types of adjustments.
How To Choose The Best Photo Editing Tablet For Photoshop
Before you make the jump and purchase an editing tablet for Photoshop, let’s first break down some important factors to consider. Depending on what you’re looking for in a tablet, some models will offer more value to you than others. Don’t always assume the most popular option will work best for you too!
1. Consider What You Need It For
A graphic designer will want something different than a photographer. In most cases, photographers tend to like the touch-pad style tablets that don’t have a screen. Since you can still use the colors and brightness from your computer display, you can trust the image you’re looking at.
However, for digital artists or graphic designers, there’s a big advantage to drawing on the image you’re working with. With a screen-type editing tablet, it’s a lot easier to draw lines or create doodles when your pen is physically over the image.
Depending on the types of things you want to do with your tablet, first, decide whether a screen or touch-pad type tablet will work best for your needs.
2. Have A Budget In Mind
Photo editing tablets range in price from less than $50 to well over $1000. Just because you’re paying more money doesn’t always mean you’re getting more value.
If you’re getting into your very first editing tablet for Photoshop, consider sticking under $100. In this range, the tablets don’t necessarily have all the bells and whistles but offer more than enough to get started. Once you get more experienced with your tablet, you can upgrade to something higher-end that offers additional multi-touch features and hotkeys.
A great budget-friendly option I like to recommend to first-time tablet buyers is the Wacom CTL4100 tablet. Coming in at around $80, it’s a small but mighty tablet that will suit all your photo editing and graphic design needs.
3. Portability
Editing tablets can be small enough to fit in a bag or large enough to host a family dinner around. Before you buy an editing tablet, think about the size you’re looking for. If you plan to bring your tablet with you on the go, then obviously, a more compact option is the way to go.
However, if you have space (and the money), then perhaps you might see an advantage in using a larger tablet.
For most photographers, a smaller tablet is more than sufficient. I have a small-sized Wacom Intuos Pro tablet, and I’ve mapped my screen area to be just 38% of the entire active area. That means I don’t touch 62% of the tablet while I’m working. I can’t imagine needing anything bigger.
With that said, as a graphic designer, it can be nice to have a larger working area if you have a larger scale project you’re working on.
4. Speed And Accessibility
If you’re interested in saving as much time as possible in your editing workflow, then you’ll love having express keys on your tablet. Like I mentioned earlier, you can map all your favorite shortcuts to different buttons on your tablet. It might not seem like much, but it makes a big difference in how fast you can access your regular commands and shortcuts.
If this type of feature is important to you, refine your search, and only consider tablets with these buttons!
Conclusion
So that concludes my list of the best editing tablets for photo editing and Photoshop. These 5 tablets are all worthy options for any level of photo editor out there. The big difference for you to decide will be between the type of tablet you purchase. Both screen and touchpad type tablets are fantastic tools for photo editing, so you can’t go wrong either way!
I use the Wacom Intuos Pro tablet for my photo editing, and I absolutely love it. There is zero lag, has a functional and nice feeling pen, with the perfect number of shortcut keys and additional features to make it worthwhile. It does sit on the more expensive side of tablets compared to other options on the list but is still worth considering. After you get your hands on one, I’m sure you’ll understand my fangirl feelings towards it.
What photo editing tablets have you used before that aren’t on this list? I would love to hear what brands or editing tablets you’ve loved using in your work! Let me know in the comments below.
Now that you have your editing tablet figured out, it’s time to start honing your skills in Photoshop. To help get you started, check out my 10-Step Process To Editing Photos In Photoshop!


