
How To Use Sky Overlays In Photoshop
You just captured a photo you really love, but there’s one problem. The sky just doesn’t look like you hoped it would. You had imagined some sort of fluffy clouds or epic sunset for your photoshoot, but instead, you got storm clouds or some flat white overcast. We’ve all been there. Rather than feeling shut down by the weather and waiting for a nicer day, you can use sky overlays in Photoshop to transform any dreary day into a perfectly clear one.
To use sky overlays in Photoshop, you need to:
- Add your sky overlay as a new layer.
- Place it above the image you want to replace the sky of.
- Change the sky overlay layer blend mode to Multiply or Overlay.
- Use a layer mask to refine where the sky overlay is visible.
- Adjust the contrast of the sky overlay to blend with your photo.
Now, if you’re not familiar with Photoshop, all this might seem a bit daunting. Fortunately, the entire process can be done in just a few minutes, and you’ll feel like a Photoshop extraordinaire when you’re done! Let’s dive into the step by step process behind using sky overlays in Photoshop.
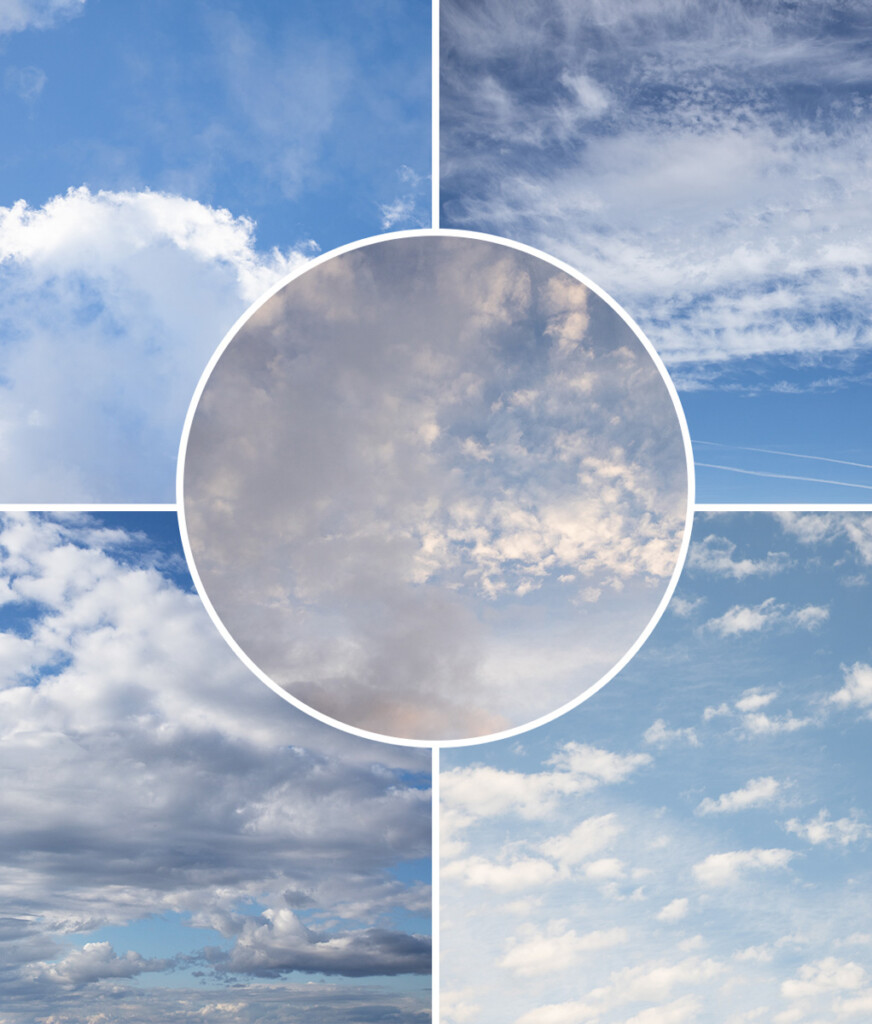
Before You Start… Download These 5 Free Sky Overlays To Practice With!
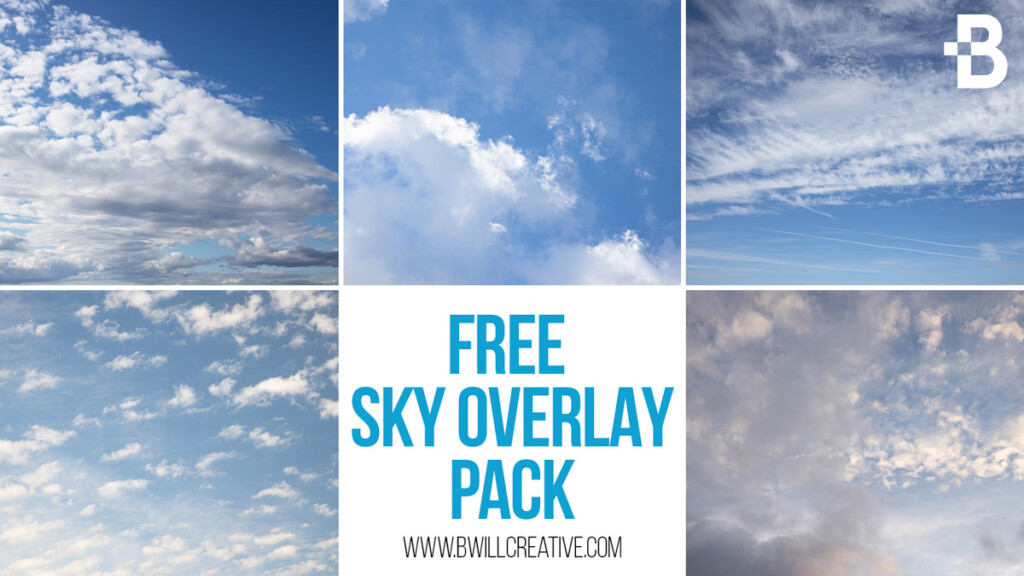
Before you begin, you’ll need to have a sky overlay to work with! If you already have a sky overlay, then you’re all set for the next section. If not, then you can download these 5 free blue sky overlays to use and practice with for this effect!
With these free sky overlays, you get ultra high-res images that are guaranteed to match the quality of any camera you’re shooting with. That way, you don’t end up with unwanted grain or coloring like is commonly found in photos from free stock photo sites.
How To Apply Sky Overlays Into Your Pictures In Photoshop
By following these simple steps to adding in a sky overlay, any gloomy day will be transformed with a few easy techniques. Here’s how it’s done.
Step 1: Import Your Sky Overlay
I’ll be working with my free sky overlay pack for this tutorial that you can download here. Once you’ve downloaded this pack (or have images of your own), make sure you know where the folder is saved on your computer for easy access when importing.
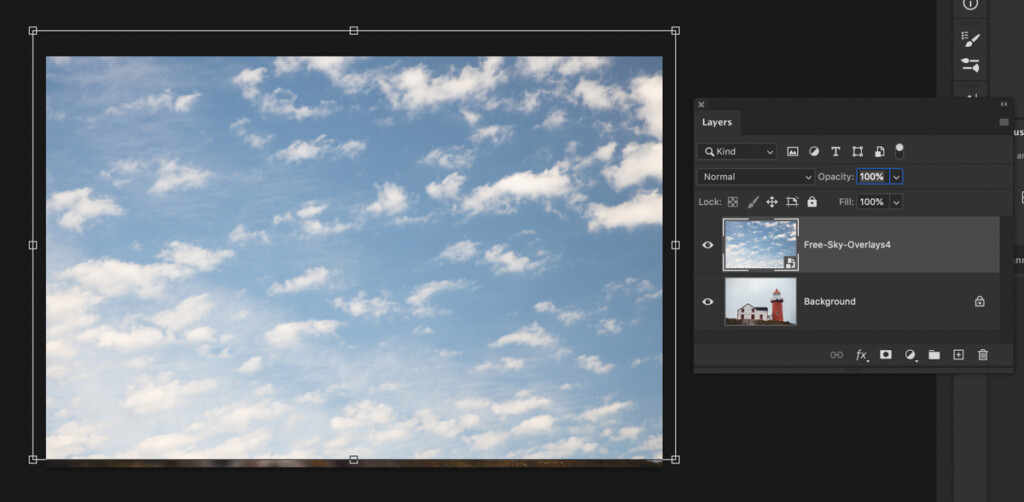
The easiest way to add a sky overlay in Photoshop is to simply drag and drop it from your computer into Photoshop. With your sky overlay folder open, select the sky you want, then drag and drop it into the Photoshop document.
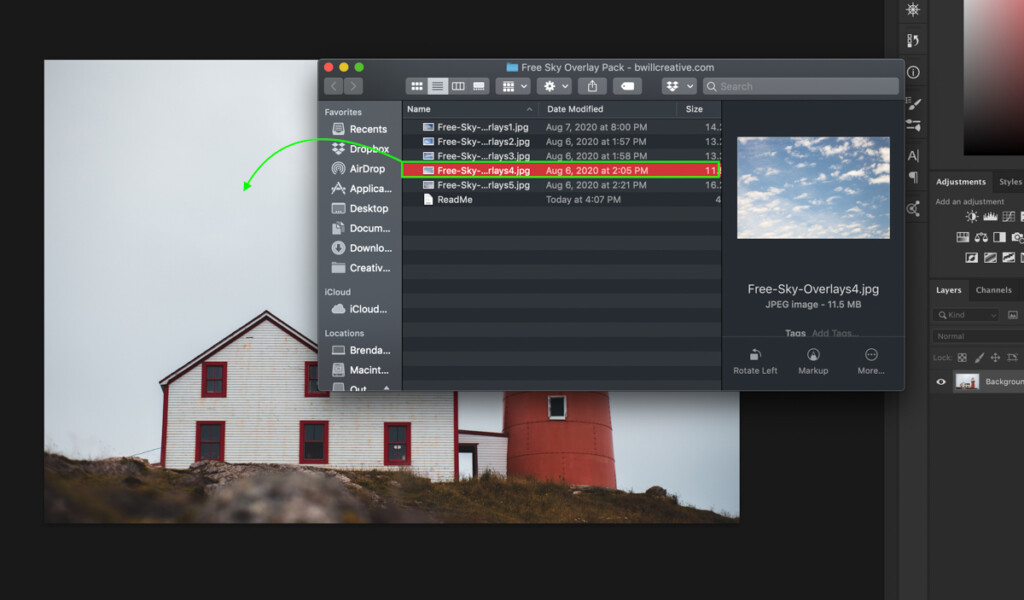
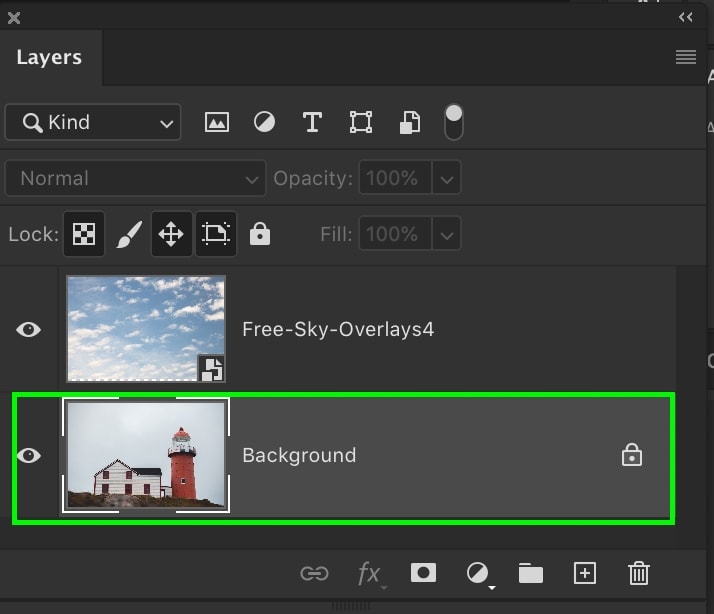
This will add the sky overlay as a new layer in your project.
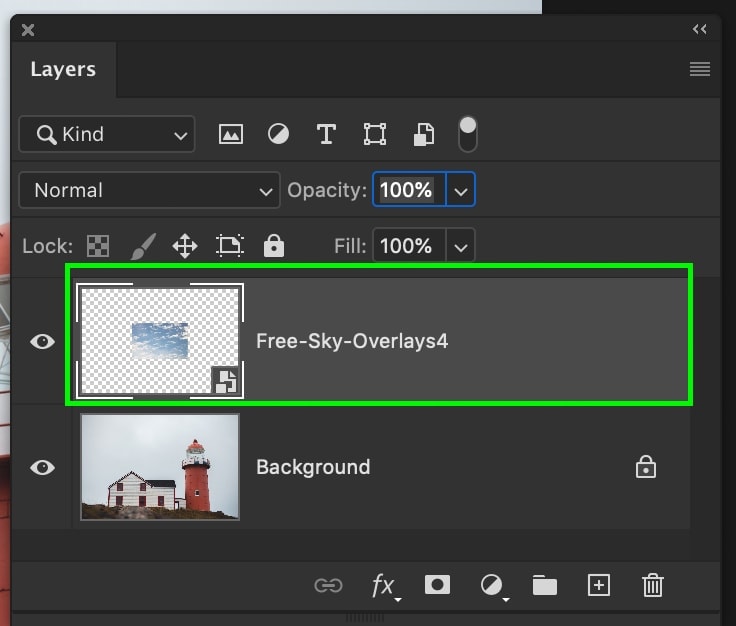
Depending on your project’s size, you may need to rescale the overlay to better fit with your photo. By selecting your move tool by pressing V, you can click and drag on the transform box to adjust the size of the sky overlay layer.
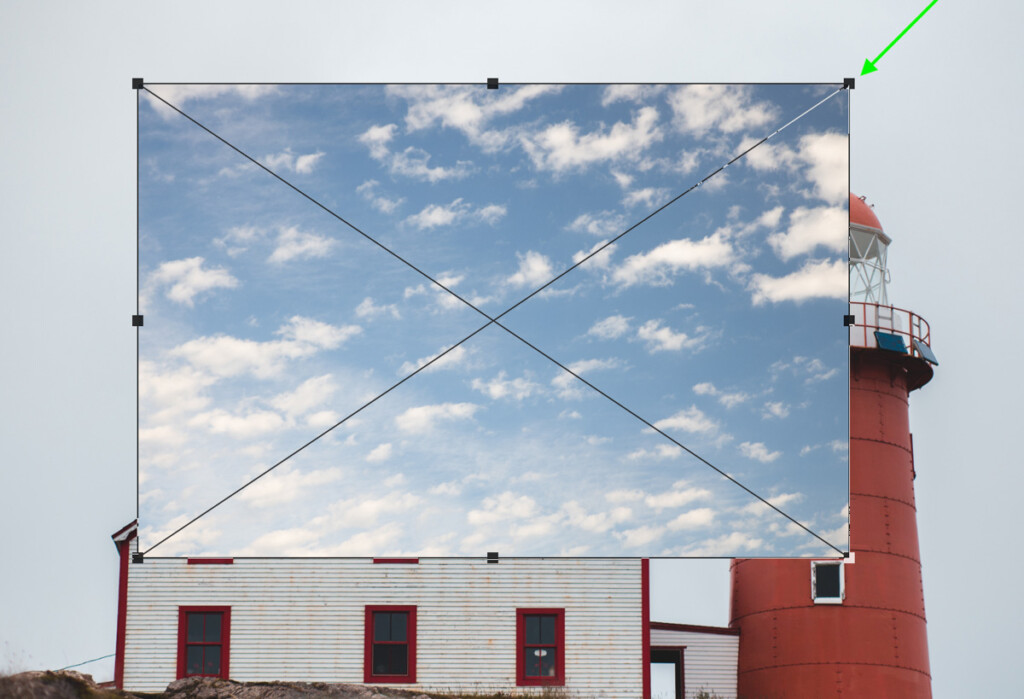
Continue to resize and position the sky overlay layer until it covers the whole sky in your original photo.
Step 2: Change The Layer Blending Mode
The beauty of sky overlays is that you don’t need to cut out anything from your image. Unlike a sky replacement, an overlay simply applies a new sky over top of your old one. This is done with the help of layer blending modes.
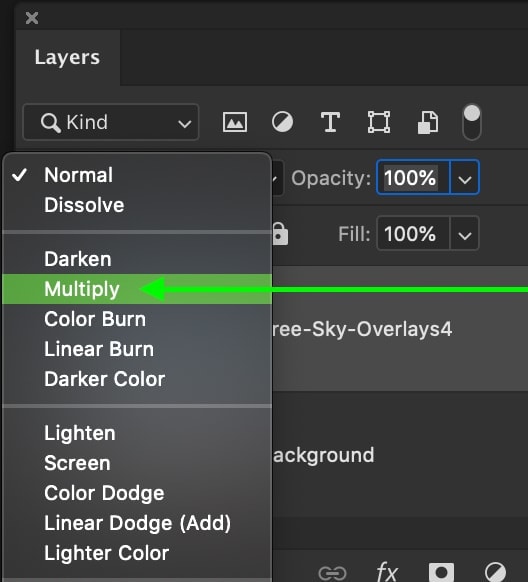
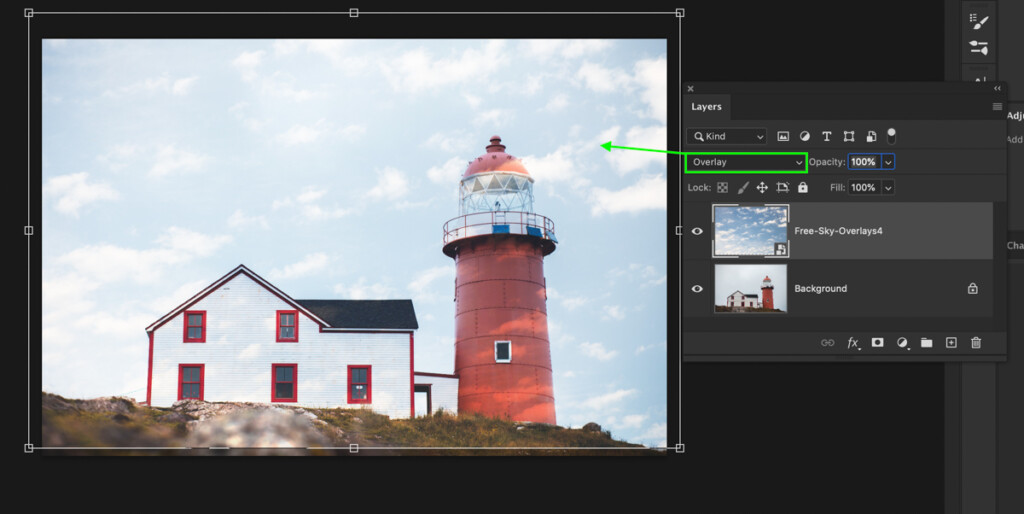
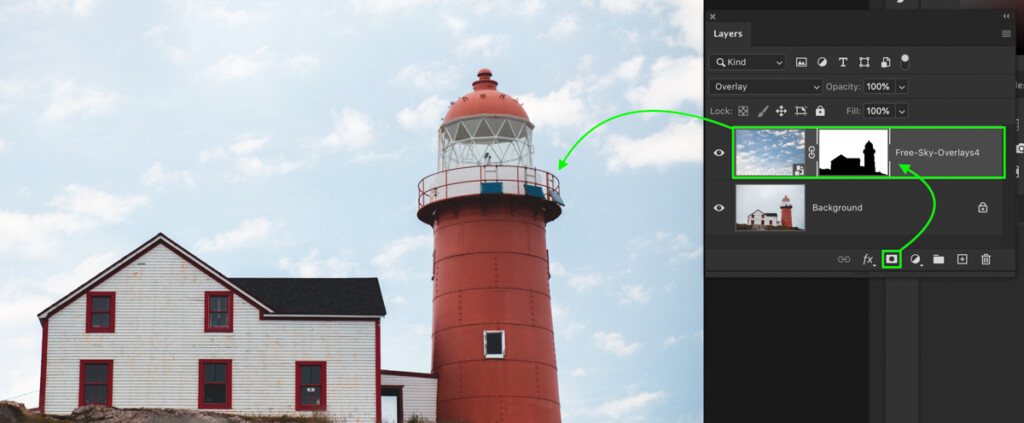
With the sky overlay layer selected, change the layer blending mode to either multiply or overlay.
The one you choose will all depend on how your original sky looks. If it’s more overexposed and white, you’ll want to use the multiply blending mode. That way, your sky overlay doesn’t appear blown out and will blend better with your picture.
On the other hand, if your picture has a darker sky (like storm clouds), then the overlay blending mode is a better choice. Since this blend mode adds a significant level of contrast, it helps to lighten up a gloomy sky and create the most realistic sky overlay effect.
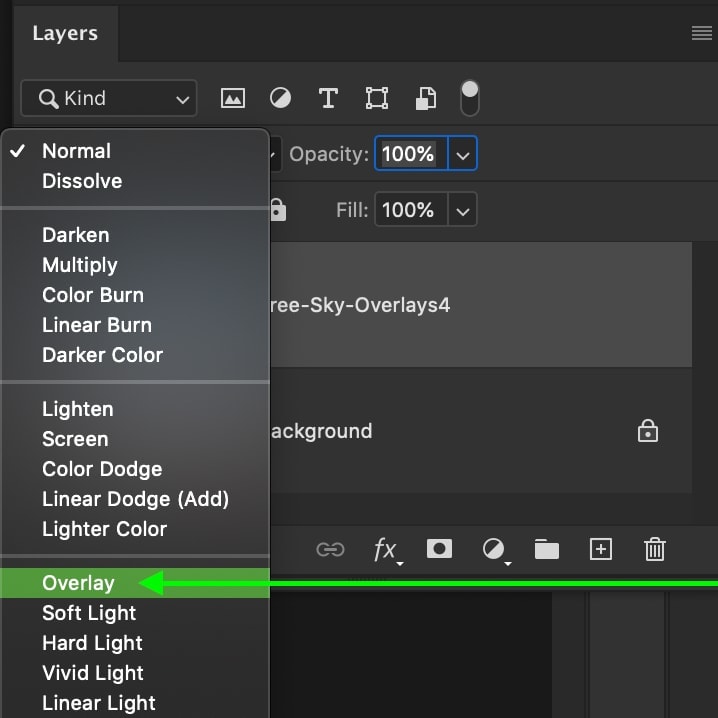
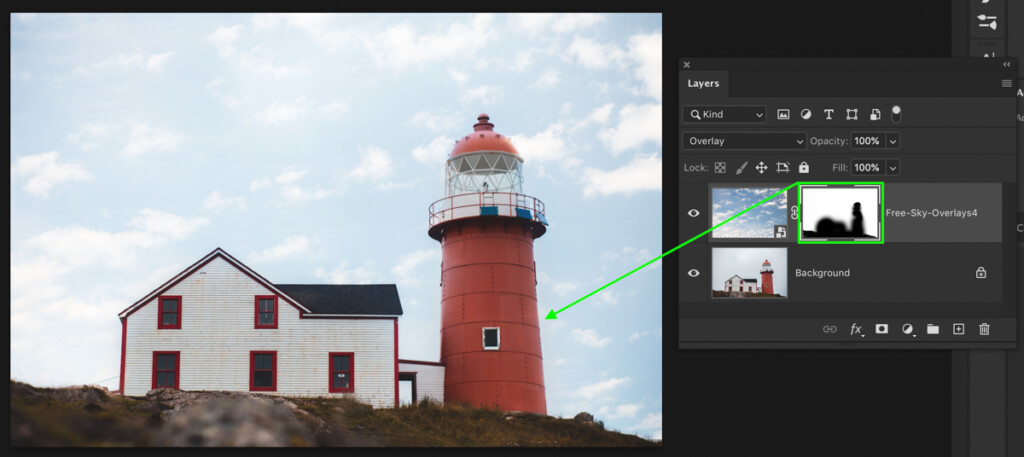
Ultimately, if you aren’t sure, try both and see which one looks best for your photo. In the case of this lighthouse picture, I’ll opt to use the overlay blend mode since the original sky is on the darker side.
Step 3: Refine The Sky Overlay To Fit Your Photo
At this point, your sky overlay looks blended into your photo, but you can still see all the edges. You don’t want to have any part of the overlay visible except for in the sky. Rather than erasing the overlay layer, you can use a layer mask to edit non-destructively.
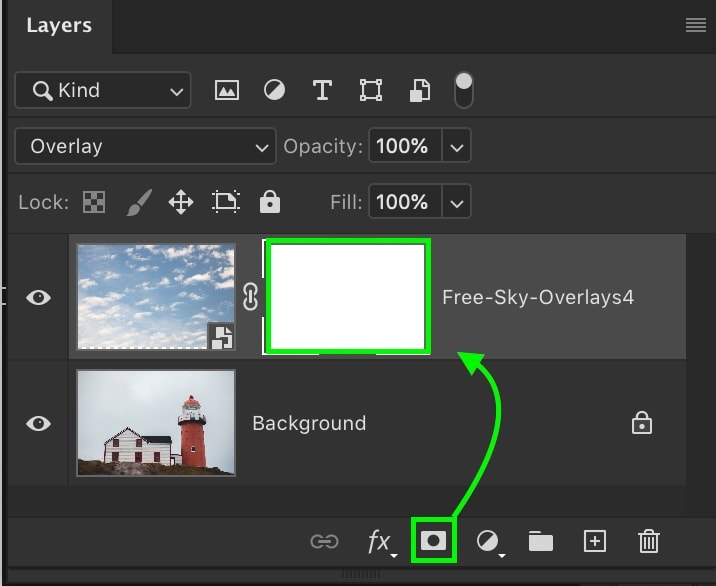
First, select your sky overlay layer and create a new layer mask.
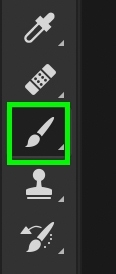
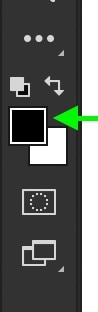
Next, grab your brush tool (B) and set the foreground color to black.
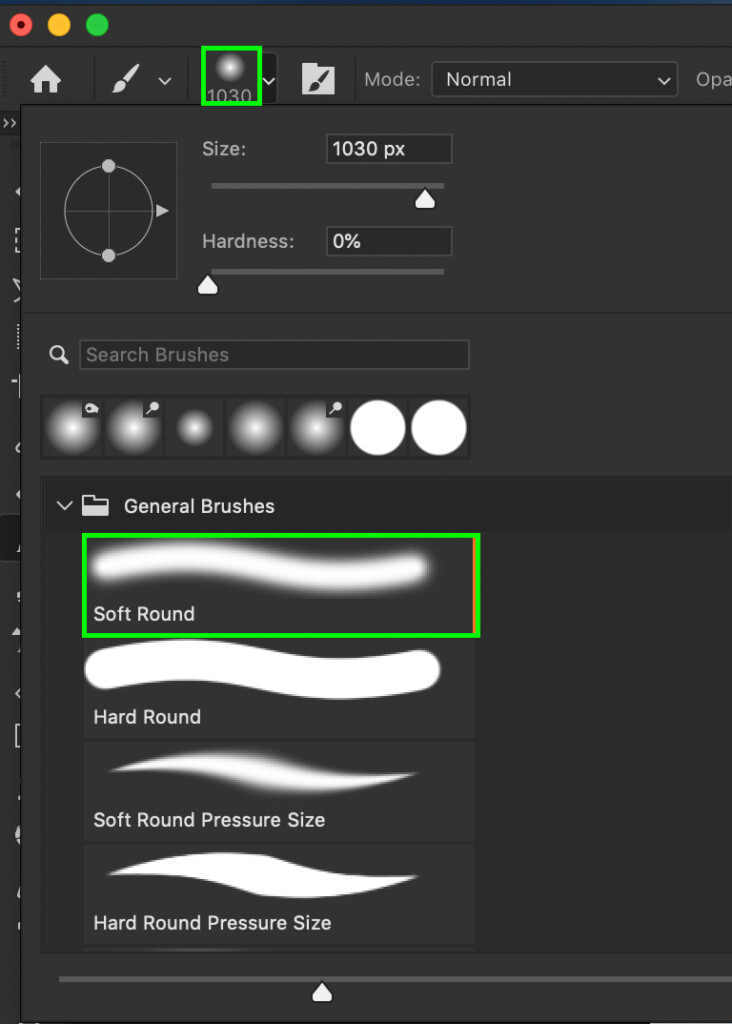
Going to your brush settings, make sure you’re using a soft round brush with an opacity and flow of 100%.

With your layer mask selected (indicated by the white highlight around the mask), begin painting over the areas of your sky overlay you want to get rid of. You can resize your brush tool by using the [ or ] keys. Be careful not to go over the edges of things, or else you’ll create an unwanted haloing effect.
If you accidentally mask out an area you wanted to keep, you can add it back by switching your foreground color to white (X). When you paint with white, you’ll reveal any hidden parts of the sky overlay layer.
Repeat this process until the sky overlay is blended into your picture.
– Using Selection Tools To Speed Up The Process
If your photo has a lot of edges to mask out, you will save yourself a lot of time by using a selection tool. Rather than masking out the sky overlay manually with the brush tool, using something like the quick selection tool will often do a better job in less time. If you’re feeling up to trying out this simple selection tool, then you’ll love this alternative method!
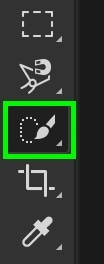
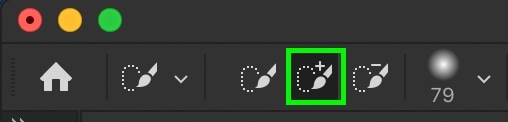
To access the quick selection tool, press W, or find it in your toolbar. Make sure your selection mode is set to add selection via the upper settings bar.
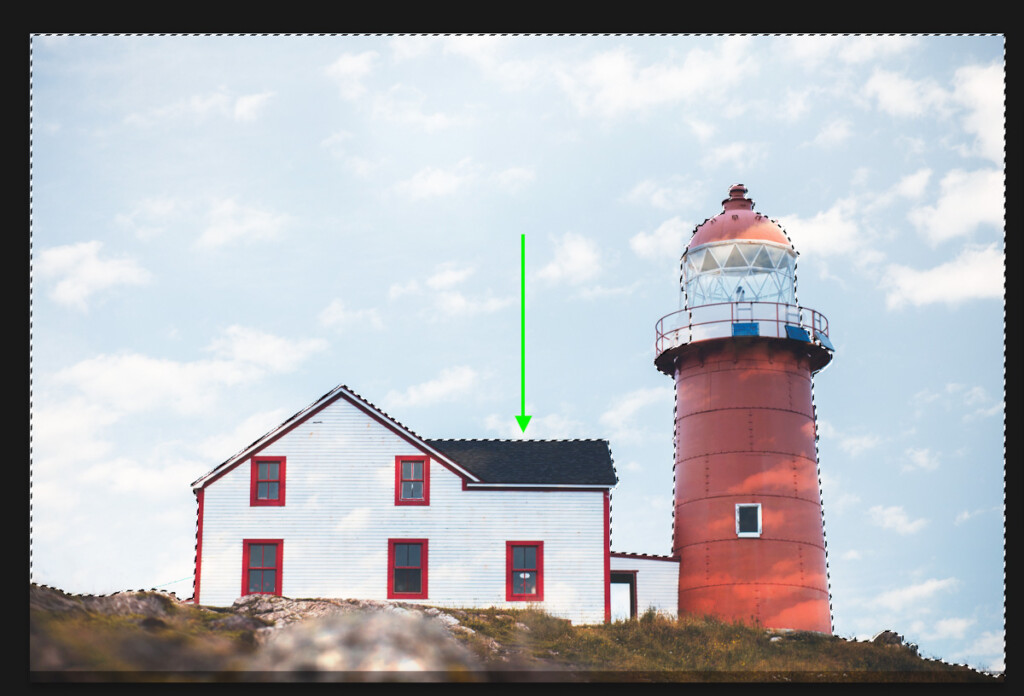
Select your original image layer from the layers panel and begin painting along the edges in your photo. Rather than painting color onto your image, the quick selection tool paints an active selection. Continue along all the edges of your sky until the entire area is selected.
Although the quick selection tool does a pretty good job, it can make some mistakes.
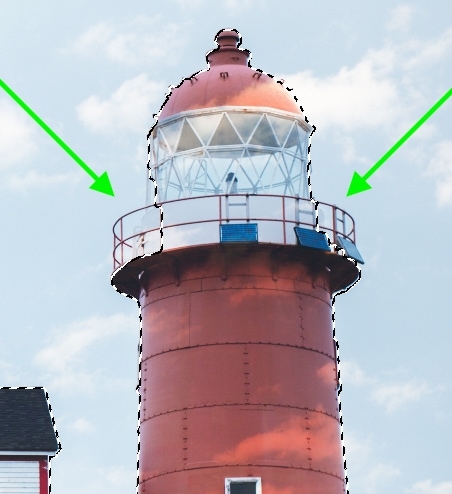
If you see areas of your photo that you don’t want to be selected, hold the Alt or Option key and paint over the unwanted area. This will delete your selection rather than adding to it.
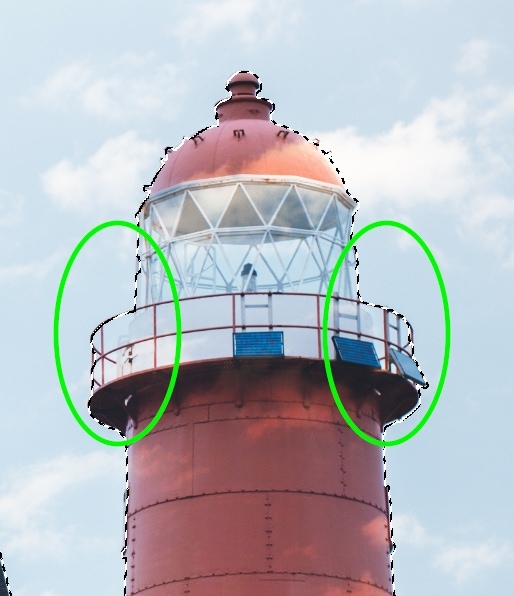
After a bit of refinement, you’ll have a perfect selection along your horizon.
Now it’s time to add this selection onto a layer mask. Select the sky layer in your layers panel and add a new layer mask.
If you end up with the opposite of what you wanted to be selected, press Command + I (Mac) or Control + I (PC) to invert the mask. Now your sky overlay fits perfectly around any edge in your photo!
If need be, you can further refine the edges of this mask by using the brush tool and painting on the layer mask. You can learn more about how to use layer masks in this post.
Step 4: Further Blend The Sky Overlay With A Curves Adjustment Layer
More often than not, a sky overlay can use a bit of exposure and contrast adjustment to help it blend more with your photo. Especially when you’re using a matte look or have heavy contrast in your original image, this step is crucial to make everything look realistic.
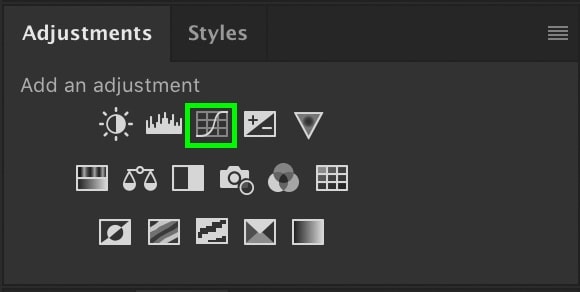
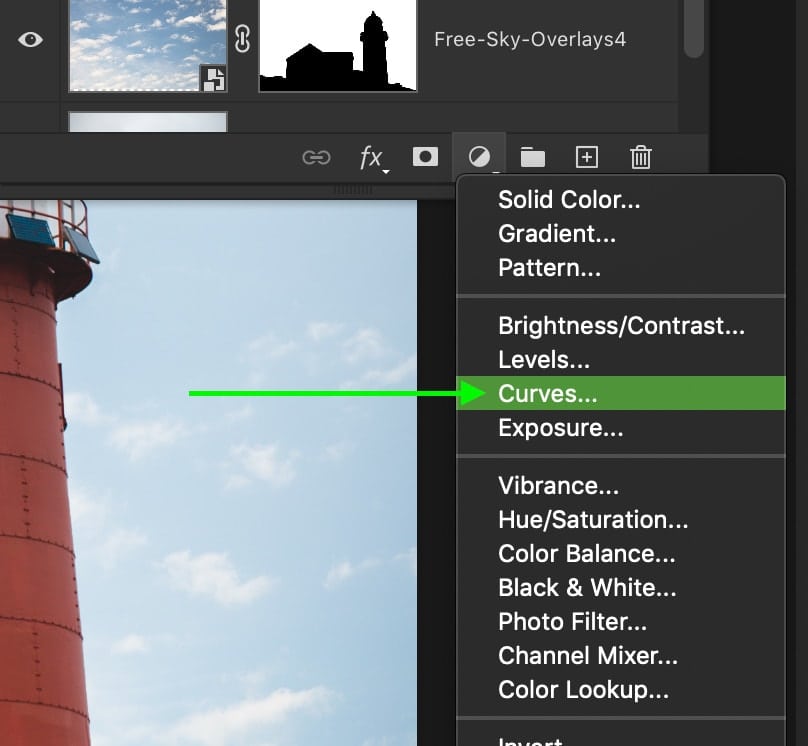
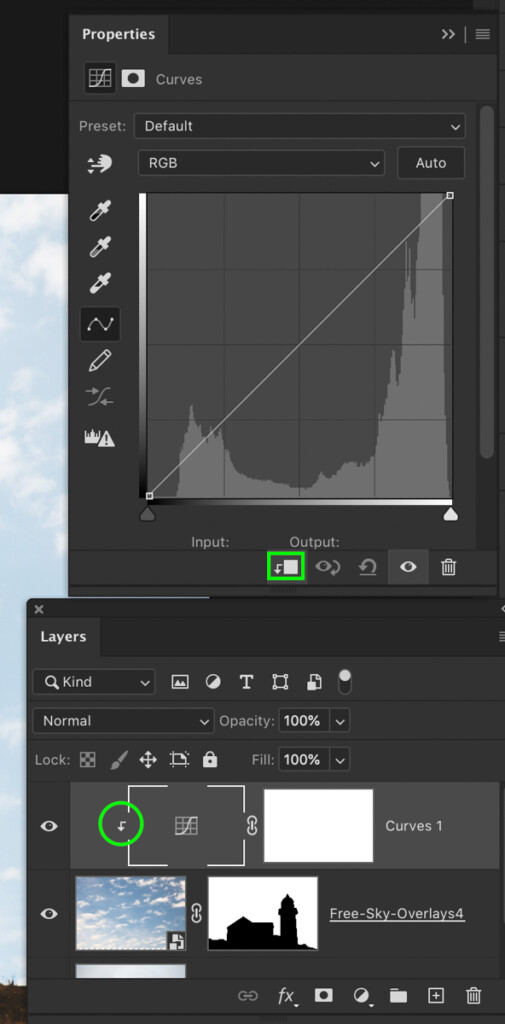
To create a new curves adjustment layer, click on it in your adjustments panel or find it via the adjustments icon in your layers panel.
Since we want these exposure and contrast effects to only apply to the sky overlay, you’ll need to create a clipping mask. Just click on the clipping mask icon at the bottom of your curves adjustment to clip it to the sky overlay layer.
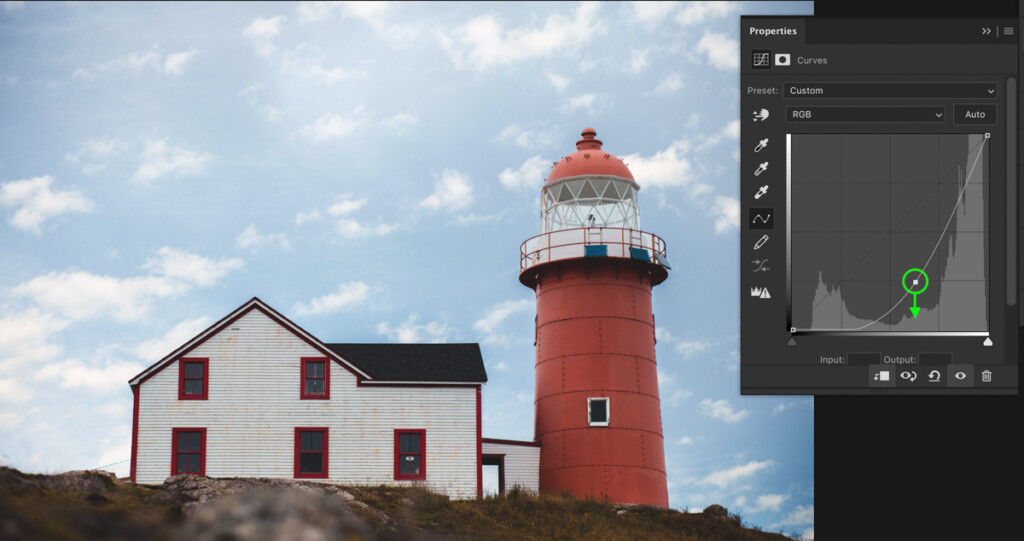
Now for the fun part. The curve adjustment you make will all depend on the look of your original photo. If you want to darken the sky overlay, just click on the middle of your curve and drag it down.
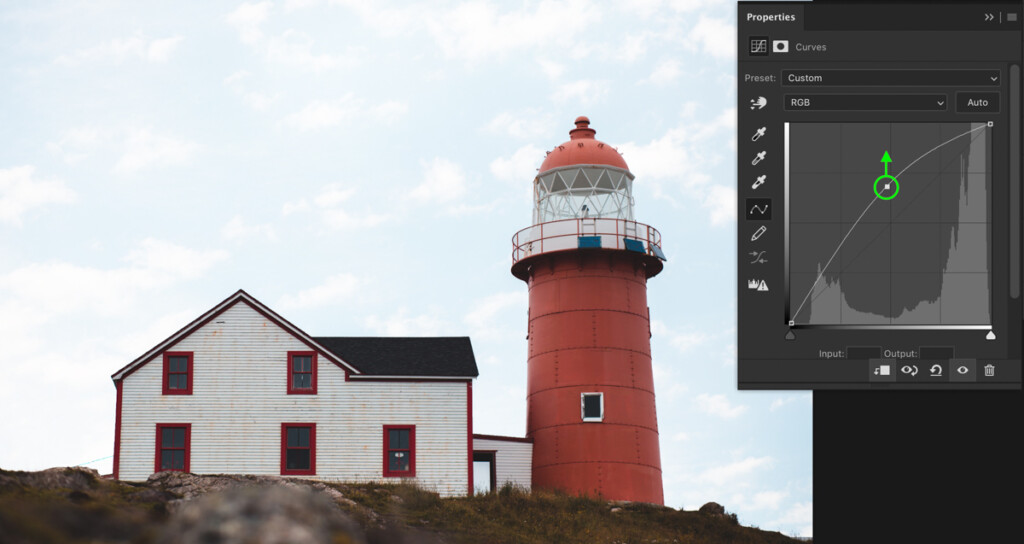
On the other hand, you can brighten the sky overlay by dragging up your curve.
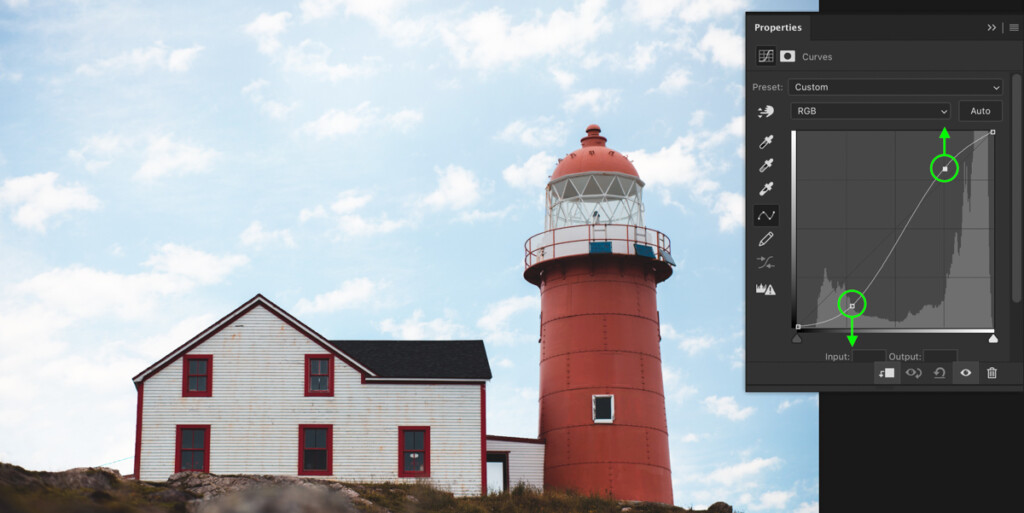
To add more contrast to your entire sky, click on the top of the curve, and drag it up to increase the highlights. Then click on the bottom of your curve and drag it down to darken the shadows. Together, this creates an S curve and is one of the most effective ways of adding contrast to a sky overlay in Photoshop!
Try to play around with the curve adjustment and see what types of looks you can apply to your sky. There are limitless opportunities with this tool, and it is hands down the best way to blend a sky into a photo!
Step 5: Exporting Your Sky Overlay Photo From Photoshop
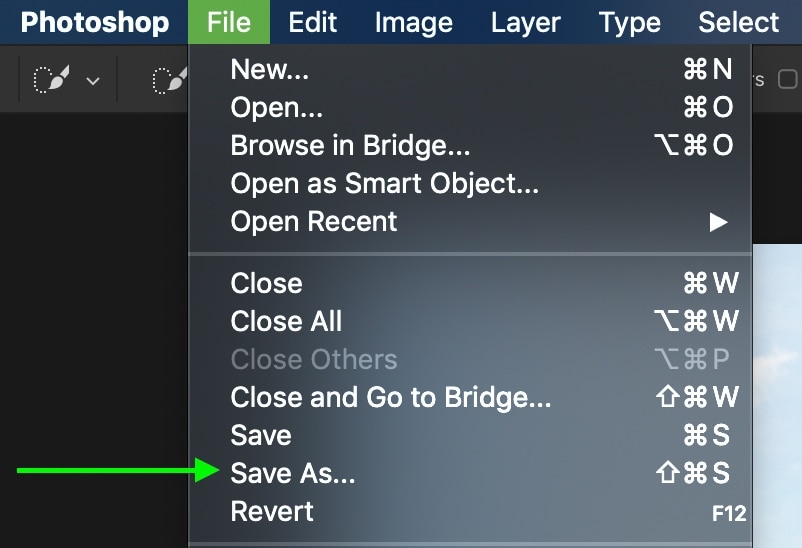
All the hard work is done, and it’s time to save your new masterpiece. First, go up to File > Save As.
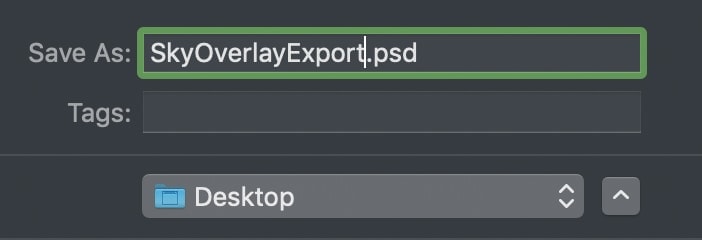
Give your file a name and select a location to save it on your computer.
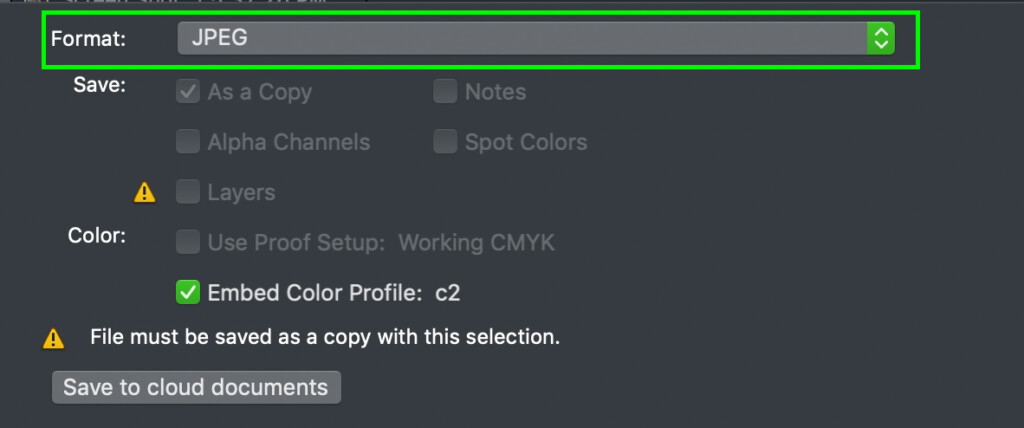
Then change the file format to JPEG. That way, you can start to share your photo with friends and even upload it online!
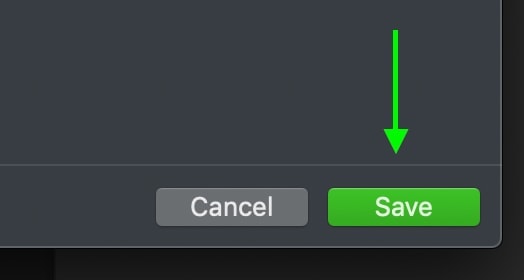
Click save to begin exporting your sky overlay picture from Photoshop.
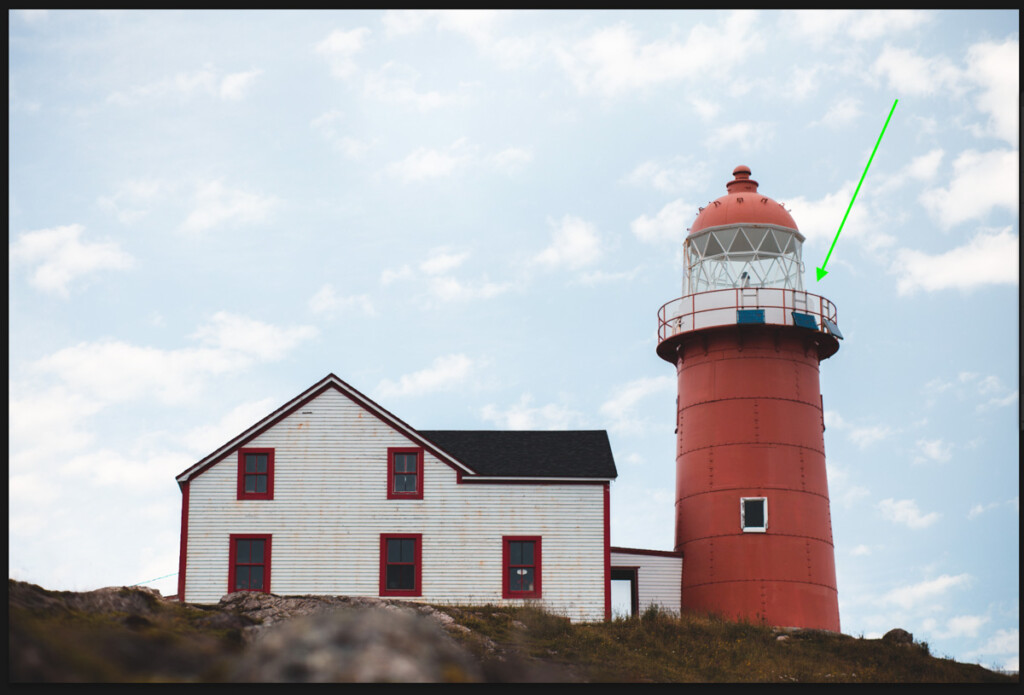
The Result
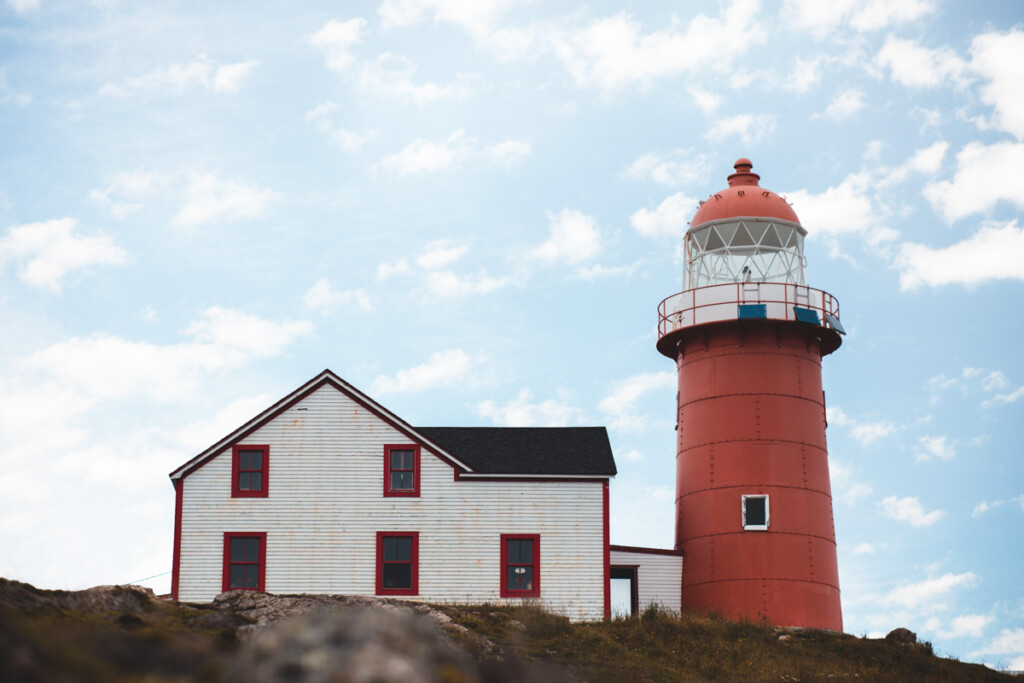
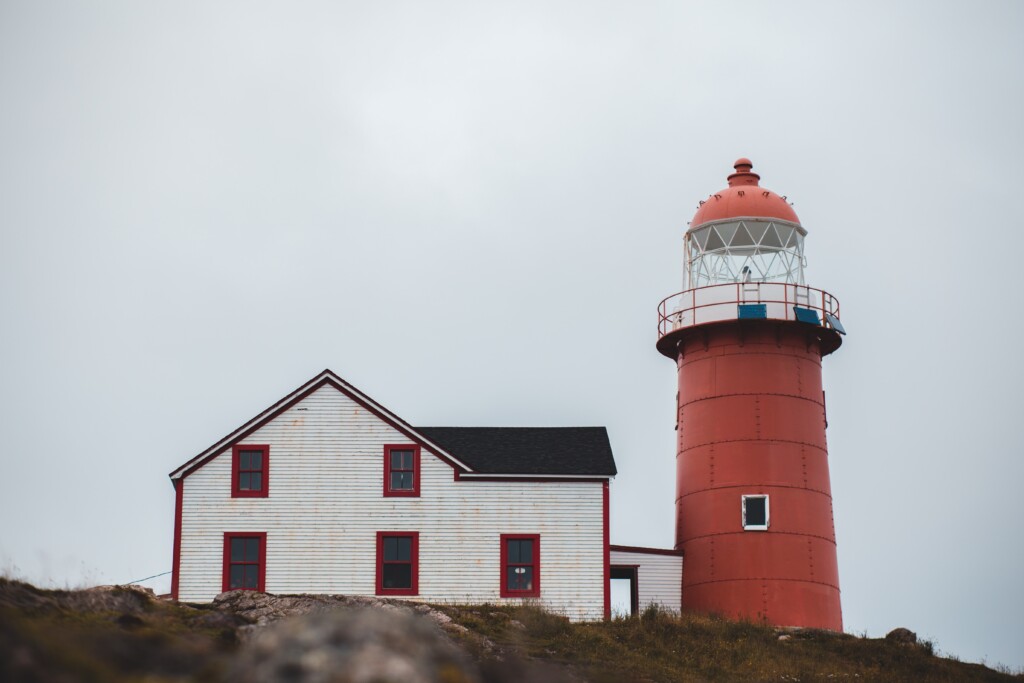
After 5 easy steps, you’ve completely changed the sky in your picture from bland and uninteresting to bright and captivating. Sky overlays are one of the best beginner-friendly ways to spice up your pictures in Photoshop and are a ton of fun to create. If you haven’t already, be sure to download these free high-res sky overlay templates to help make this entire process so much easier.
Now that you know how to use and apply sky overlays in Photoshop let’s talk about how to edit your entire picture. If you want to know a simple way to enhance your pictures in Photoshop, check out these 10 Easy Steps To Editing Pictures In Photoshop!
Happy Editing!
– Brendan 🙂


