
Learning how to make a triangle in Photoshop is similar to learning how to use the other tools available. Previously, the program didn’t offer a dedicated Triangle Tool, but now you can use this tool as you would any other and master the settings in the process to create unique designs.
In this tutorial, you’ll learn everything you need to know about making triangles in Photoshop. From basic shapes to more advanced techniques, you’ll be a triangle master by the end of this lesson. Let’s get started!


Video Tutorial
How To Make A Triangle In Photoshop
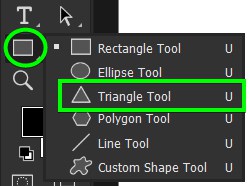
Step 1: Select The Triangle Tool (U) From The Toolbar
First, select the Triangle Tool (U) from the fly-out shape tool menu. You can click and hold on the visible shape to access the menu.
Step 2: Set The Fill And Stroke Color In The Options Bar
Before creating your triangle on the canvas, you can set the Fill and Stroke colors using the respective boxes in the Options Bar. You can also set the stroke weight as well. As with any shape tool in Photoshop, you can change these settings after creating the shape as well.
Note: If you want a solid-colored triangle, set the Stroke to transparent and select a color for the Fill. If you want a triangle outline, set the Stroke to color and the Fill to transparent.

Step 3: Click Once On The Canvas To Open The Tool Settings
Next, click once on the canvas to open the Create Triangle Dialog box. Here, you can set the Width and Height of the shape, enable the Equilateral option, choose a Corner Radius if you want rounded corners, and whether you want the triangle to expand from the center (which is the point you clicked on the canvas.
Select the settings you’d like and click OK to add the triangle to the canvas.

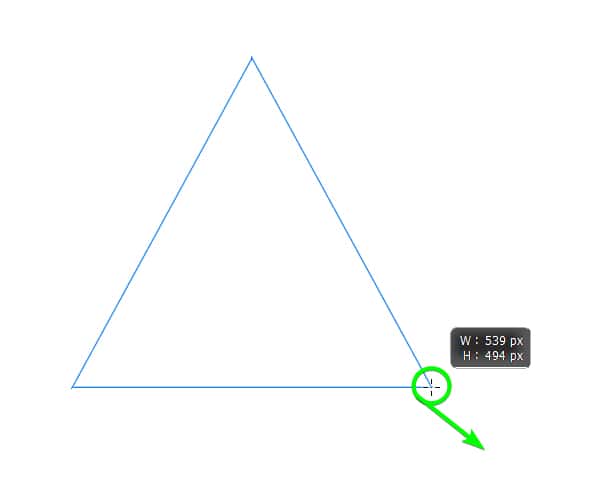
Step 4: Click And Drag To Create A Triangle (Optional)
If you want to bypass the settings and simply create a triangle, click and drag on the canvas with the tool activated to create the shape. Hold in Shift to create an equilateral triangle and hold in Alt (Win) or Option (Mac) to expand the shape from the center.

Triangle Tool Settings Explained
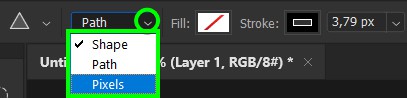
Set The Tool Mode
First, you can select which tool mode to use by clicking on the Mode drop-down menu. For a standard shape, select the Shape mode; if you want to create a triangle path, select the Path mode, and if you want a rasterized shape, select the Pixel mode.
Set The Fill And Stroke Colors
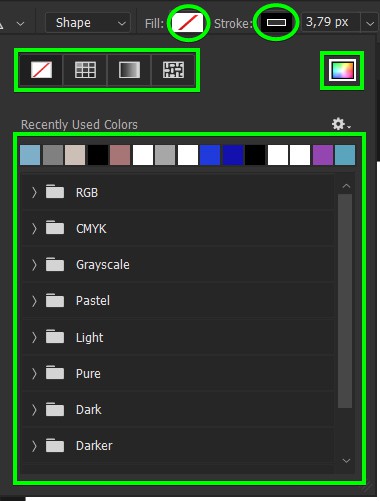
Next, you can set the Fill and Stroke colors for the triangle using the boxes in the Options Bar. Both settings work the same. Click on the swatch, and you can select a fill or stroke type between Transparent, Color, Gradient, and Pattern using the icons at the top.
You can then select a color from the available color swatches or open the Color Picker by clicking on the block on the right.
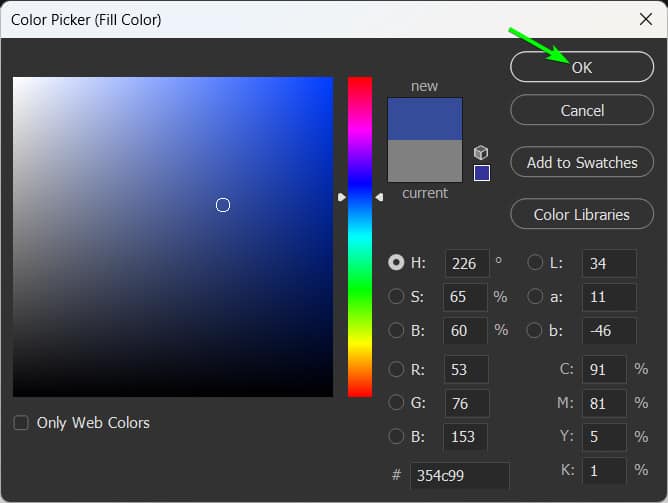
After selecting the Custom Color block, a color picker box will appear where you can set any color you’d like. Simply click anywhere on the color palette to customize the color. If you have a specific color, you can type in the HEX code in this box beside the color picker. Once you’re happy with the color, click OK.
Adjust The Stroke Weight And Type
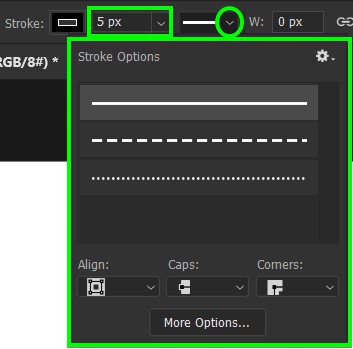
Next, you can adjust the stroke weight by changing the pixel value in the Options Bar. You can also change the Stroke Type by opening the drop-down menu and selecting dotted or dashed lines.
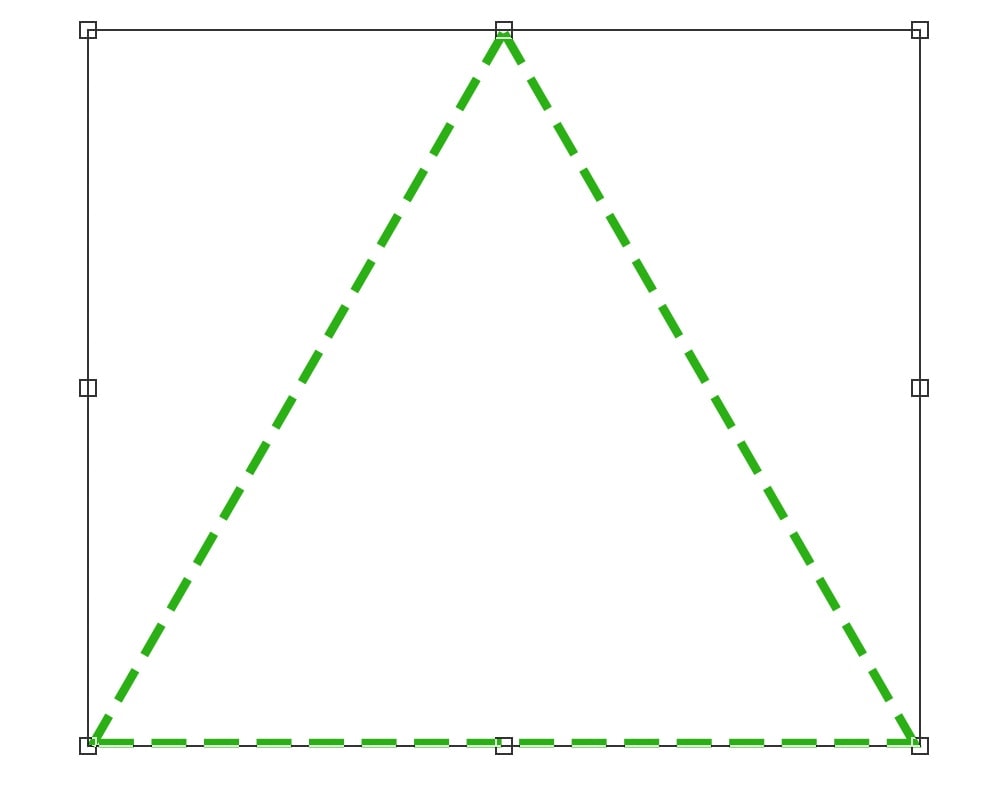
For instance, if you select the dashed outline option, your stroke will automatically change to the new stroke type.
Now you know the ins and outs of how to make a triangle in Photoshop. There are so many different ways you can make a triangle in Photoshop with a variety of colors and strokes. The opportunities are limitless, and now you’re ready to triangle up a storm.
– Brendan 🙂


