

Knowing how to crop a layer in Photoshop allows you to delete or hide pixels on one layer to reveal the layer below it or to create a transparent background. You can use this technique to cut out objects, combine two layers, or create a border around your image.
Cropping layers is not as straightforward as cropping the entire canvas, but it is simple once you learn the steps. Here are the three best methods to crop individual layers, whether you want to delete the excess or simply hide it with a layer mask.
Video Tutorial
Method 1: Using The Marquee Tool To Crop A Layer In Photoshop
Step 1: Activate The Marquee Tool (M)
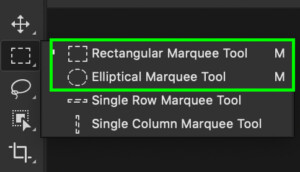
The Marquee Tool is a basic selection tool in Photoshop that allows you to draw out a selection. The two options you have with the Marquee Tool are the Rectangular Marquee and the Elliptical Marquee. You can access either of these tools by pressing M or finding it at the top of your toolbar.
Note: You can use any selection tool for this process, which allows you to select subjects and essentially remove the background.
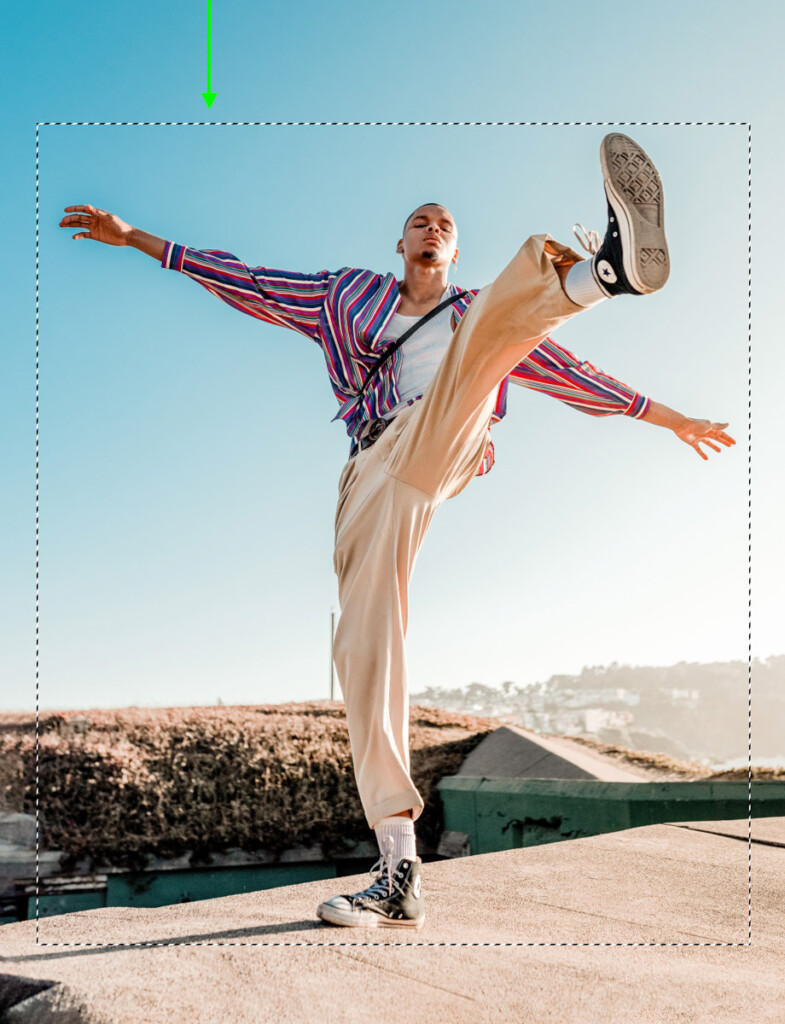
Step 2: Click And Drag On The Page To Create A Selection
Click anywhere on your image and drag out to make a selection. In this case, I want to crop the layer into a rectangle shape, so I will create a rectangular selection.
Note: while holding down your mouse, hold the space bar to move around your entire selection. This makes life a lot easier to refine your final crop.
If you’re unhappy with the selection and want to start over, press Control + D (Win) or Command + D (Mac) to deselect.
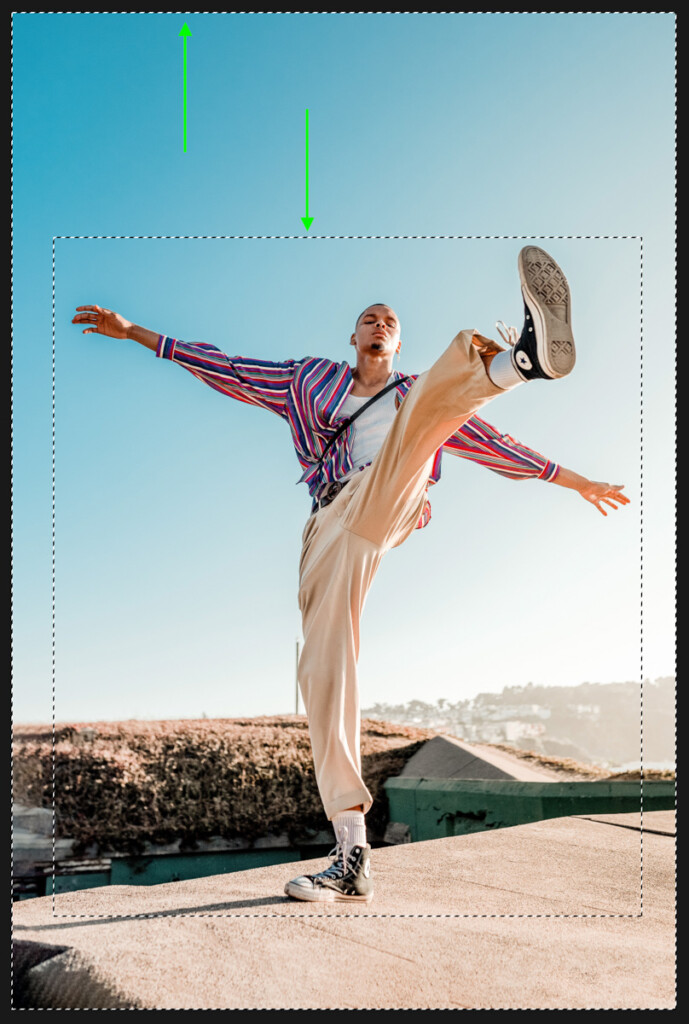
Step 3: Press Control/Command + Shift + I To Invert The Selection And Press Delete (Optional)
Select the layer you want to crop and make sure that your Marquee Selection is how you want it. Use the keyboard shortcut Control + Shift + I (Win) or Command + Shift + I (Mac) to invert your selection. This will now select everything outside of your initial Marquee selection.
Next, press the Delete Key. Everything outside of your Marquee selection will be deleted. Press Control + D (Win) or Command + D (Mac) to deselect.
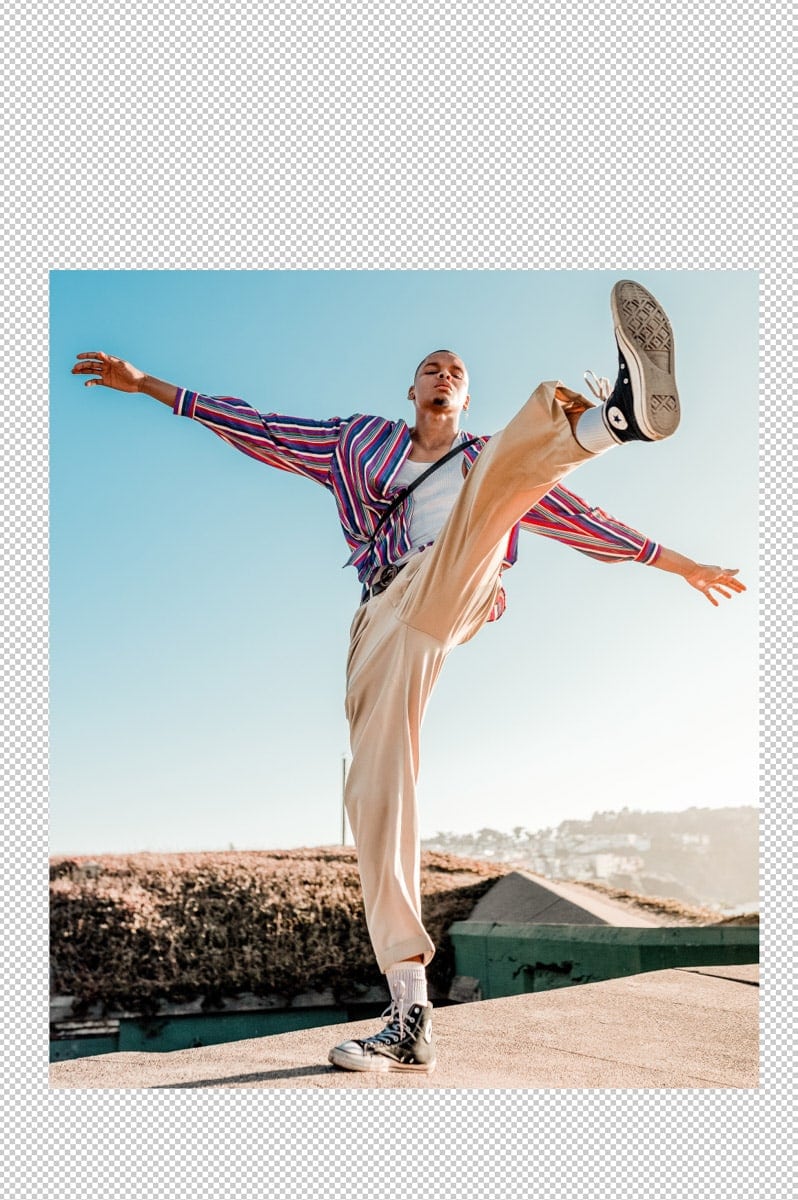
Now, you have successfully cropped a layer in Photoshop with just a few clicks! Keep in mind that this method is permanent, and you cannot alter your crop later. For a less permanent cropping option, try the next step!
Step 4: Click On The Add Layer Mask Icon To Hide The Pixels (Optional)
Select the layer you want to crop and double-check that your Marquee Selection is positioned how you want. With your selection active, click on the Layer Mask icon at the bottom of your Layers Panel. This automatically applies your selection to a layer mask.
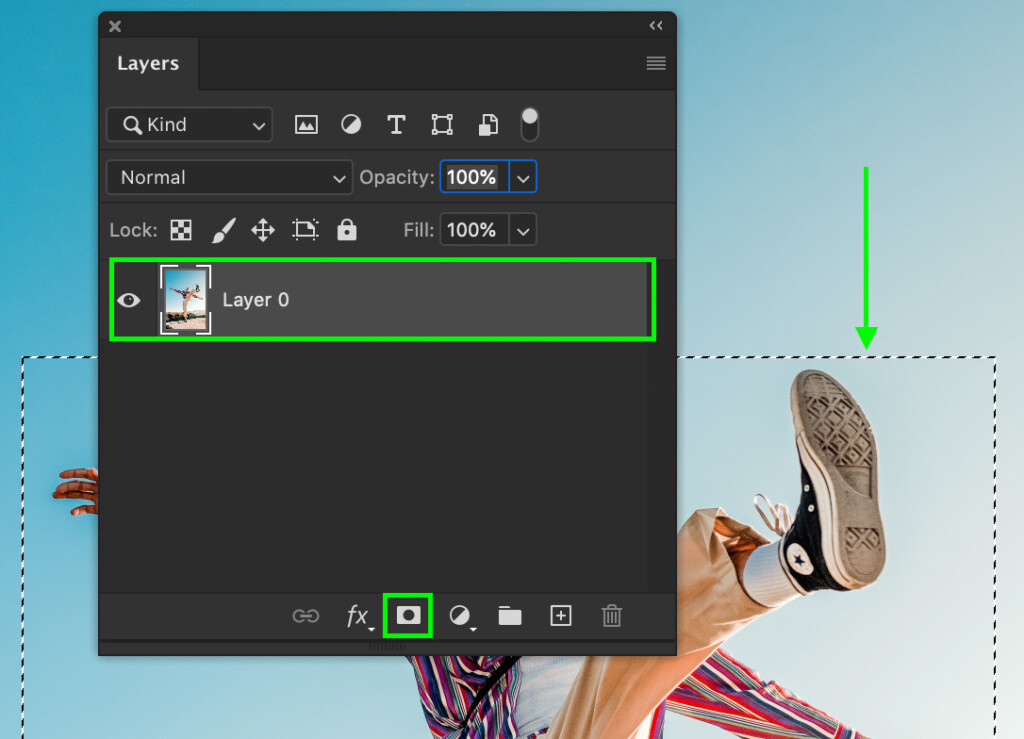
Everything outside of the selection has disappeared, and you’re left with a perfect crop of your layer. A layer mask will now be visible beside your cropped layer.
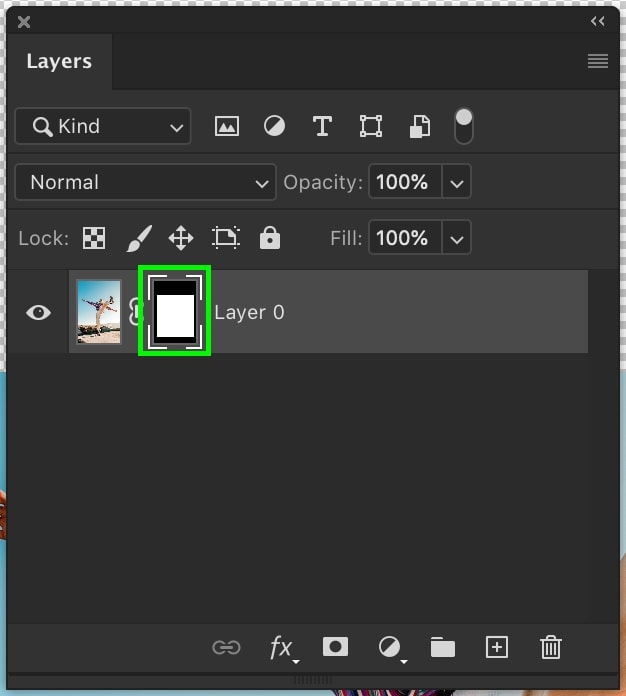
Anything black on your mask is 100% transparent, while anything white is 100% visible. Any shade of grey in between will represent different transparency values between black and white.

Method 2: Using The Shape Tool To Crop A Layer In Photoshop
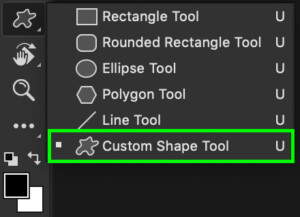
Step 1: Activate The Custom Shape Tool (U)
Access the Shape Tool by pressing U or selecting it in your toolbar. You can use any Shape Tool for this process, such as the Custom Shape Tool, for a creative touch.
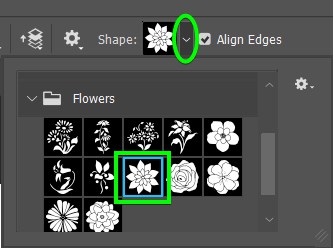
Step 2: Open The Custom Shape Picker In The Options Bar And Select A Shape
With the Custom Shape Tool active, use the Custom Shape Picker menu in the Options Bar to select a shape.
Step 3: Click And Drag To Create The Shape On Your Canvas
Click and drag out the shape onto your canvas. A new shape layer will be created.
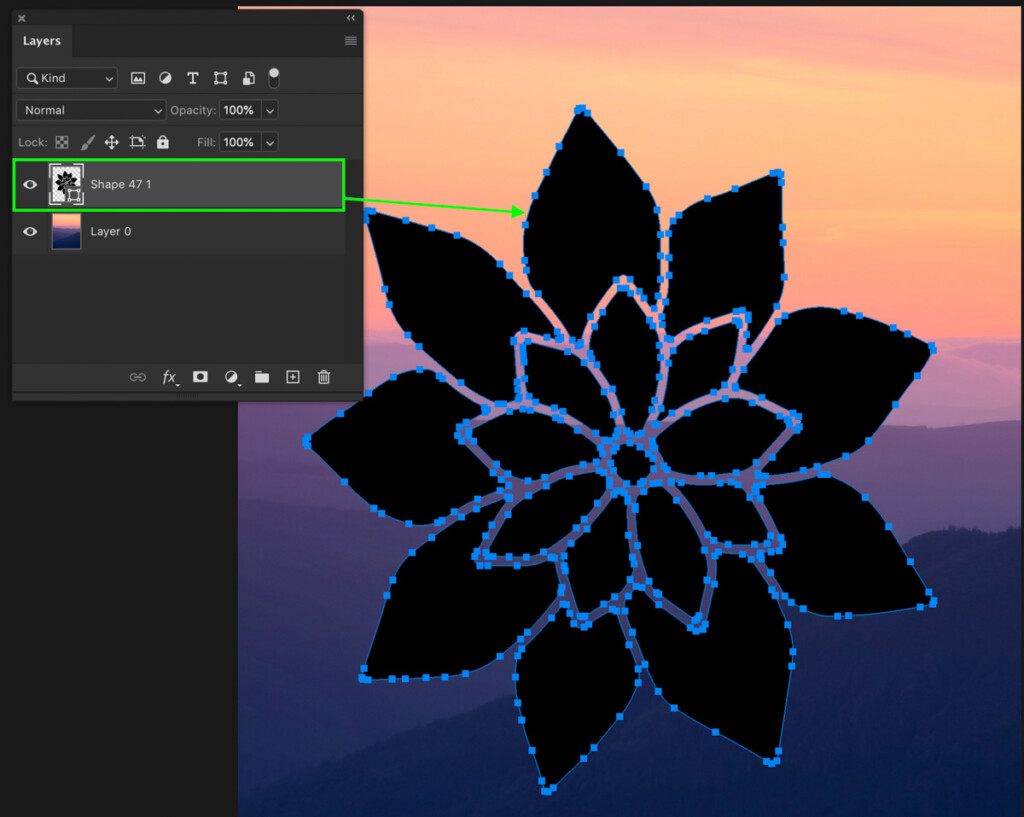
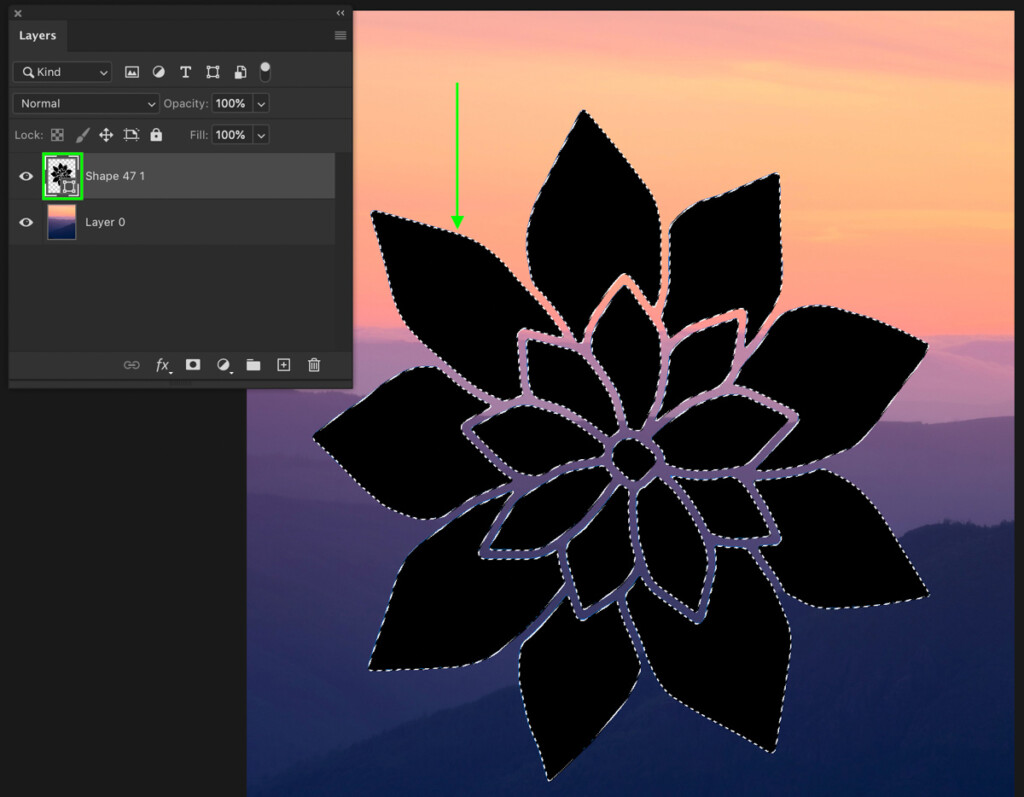
Step 4: Hold Control/Command And Click On The Shape Layer Thumbnail
Hold Control (Win) or Command (Mac) and click on your shape layer thumbnail. This will turn your shape into a selection.
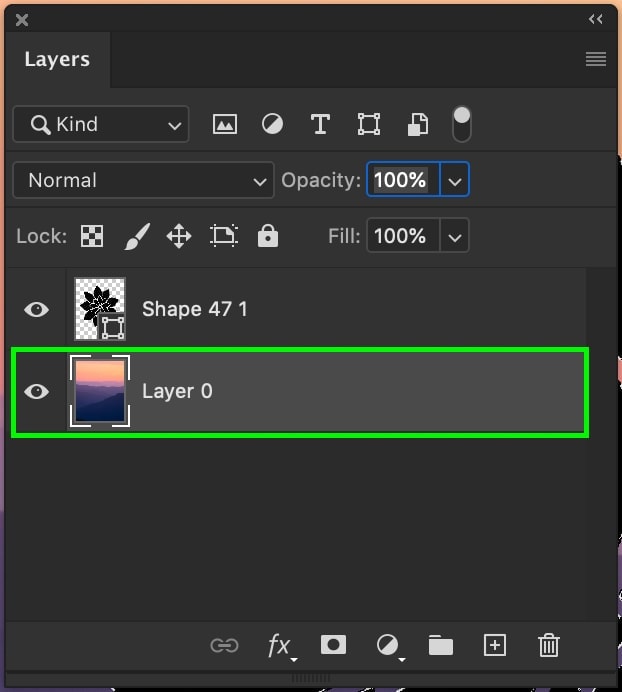
Step 5: Select The Layer You Want To Crop And Add A Layer Mask
Select the layer you want to crop in your Layers Panel. Now, choose whether you want to crop the layer with the delete method or layer mask method.
For the delete method, press Control + Shift + I (Win) or Command + Shift + I (Mac) to invert your selection. Press the Delete Key to crop the layer into the shape.
For the layer mask method, click on the layer mask icon at the bottom of your Layers Panel. The new layer mask will have a white outline of your shape.
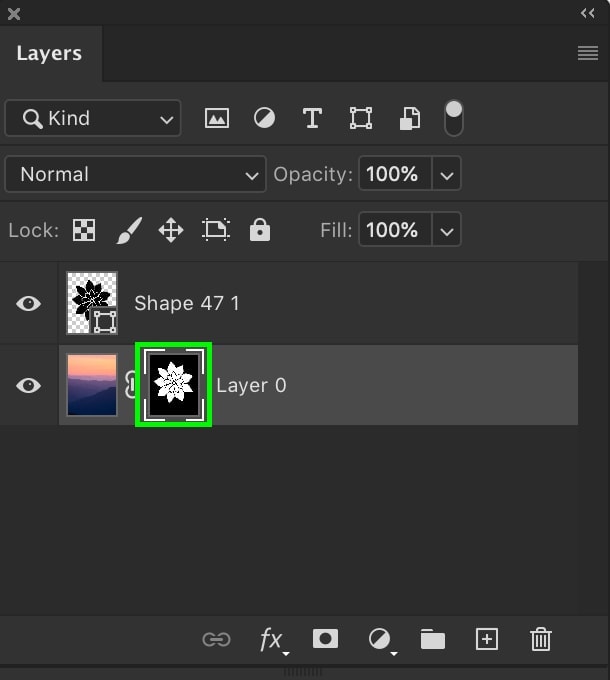
After you’ve done either of those methods, click on your shape layer and press delete to get rid of the layer. Now, you’ll have a perfect layer crop that matches the shape!

Method 3: Using A Smart Object To Crop A Layer In Photoshop
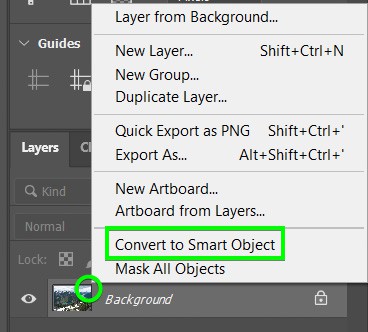
Step 1: Right-Click On The Layer And Select Convert To Smart Object
First, right-click on the layer you want to crop and select Convert to Smart Object. This will essentially add your layer to a container that you can edit separately from the rest of the document.
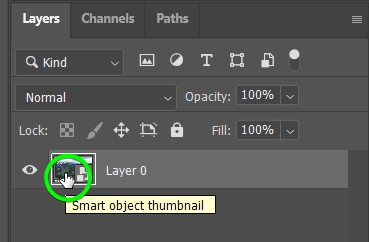
Step 2: Double-Click On The Smart Object
Next, to open the container and edit the layer separately, double-click on the layer’s image thumbnail. The image will open in a new tab in Photoshop.
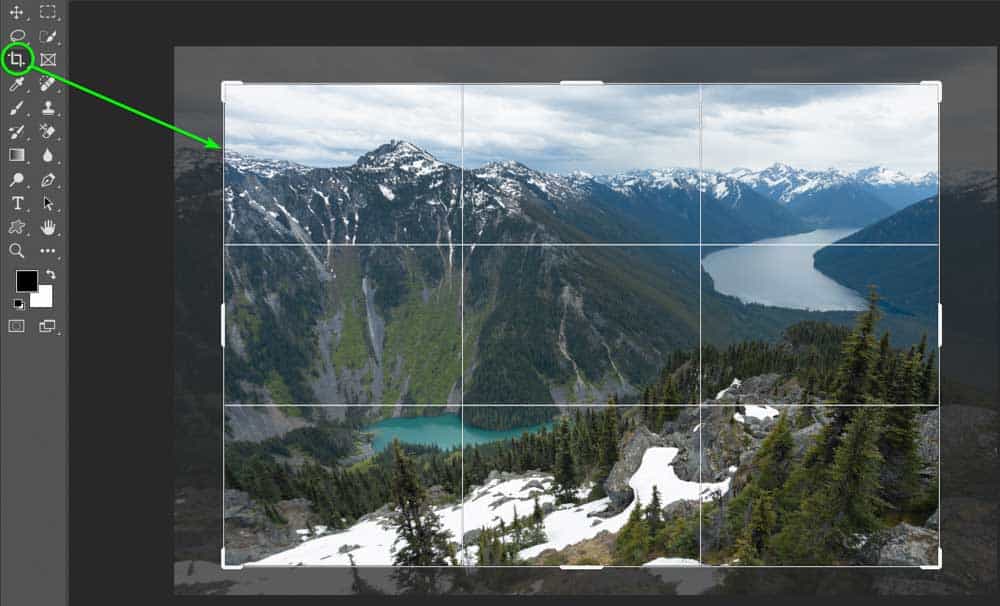
Step 3: Activate The Crop Tool (C) And Crop The Layer
Next, select the Crop Tool (C) from the toolbar and use the crop handles to crop the image. Click the checkmark in the Options Bar or press Enter when you are happy with the crop.
Step 4: Press Control/Command + S To Save The Changes
To save the changes to the smart object, go to Edit > Save or press Control + S (Win) or Command + S (Mac). You can now close the tab by clicking on the X next to the tab name.
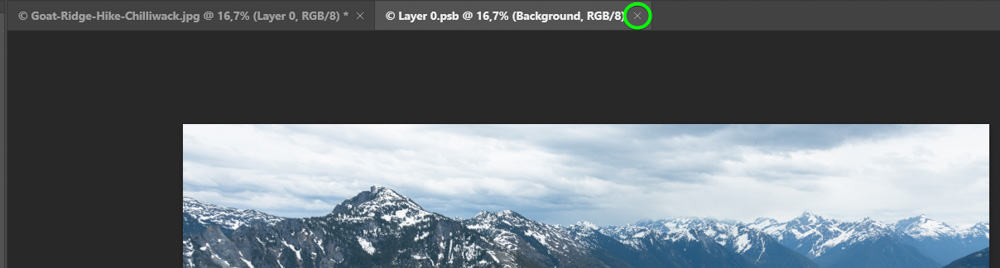
In your original project, you will see that your layer has been cropped without affecting the rest of the document.
You don’t always want to crop a layer into a simple rectangular shape. Instead, use the Shape Tool to customize your crops in more unique ways. Using these three different ways to crop a layer in Photoshop, you’re well-equipped for any situation!
– Brendan


[…] bwillcreative.com […]