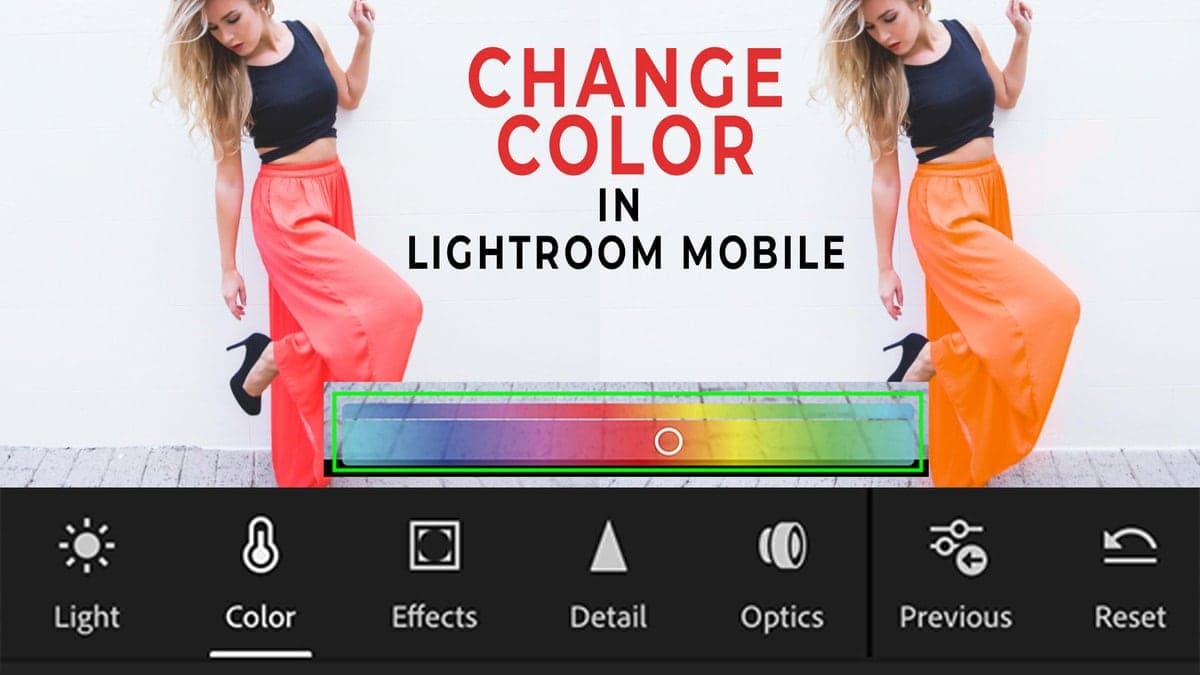

How To Change Color In Lightroom Mobile
Lightroom Mobile is an amazing tool for editing photos while on the go, but how can you change colors with this app? Unlike Lightroom on Desktop, there aren’t the regular HSL adjustment panels that you might be used to. Instead, Lightroom mobile uses something called Color Mix to change colors. This tool operates the same way as the regular HSL adjustment, just using a different name. In this post, you’ll learn a few techniques to use the color mix for quickly changing colors in Lightroom Mobile.
To change colors in Lightroom Mobile, follow these steps:
- Tap the “Color” adjustment.
- Press On “Mix” in the top right corner of the Color Panel.
- Select the specific color you want to target.
- Adjust the Hue, Saturation, and Luminance values.
- Now your colors are changed!
There are a few hidden tricks to changing color in Lightroom Mobile. Whether you want to adjust the entire image, alter color selectively, or target a specific color range, it’s all possible with the color mix tool.
Let’s jump into the different techniques you can use so you’ll be a color-changing wizard by the end of this tutorial!
Using The Color Mix Tool
The Color Mix tool is exactly the same as the HSL panel in Lightroom desktop. If you’re already comfortable with editing photos on your computer, a lot of this will feel second nature.
But don’t worry, even if you just use Lightroom Mobile, color mix is simple to learn and very intuitive.
– Accessing The Color Mix Tool
Once you have your photo open in Lightroom Mobile, tap on the “Color” adjustment in the bottom toolbar.
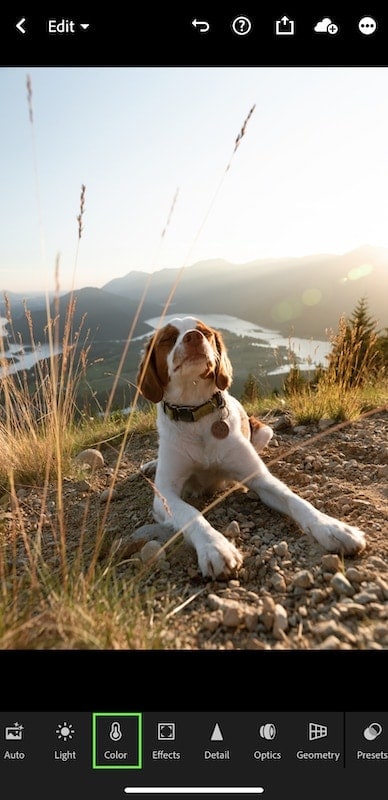
This will bring up all your color-related adjustments to edit your photo with. At first, you’ll only see adjustment options such as white balance and saturation. However, there are some additional options waiting at the top of the color panel.
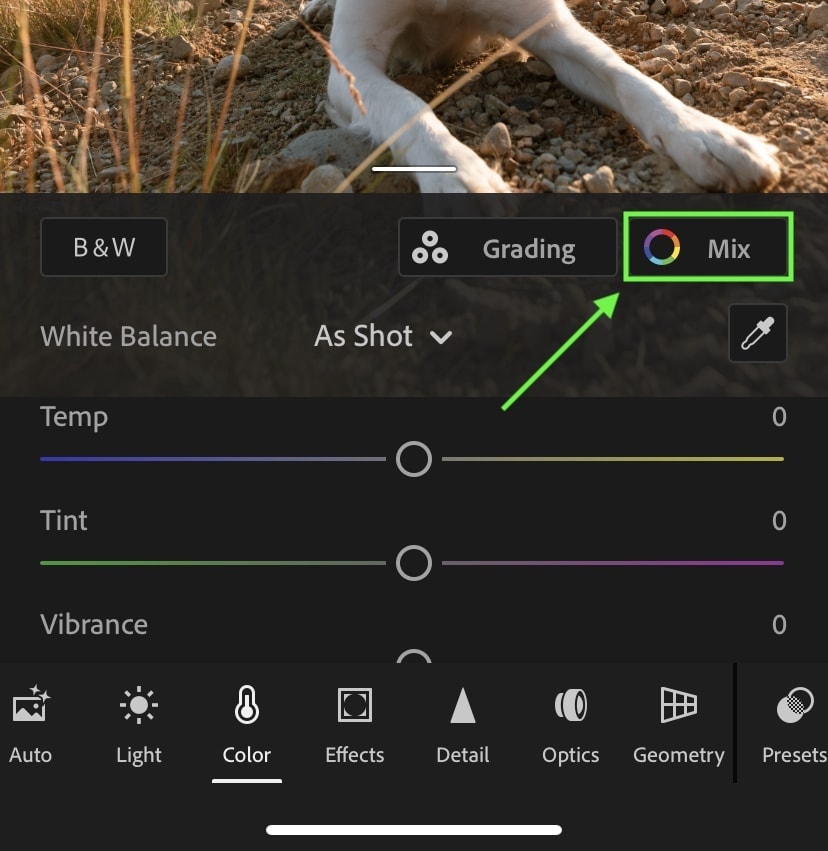
Looking to the top right corner of this panel, click on the “Mix” button. This will open the color mix tool so you can begin changing colors.
– How Color Mix Works In Lightroom Mobile
Before you start using this tool, let’s break down what everything means. The most important part to remember is the different color range options. All the colors you can edit are in a row of colored circles. By tapping on the particular color you want to effect in your photo, you’ll be able to start adjusting that color range.
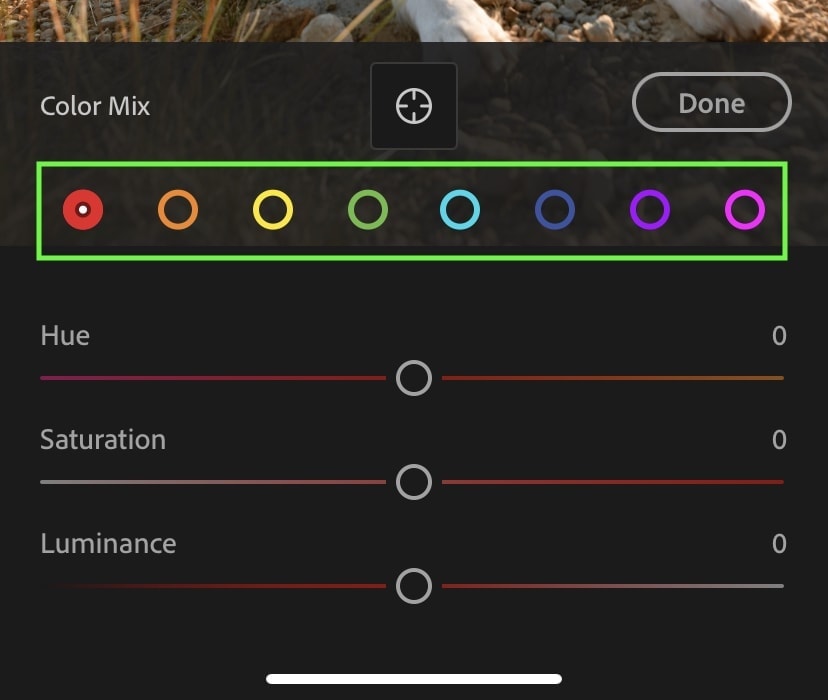
The color you have selected will be filled with solid color, while the others are only outlines. This makes it easy to identify which color range you’re working with.
Within each color range, you’ll have access to three different sliders called Hue, Saturation, and Luminance. Together, these three adjustments can effectively edit and change colors with ease.
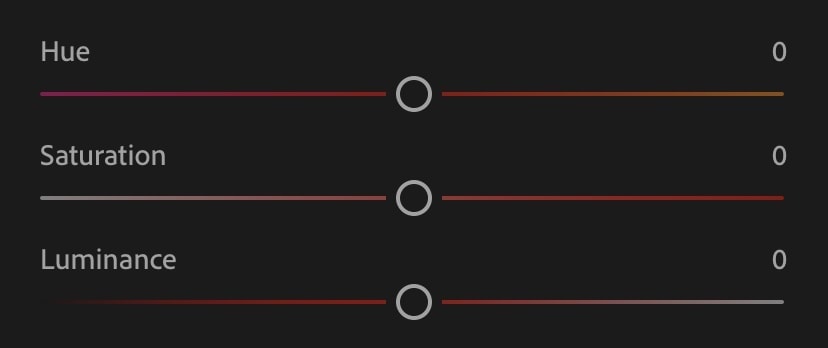
Here’s what they all do:
- Hue: Changes the particular tone of a color. For example, yellow could be changed to orange or green by adjusting the hue slider.
- Saturation: Alters how rich a color appears. With a high saturation, color will look bright and extremely colorful. A low saturation will give a color a more grey look.
- Luminance: Shifts the exposure of a particular color. With a higher luminance value, your color will get brighter, while a low luminance will make it darker.
By sliding your finger along each of these sliders, you’ll begin to change how certain colors look in your photo.
– Targeting Specific Colors
Although you can pick between different color ranges, you might not be sure which range you want to affect. Sometimes closely related hues such as orange, yellow, and red can fall under the same umbrella with this tool. Rather than going through each color range individually, you can sample a color hue to adjust them all at once.
Tapping the crosshair icon at the top of the color mix panel, tap on an area of your photo that you want to change the color of.
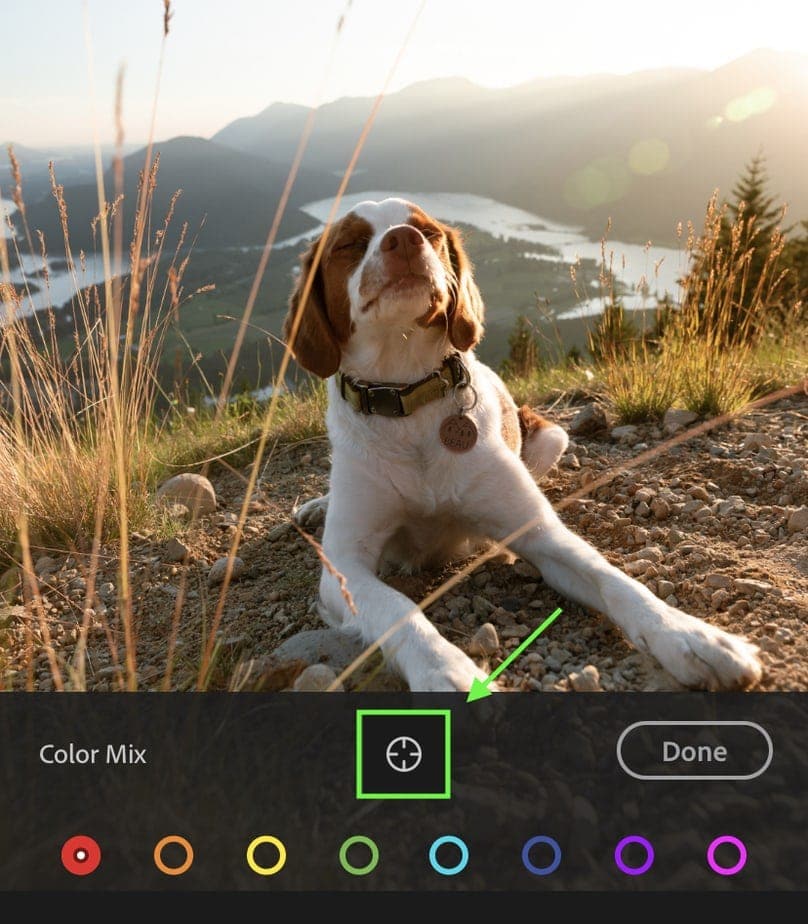
With a particular area sampled, drag your finger up or down to adjust the specific color you’ve sampled.
In the center of your screen, you’ll see what color you have selected, making it easier to know if you’re targeting what you were hoping for.
![]()
The default adjustment selected with this tool is the Hue adjustment. However, you can switch between the Saturation and Luminance options as well. Simply tap between the options at the bottom of your screen to select which value you want to adjust.
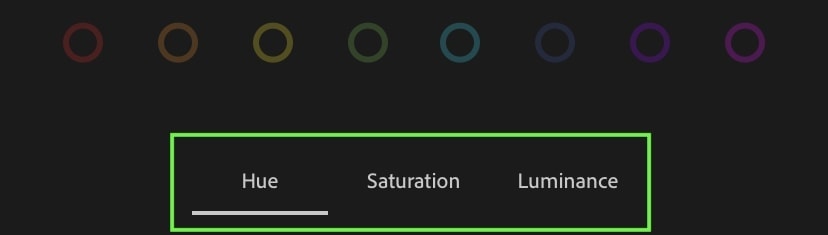
Then the next time you target a color, you’ll be using a different adjustment to edit with.
![]()
Using the crosshair to target specific colors in your photo is a much easier way of changing colors in Lightroom Mobile. Rather than going through all the color ranges and working with the sliders, you can simply click on the color you want to edit and drag your finger.
For mobile photo editing, this is my favorite way of doing things!
How To Change Sky Color In LR Mobile
You can easily change the color of your sky using one of two methods.
The first method uses the color range options. Since the sky is blue (obviously), it’s going to sit somewhere in the cyan or blue ranges.
![]()
By selecting one of these options, adjust the hue slider to change the color of the sky.
You can get more stylized looks by playing with the saturation and luminance sliders as well.
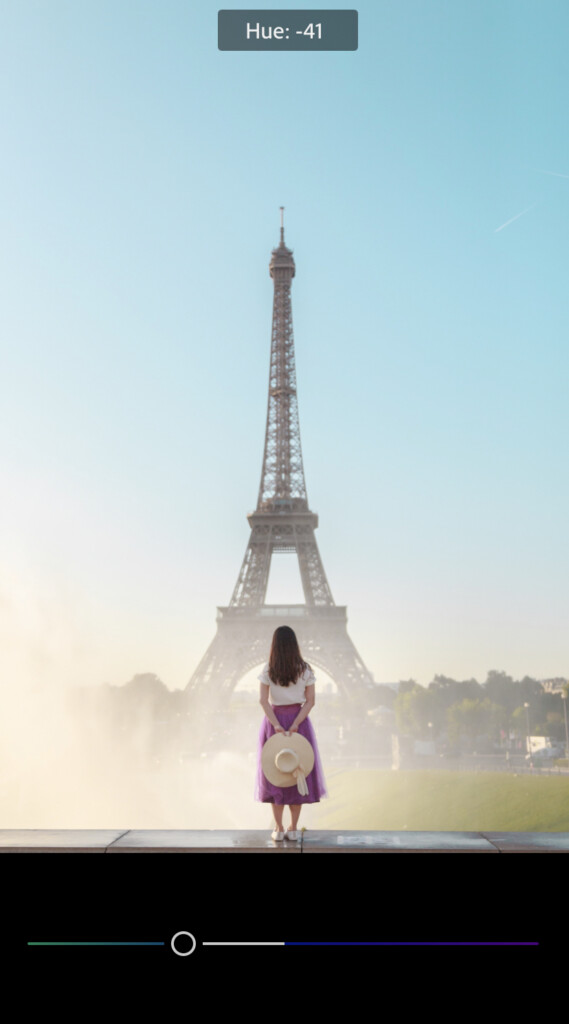
The second option uses the crosshairs and is a little bit faster. By tapping on the crosshair button, sample your sky and move your finger up or down to alter the hue.
![]()
Rather than having to deal with different color ranges and doing a bit of guesswork, sampling the sky directly helps to speed up the process.
How To Change Color Selectively In Lightroom Mobile
If you’re using Lightroom mobile without a creative cloud subscription, you will not have access to the selective adjustment brushes and filters in the app. This is a little bit of a pain; however, you can still get a lot of color editing done with the standard color mix tool.
You can learn about the best (and most affordable) creative cloud offers for photographers in this post.
Now, if you’re on a paid creative cloud subscription, then you’re all set for using the selecting adjustment brush. Without this tool, it’s not possible to specifically target different parts of your photo.
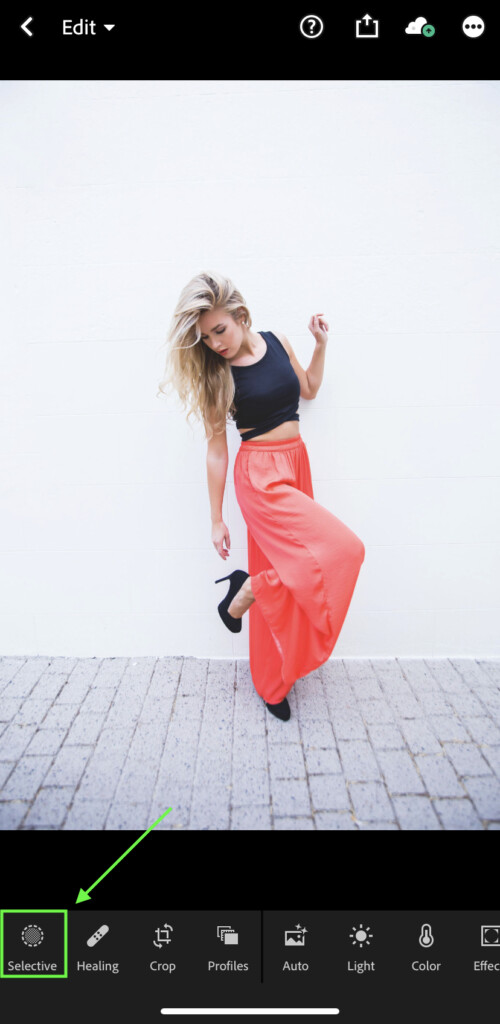
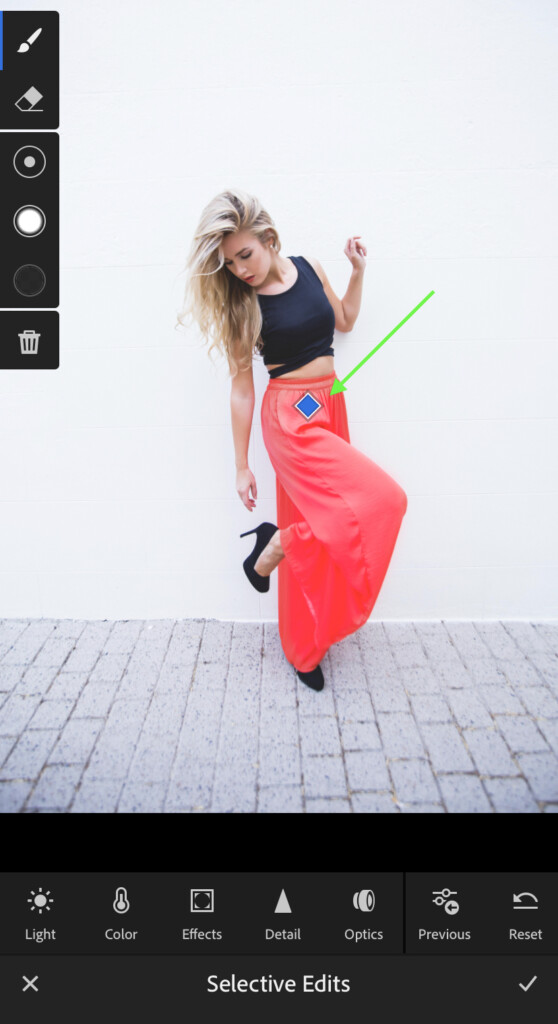
For this example, I’m going to use selective color to change the color of clothing. In this image, that will be the skirt our model is wearing.

– Accessing Your Selective Adjustment Tools
First, tap on the “Selective” option at the bottom of your toolbar.
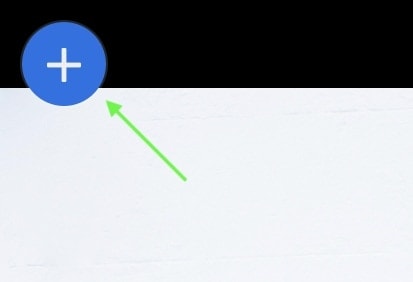
Then click the blue button with the plus icon at the top of your screen.
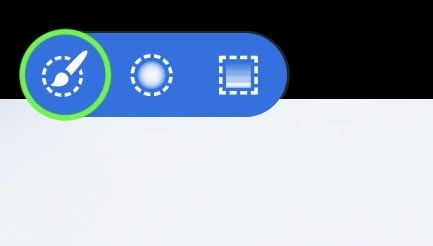
Here you can choose between the adjustment brush, radial filter, or gradient filter by tapping on any three of these tools. For doing selective color adjustments, the adjustment brush is going to be the most useful tool.
– Creating Your Selection
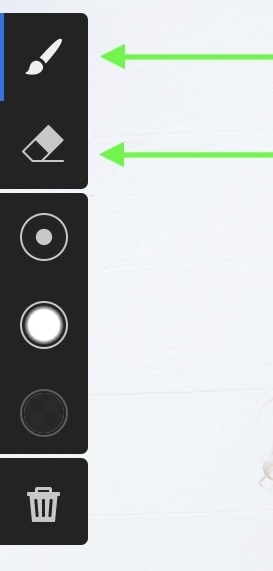
With the adjustment brush selected, you’ll have three brush settings options to work with.
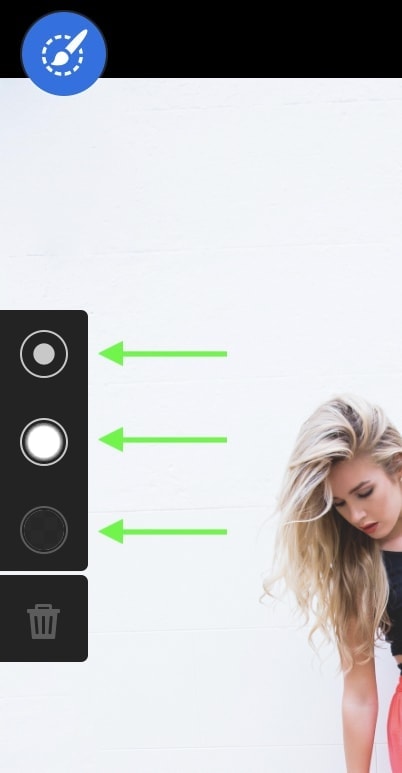
Going from top to bottom, they provide the following options:
- Brush Size: Changes how large your adjustment brush is. For more specific adjustments, a smaller brush size will make it easier.
- Feather: Effects how soft the edge of your brush is. With a 100% feather, you will have a very soft edge to your brush. A 0% feather creates a hard edge, perfect for going around specific edges in your photo.
- Flow: Changes how strong your brush adjustments are applied. Imagine this like changing how hard you press a pencil to paper. The less flow, the lighter the brush will be painted on and vice versa.
Each of these settings can be changed by tapping on them and sliding your finger up or down. This is typically how all settings are adjusted in Lightroom Mobile.
With your settings in order, begin painting over the area of your photo that you want to selectively change the color of. In this example, I’ll be painting over the skirt.
As you create your selection, a red highlight indicates where your selective adjustments will take place. The goal is to have this highlight cover everything that you want to change the color of.
Once your selection is finished, you can refine it by going back and forth between the brush and the eraser tool.
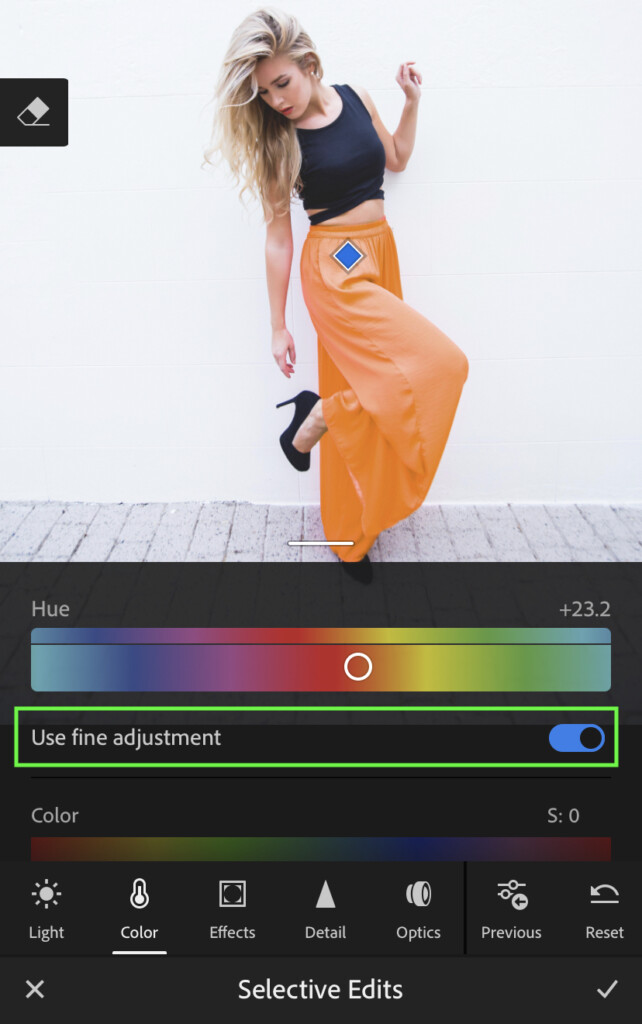
– Changing The Color Of Your Selected Area
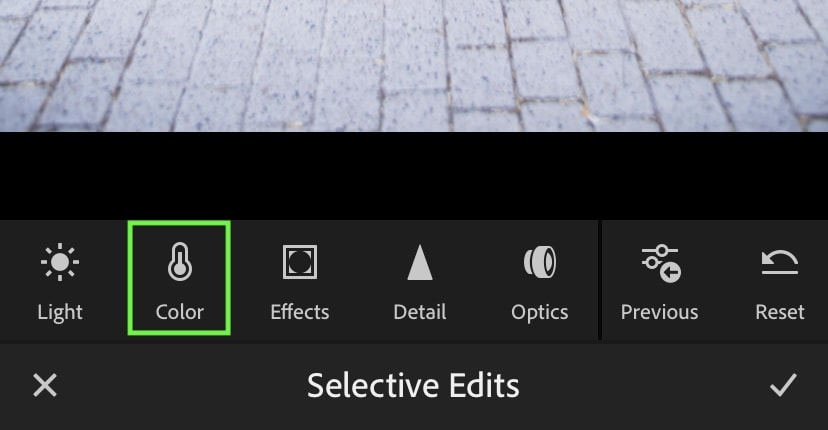
To begin changing color, click on the “Color” option in your bottom settings bar.
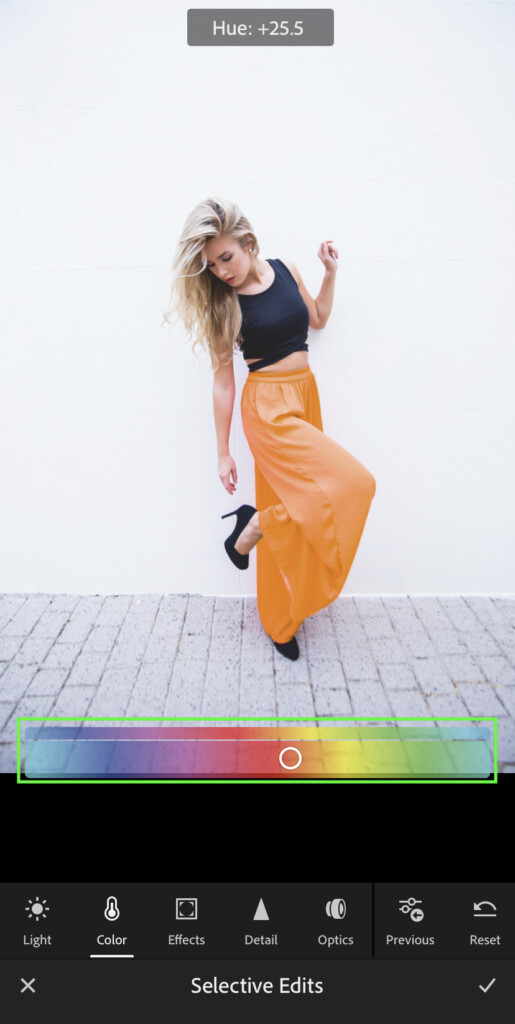
Scroll down to the Hue slider and begin to move it around to change the color of your selected area.
Once you have the right color you’re looking for, turn on the “Use Fine Adjustment” button to help fine-tune the look of a specific color.
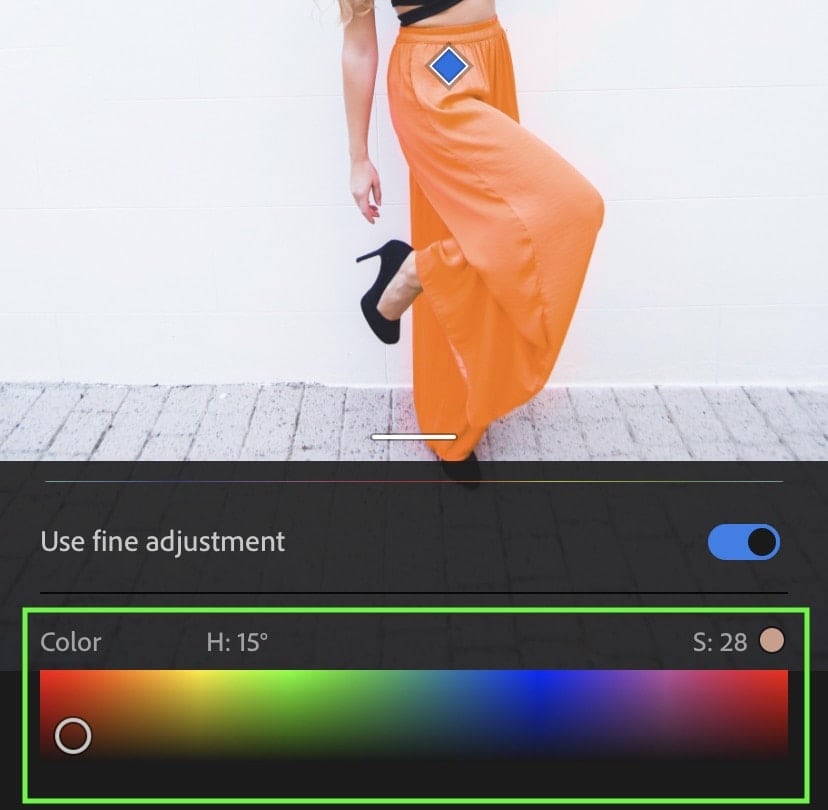
Additionally, you can add more specific color hues with the “Color” bar. This will overlay a particular color over your image to help improve the overall effect. This option isn’t always necessary, but worth keeping in mind.
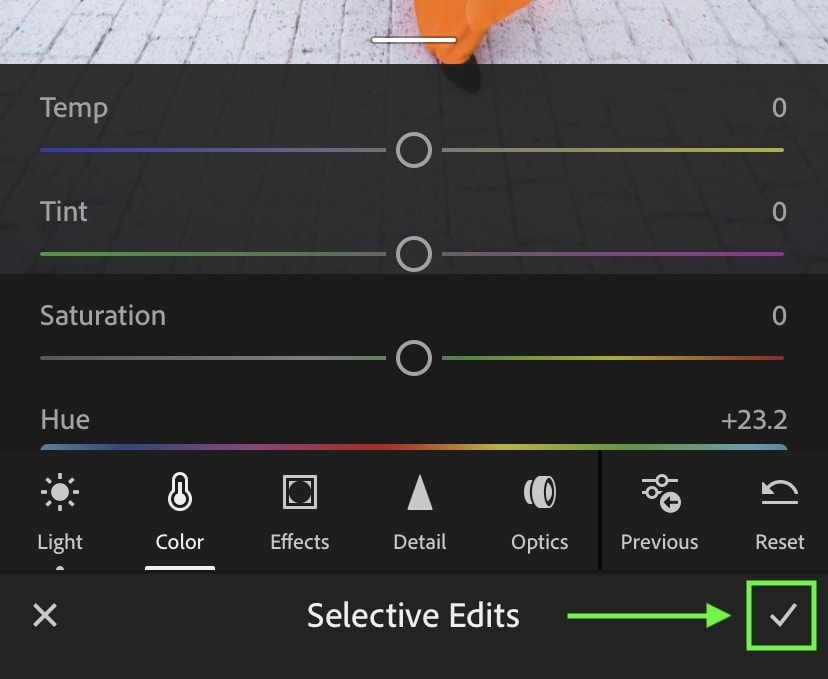
Once you’re done, click the check box in the bottom corner to commit to your changes.
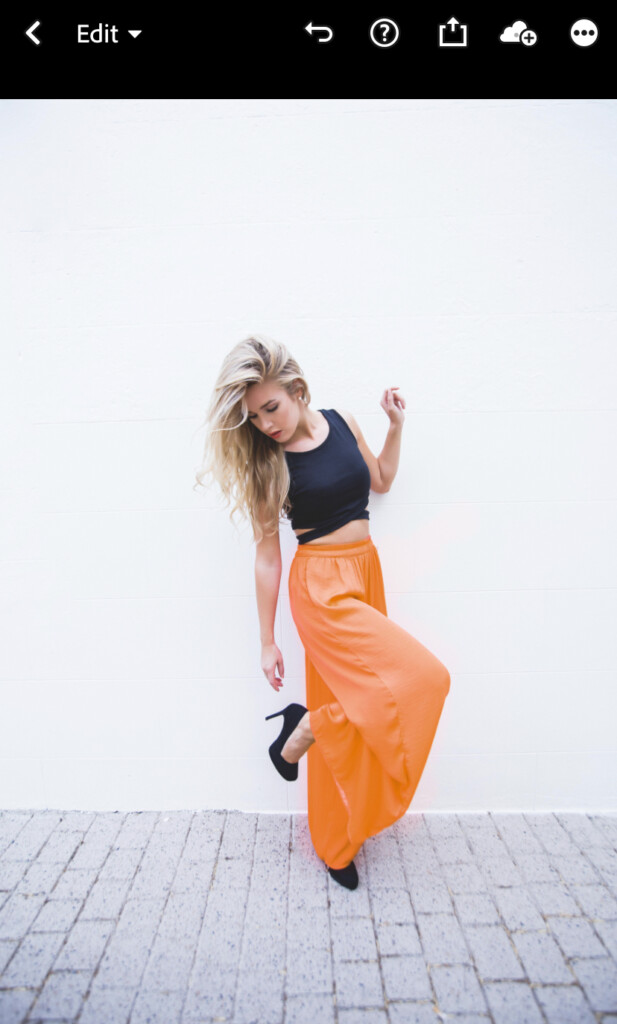
And with that, you’ve successfully learned how to change color in Lightroom Mobile! There are a variety of easy ways to get the job done, but each one has its pros and cons. For general color changing, the crosshairs work extremely well for fast, targeted color adjustments.
However, if you want to change something very specific, like the color of clothing or an object, you need to use a selective adjustment. The adjustment brush tends to be the best tool for this since you can be very specific with how and where the adjustments take place.
With a bit of extra practice, all of these steps will become muscle memory. Soon enough, you’ll be changing colors in seconds with the help of Lightroom Mobile.
Happy editing!
– Brendan 🙂


