
Sometimes your camera’s automatic settings don’t quite capture the perfect exposure. They can get thrown off by bright highlights or dark shadows and mess up the overall exposure of your photo. Since you’re shooting in an automatic mode, you can’t really adjust your exposure unless you switch into full manual mode… or so you think. Luckily there’s a handy feature on your camera called Exposure Compensation to help you fix that exact problem.
So the big question becomes, what is exposure compensation, and how can you use it in your photography? This post will break down everything you need to know about this exposure tool and how it affects the images you take. Let’s get started!
What Is Exposure Compensation
Exposure compensation is a tool that allows you to adjust your camera’s automatic exposure settings by a certain number of stops. When your camera is taking a picture with automatic settings, it bases the exposure off of the light meter reading. The goal is to get your exposure reading as close to the 0 on your light meter (aka 18% grey) as possible. By keeping the exposure in this range, it ensures you don’t clip the shadows or highlights and retain the most detail in your photo. It all seems like a pretty good system, and it does work… most of the time.
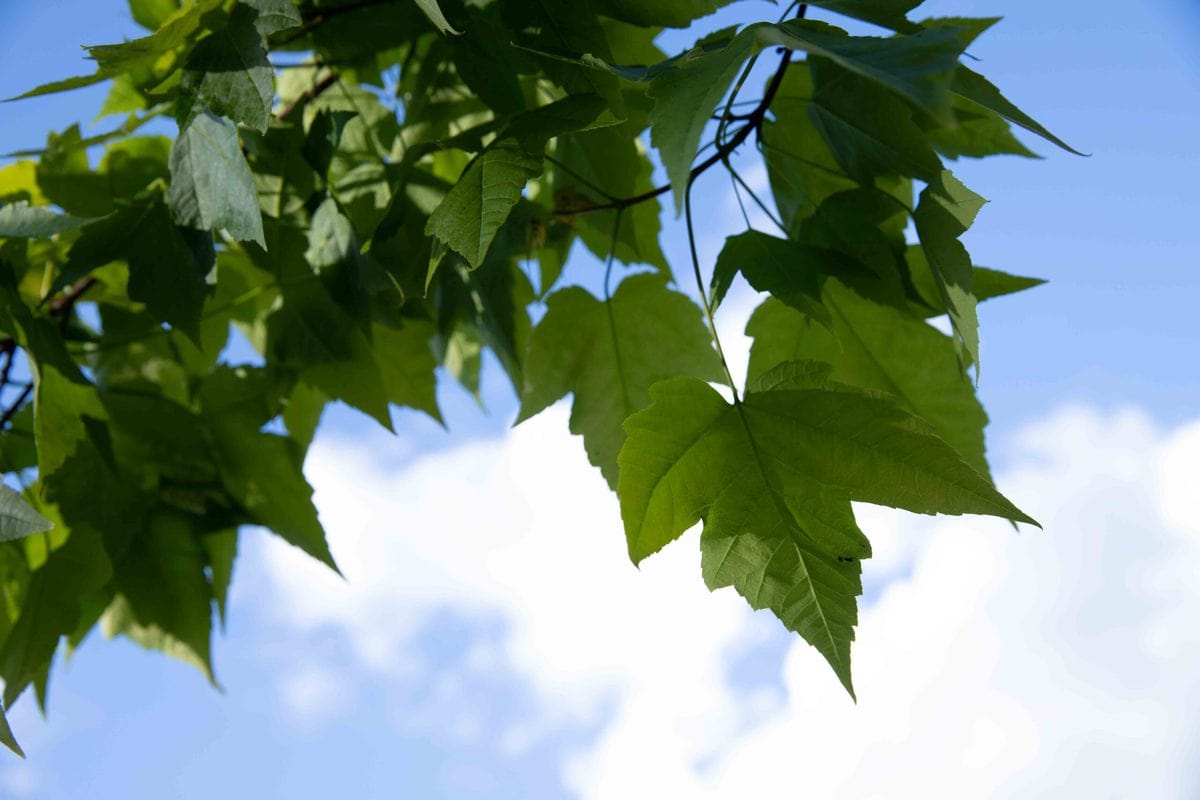
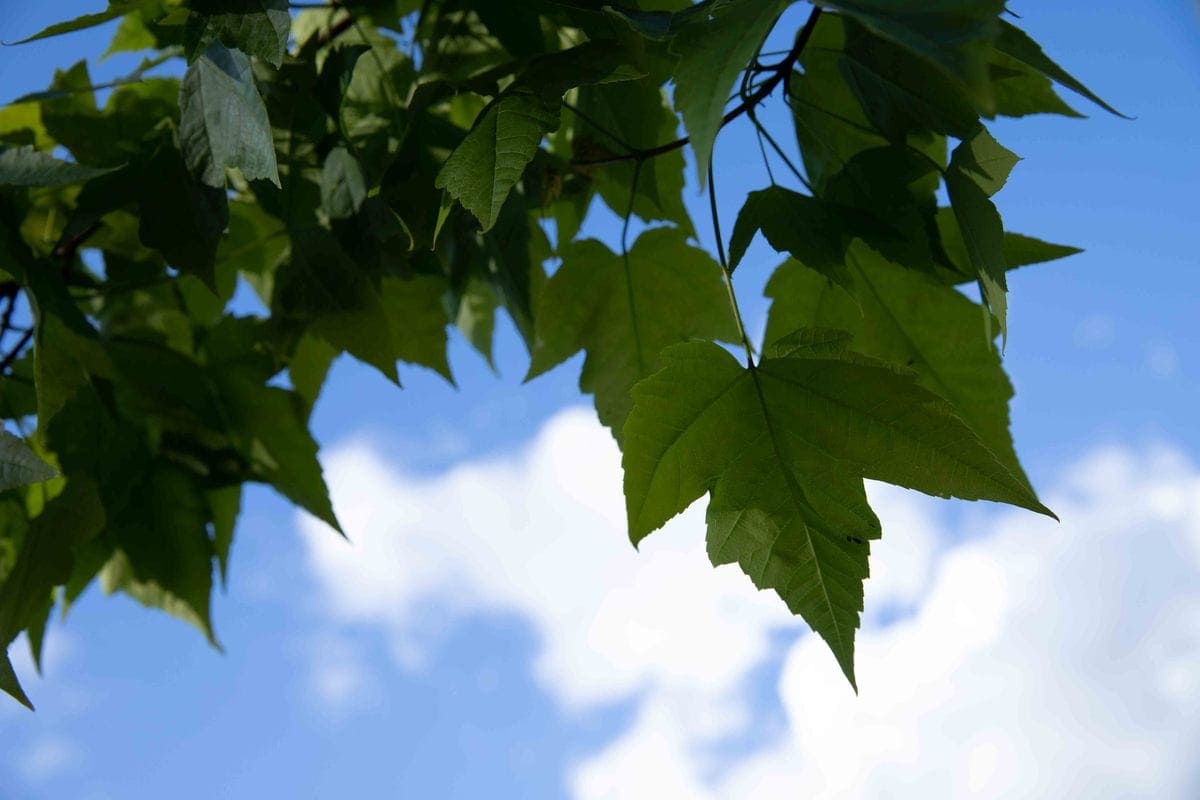
An issue you may run into with automatic settings is that your light meter may give a slightly skewed reading to what the best exposure actually would be. This can happen if your subject is backlit or if you’re shooting in a bright environment like a snow-covered field. If your light meter reads the exposure wrong, you could end up with an image that isn’t correctly exposed for your subject or environment. That’s where Exposure Compensation comes into play.
Exposure Compensations lets you change the exposure of your automatic settings by a certain amount of stops on your light meter. For example, if your camera was shooting 1 stop too bright, you could add a -1 Exposure Compensation to fix it.
In short, this tool allows you to correct for any errors that may occur with your automatic exposure settings.
Before we continue, you may find it useful to read more on stops and how to use your internal light meter:
- What Is A “Stop” In Photography And Why They Matter
- How To Use Your Internal Light Meter For Better Exposures
How To Use Exposure Compensation
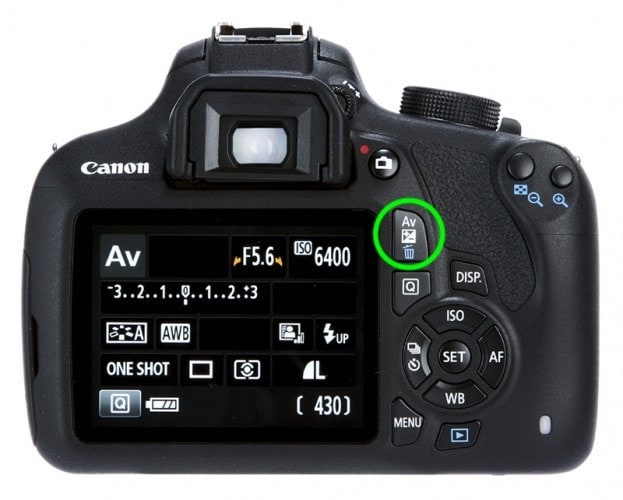
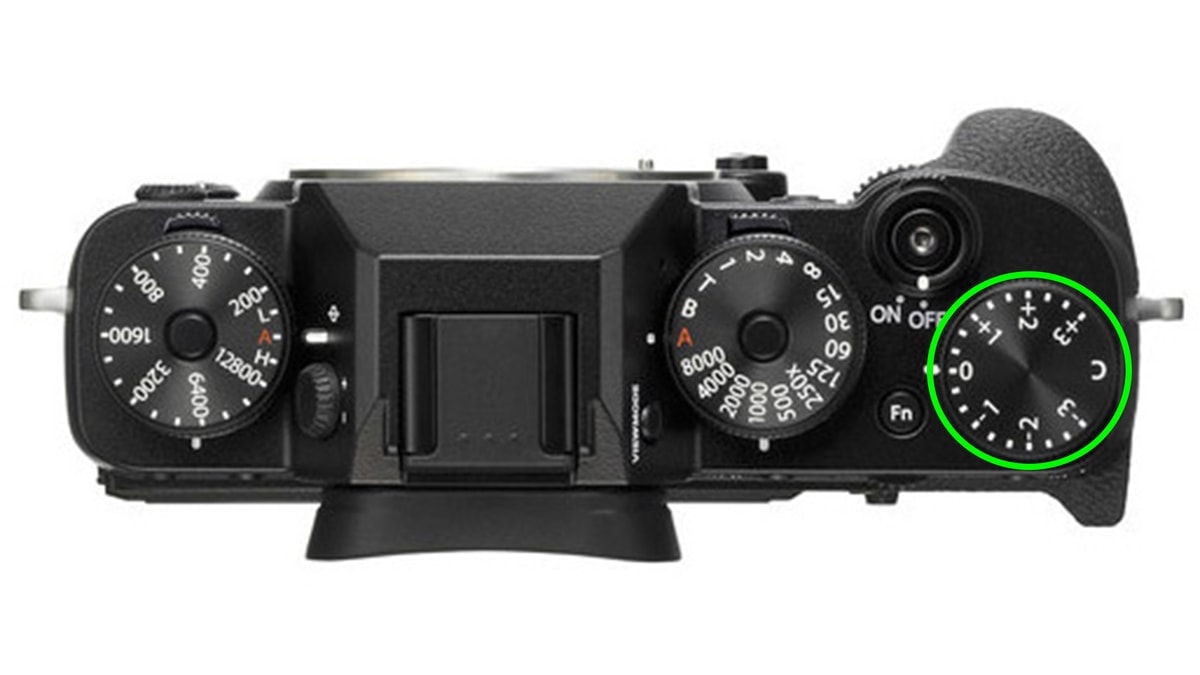
Learning how to use Exposure Compensation is relatively easy, and it’s available on nearly all camera models. Depending on what camera you’re shooting with, this setting could be found in a few different places. Most commonly, it can be found by pressing a ‘ +/- ‘ button, or on an actual dial on the top of your camera body.
Exposure Compensation only works in certain camera modes such as Aperture Priority (AV), Shutter Priority (Tv), or Programmed Auto (P). It won’t be available in automatic scene modes or while shooting in manual mode. With automatic scene modes, your camera is doing all the work. Due to that, you won’t have much input on your photo besides where the camera’s pointing. Exposure Compensation is not found in manual mode because you can manually adjust your camera settings as necessary if you want to brighten or darken your image.
To adjust your Exposure Compensation, simply click on the light meter in your camera settings and move the indicator with the dial or scroll wheel on your camera. This will depend on the model of your camera. If you have a physical dial on your camera, turn this to the number of stops you want to compensate for. The below example shows a -1 stop of compensation in Shutter Priority mode.
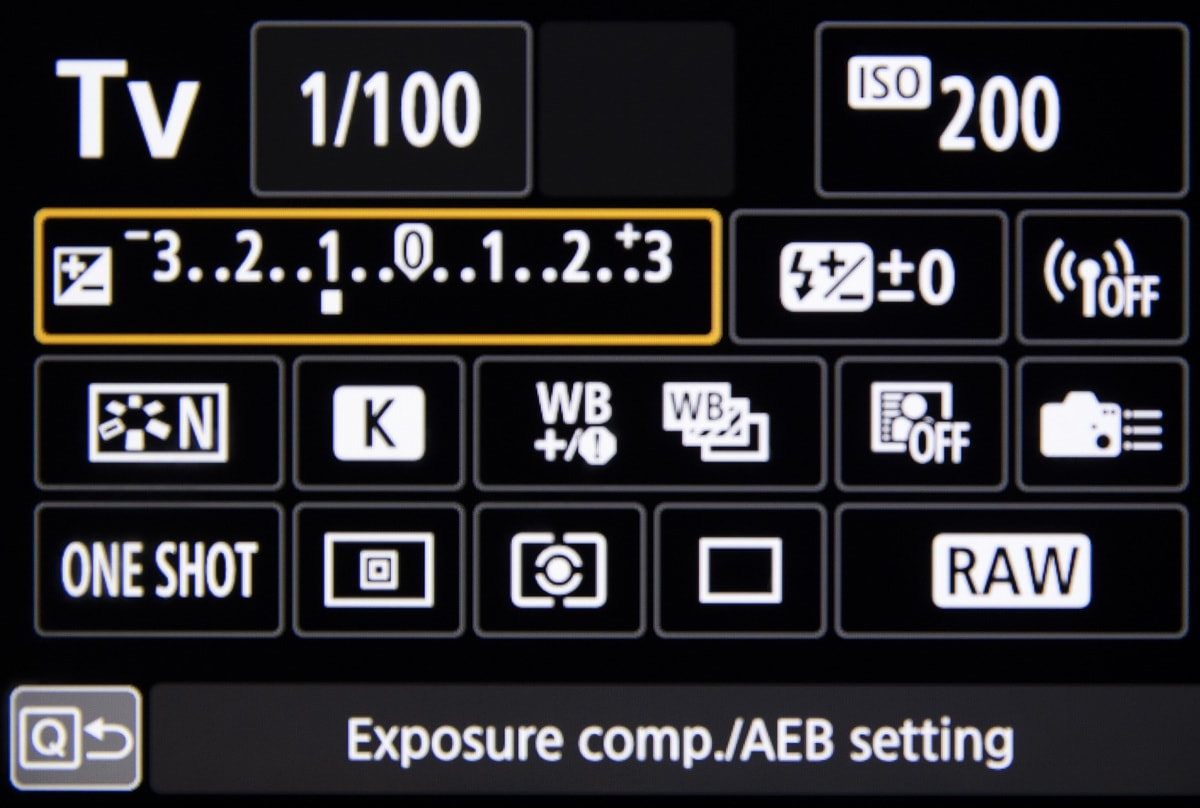
When you adjust the Exposure Compensation, you’ll be simply moving the indicator on your light meter to a different exposure value. Like I mentioned before, your camera naturally wants to expose your photo to favor 0 on your light meter (18% grey on a histogram). As you adjust the Exposure Compensation, you’re telling your camera to expose for a value that’s brighter or darker than 0 on your the light meter.
Exposure Compensation At Work With Different Camera Modes
You may be wondering if Exposure Compensation only affects one particular setting on your camera. In actuality, it will adjust different settings depending on the camera mode you’re using.
– Aperture Priority (Av)
In aperture priority mode, you can choose the aperture yourself while the camera decides additional exposure settings. When it comes to using Exposure Compensation in Av mode, it will only adjust your shutter speed setting. It can also affect your ISO, but only if you’re using an automatic ISO setting. If you’ve manually chosen your ISO, the Exposure Compensation will not change it.
Let me give you an easy example of Exposure Compensation at work within Aperture Priority Mode. For this example, we will adjust the Exposure Comp by -1 stop on the light meter.
If our base settings are: 1/100 f/8 ISO100.
The new settings after a -1 stop Exposure Compensation are: 1/200 f/8 ISO100.
Notice how the shutter speed changed, but the aperture and ISO setting remained the same. Now your image will appear one-stop darker with the help of a faster shutter speed.
– Shutter Priority Mode (Tv)
In shutter priority mode, you choose the shutter speed you’d like to use while your camera selects the rest. By adjusting your Exposure Compensation in Tv mode, you’ll alter the aperture and the ISO settings (unless you have chosen a manual ISO). Let me give you a quick example of Exposure Compensation at work within shutter priority mode.
Let’s say you want to lighten the exposure by +1 stop using Exposure Compensation.
If the base settings are: 1/320 F/5.6 ISO200.
The new settings with a +1 stop compensation are: 1/320 F/4 ISO200.
Notice how there’s not a slightly wider aperture of F/4 to compensate +1 stop to the exposure.
– Programmed Auto (P)
When using programmed auto, your camera is choosing all of your exposure settings for you. Unlike Tv or Av mode, there isn’t one particular setting that is being favored over the others. This means your Exposure Compensation will adjust all of your exposure settings as necessary. Let’s go over another example to see how Exposure Compensation works in this camera mode.
Let’s say you want to darken the exposure by -2 stops using Exposure Compensation.
If the base settings are: 1/60 F/11 ISO400.
The new settings after -2 stops of compensation are 1/60 F/8 ISO200.
In this example, both the ISO and aperture settings were reduced by -1 stop to create a -2 stop compensation for the entire image.
When To Use Exposure Compensation In Your Photography
You might be feeling antsy to start trying to use Exposure Compensation, but the reality is, you don’t always need it. It’s essential to learn how to use Exposure Compensation in the right situations, so you aren’t wasting your time for every photo you capture.
Exposure Compensation only needs to be used when your automatic settings are not capturing the right exposure you’re looking for. Your light meter could be reading the wrong exposure based on what metering mode you’re using, the conditions, or conflict with what your creative vision is. In these cases, Exposure Compensation makes it easy to make fast adjustments without needing to switch to manual mode.
It’s particularly useful if you tend to shoot your photos in JPEG instead of RAW. Since JPEG images are much harder to edit, it’s that much more important to really nail the exposure in-camera. When you are shooting in RAW, you can adjust a slightly off exposure in post-processing. With that said, a clipped exposure isn’t going to be recoverable in any file format. That’s why it’s essential to consult your histogram, especially when making adjustments using Exposure Compensation.
Conclusion
Exposure Compensation is a useful tool for anyone looking to gain more exposure control in automatic modes. This tool gives your camera a new exposure level to aim for, so it adjusts the settings accordingly. It’s particularly useful when you’re not getting the exposure you wanted creatively, or if there’s an error in your cameras light meter.
If you enjoyed this post on how to use Exposure Compensation, be sure to share it with someone who also might find it valuable!
Be sure to subscribe to my weekly newsletter for more photography and photo editing tips delivered straight to your inbox!


